
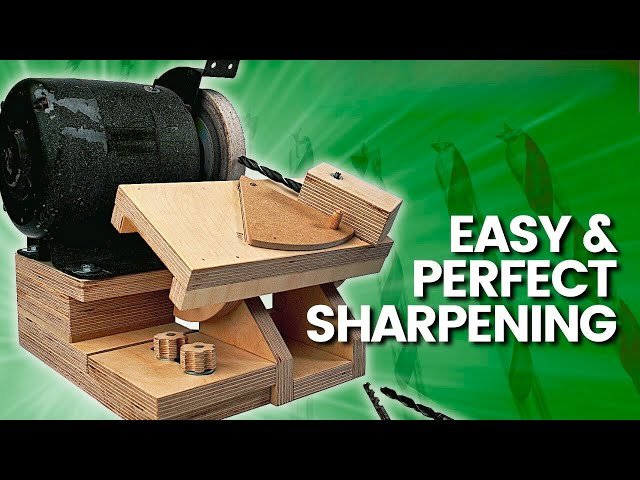
Do your drill bits feel dull and struggle to cut through materials like they used to? You don’t have to toss them out or buy new ones just yet.
Sharpening your drill bit with a bench grinder is easier than you think—and it can save you time and money. In this guide, you’ll discover simple steps to bring your drill bits back to life, so your projects get done faster and smoother.
Ready to unlock the full power of your tools? Let’s get started.
Credit: www.slashgear.com
Choosing The Right Drill Bit
Drill bits come in many types. Each fits different materials and jobs. Common types include twist bits, spade bits, and masonry bits. Twist bits are the most used. They work well with wood, metal, and plastic.
Spade bits are flat and make large holes in wood. Masonry bits have a special tip for drilling into stone or brick. Choosing the right bit means knowing what material you will drill.
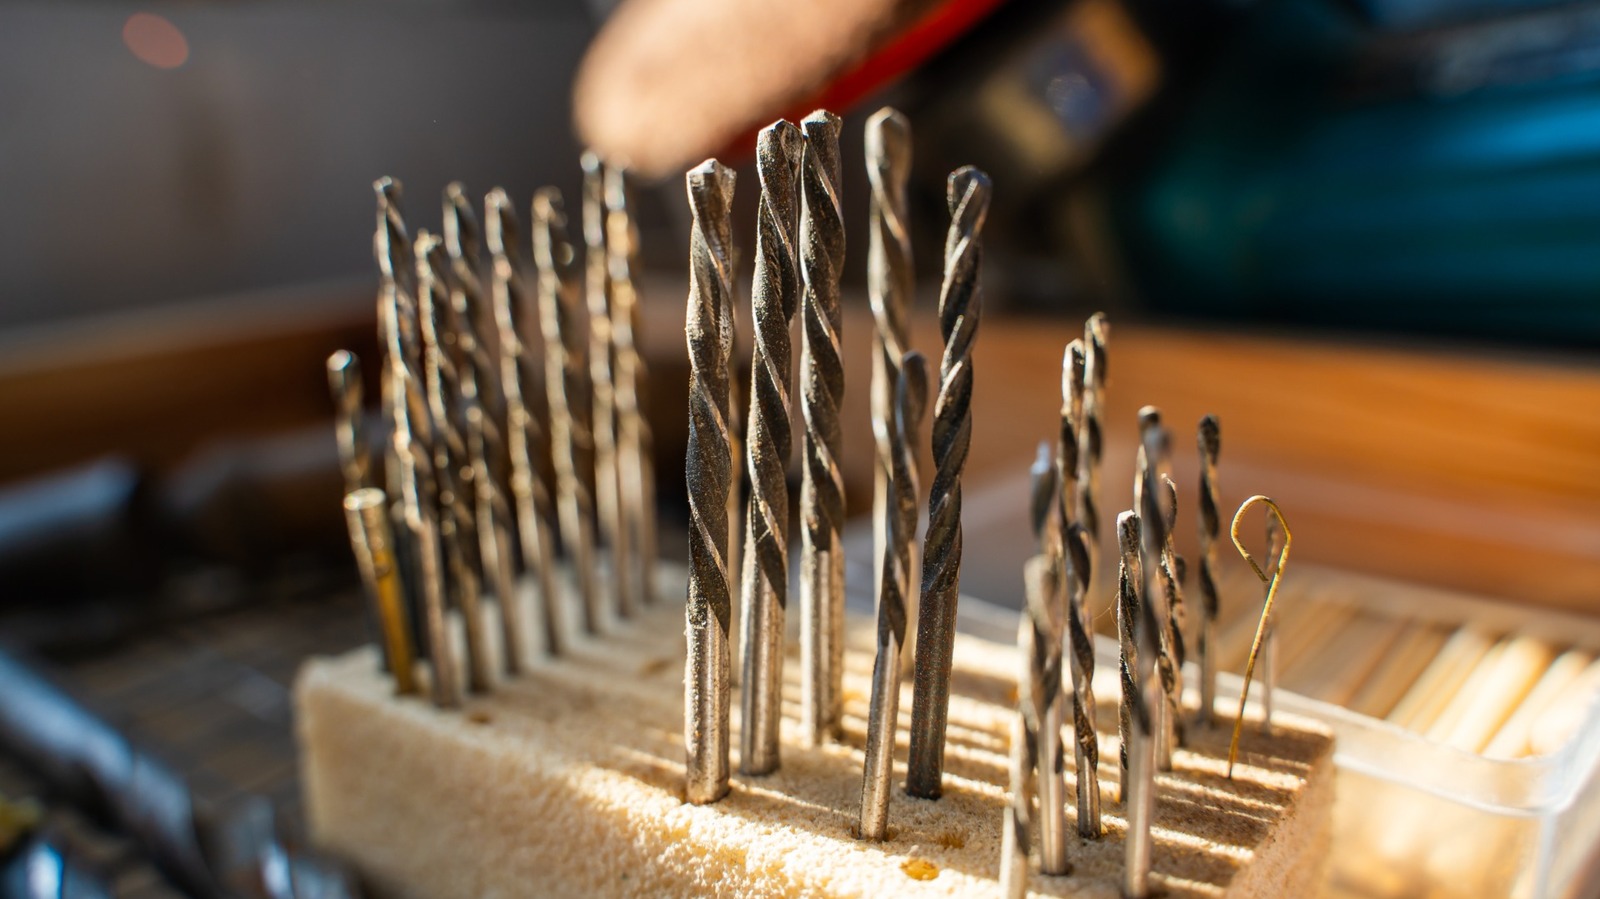
Assessing bit wearis key before sharpening. Look for dull or chipped edges. A worn drill bit will not drill well. It may create rough holes or overheat. Checking wear helps decide if sharpening is possible or if replacement is better.
Preparing The Bench Grinder
Choose a grinding wheelthat matches your drill bit material. For high-speed steel bits, use a aluminum oxide wheel. Carbide bits need a silicon carbide wheel. Check the wheel’s size and speed rating. It must fit your bench grinder. A wheel that is too coarse will damage the bit. A wheel that is too fine will take longer to sharpen.
Wear safety gearbefore starting. Use safety glasses or a face shield to protect eyes from sparks. Wear ear protectionto reduce noise. Use gloves to protect your hands but avoid loose clothing that can catch in the machine. Make sure the grinder is on a stable surface. Keep a fire extinguisher nearby just in case. Always work in a well-ventilated area.
Sharpening Techniques
Hold the drill bit firmly and set the angle at about 59 degrees. This angle helps the bit cut smoothly. Keep the bit steady to avoid uneven edges.
Gently press the bit against the bench grinder wheel. Move it back and forth to grind the cutting edge. Avoid grinding too much; this can make the bit weak.
Check if both sides of the bit are even and balanced. Uneven edges can cause the drill to wobble. Use a light to see the shape clearly. Adjust by grinding small amounts until it looks right.
Post-sharpening Care
After sharpening, small metal bits called burrsmay form on the edges. These can cause rough drilling or damage. Use a fine file or sandpaper to gently remove burrs. Move in one direction to keep the edge smooth.
Testing the sharpened bit is important. Try drilling a piece of scrap wood or metal. Check if the bit cuts cleanly and easily. If it feels hard to drill or smokes, sharpening may be needed again.
Common Mistakes To Avoid
Avoid overheating the drill bit. It can lose its hardness and break quickly. Use light pressure and short grinding bursts.
Do not grind the wrong angle. The drill bit’s tip angle is usually 118 or 135 degrees. Keep this angle for best performance.
Never remove too much material. Only sharpen the cutting edges. Too much grinding will shorten the bit’s life.
Do not forget to keep the drill bit cool. Dip it in water often during grinding. This stops overheating and damage.
Avoid grinding unevenly. Both sides of the tip should be symmetrical. Uneven tips cause the drill to wobble.

Credit: www.youtube.com
Maintaining Drill Bit Sharpness
Proper storage helps keep drill bits sharp and ready. Store bits in a dry place to stop rust. Use a case or rack to keep bits separate. This stops them from knocking against each other and getting dull.
Regular inspections catch dull or damaged bits early. Check bits for chips, cracks, or wear before use. A sharp bit makes holes easier and safer. Replace or sharpen bits that look worn out.

Credit: www.msn.com
Frequently Asked Questions
How Do I Safely Sharpen A Drill Bit With A Bench Grinder?
Wear safety goggles and gloves before starting. Hold the drill bit firmly. Gently press it against the grinder’s wheel at a 60-degree angle. Move slowly to avoid overheating or removing too much material. Cool the bit often by dipping it in water.
What Is The Best Angle To Sharpen Drill Bits?
The optimal sharpening angle is 59 to 60 degrees. This angle ensures efficient cutting and longer drill bit life. Adjust your bench grinder or hand position accordingly. Maintaining this angle improves drilling performance and reduces bit wear.
How Can I Prevent Overheating The Drill Bit While Grinding?
Overheating weakens the drill bit’s hardness. To prevent this, grind in short bursts. Frequently dip the bit in water to cool it down. Avoid pressing too hard against the grinder wheel. This technique maintains the bit’s durability and sharpness.
How Often Should Drill Bits Be Sharpened Using A Bench Grinder?
Sharpen drill bits when they become dull or inefficient. Frequent sharpening depends on usage frequency and material hardness. Regular checks improve drilling accuracy and speed. Avoid sharpening too often to preserve bit integrity.
Conclusion
Sharpening a drill bit with a bench grinder saves time and money. It keeps your tools working well and makes drilling easier. Always wear safety gear and work slowly for best results. With practice, you will get better and faster at sharpening.
This simple skill helps you finish projects smoothly. Try it yourself and see the difference it makes.