
Have you ever wondered how to make a grind stone that sharpens your tools quickly and efficiently? Whether you’re a hobbyist, a craftsman, or just someone who loves DIY projects, creating your own grind stone can save you time and money.
In this guide, you’ll discover simple steps and tips that anyone can follow to build a reliable grind stone at home. Keep reading, and you’ll unlock the secrets to making a tool that will keep your blades razor-sharp and ready for any task.
Your next project deserves the best edge—let’s get started!
Materials Needed
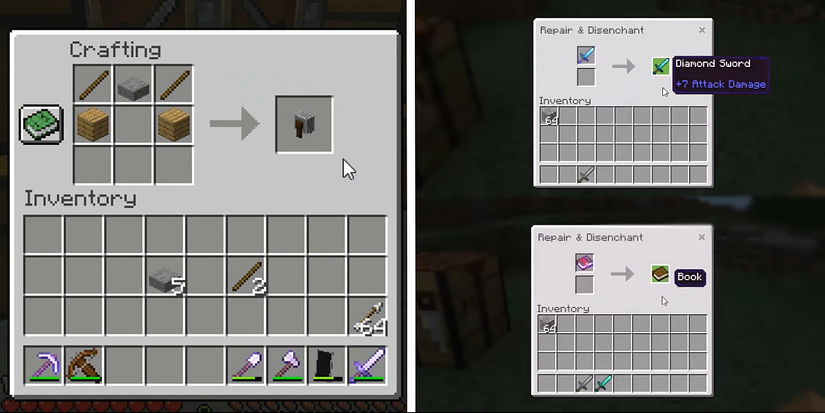
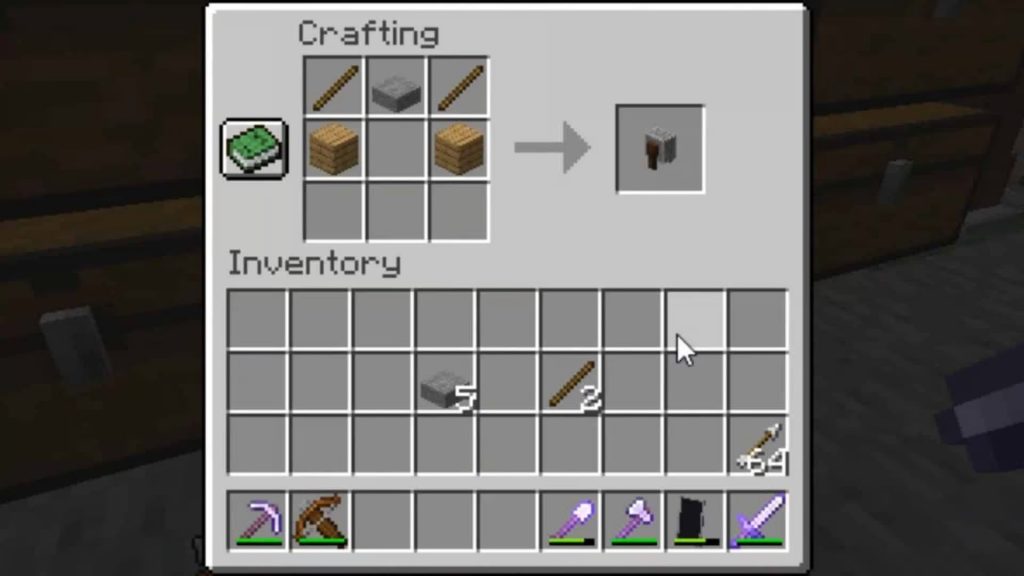
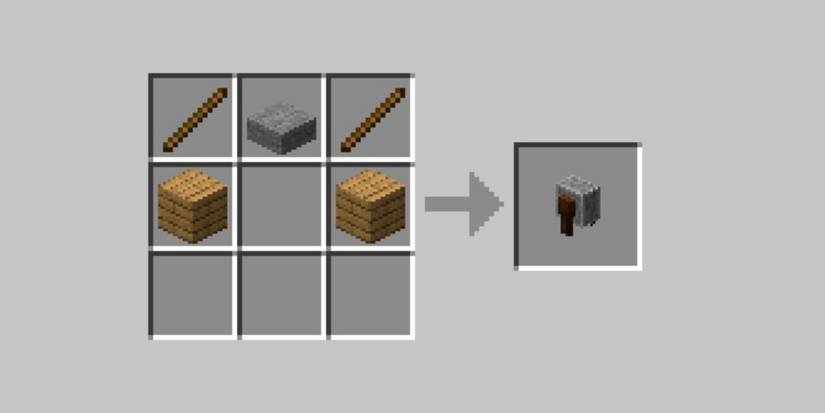
Choosing the Right Stoneis key for a good grind stone. Look for stones that are hard and coarse. Granite, sandstone, and quartz are great choices. The stone should be flat and not cracked. A round shape works well for even grinding.
Gathering Tools and Suppliesis simple. You need:
- A suitable stone
- A drill with a diamond bit
- Water for cooling
- Sandpaper for smoothing edges
- A sturdy wooden base or frame
- Strong adhesive or clamps
- Protective gloves and goggles
These tools help in shaping and fixing the stone. Water keeps the stone cool and prevents cracks. Safety gear protects your hands and eyes.
Preparing The Stone
Start by cleaning the stonethoroughly. Remove dirt, dust, and debris using a stiff brush and water. This helps to see any cracks or weak spots clearly.
Inspect the stone carefully for cracks, chips, or soft areas. These flaws can affect the stone’s strength and performance. Choose a stone that feels heavy and solid.
For shaping, use a hammer and chiselto form a round, flat wheel. Keep the edges smooth to avoid sharp points that can break easily.
Work slowly and check the shape often. The stone should be balanced and even for safe use.
Creating The Grinding Surface
Start by drawing a clear circle on the stone’s flat side. This circle marks the grinding area. Use a pencil or chalk for easy adjustments. The size depends on the tool you want to sharpen.
Next, create rough texture on the surface inside the circle. This helps the stone grind better. Use a chisel or a small hammer to make tiny grooves or pits. Make sure the texture is evenly spread.
- Keep grooves shallow to avoid breaking the stone.
- Check the texture often by running your finger gently.
- Stop carving when the surface feels rough and not smooth.
Credit: www.thegamer.com
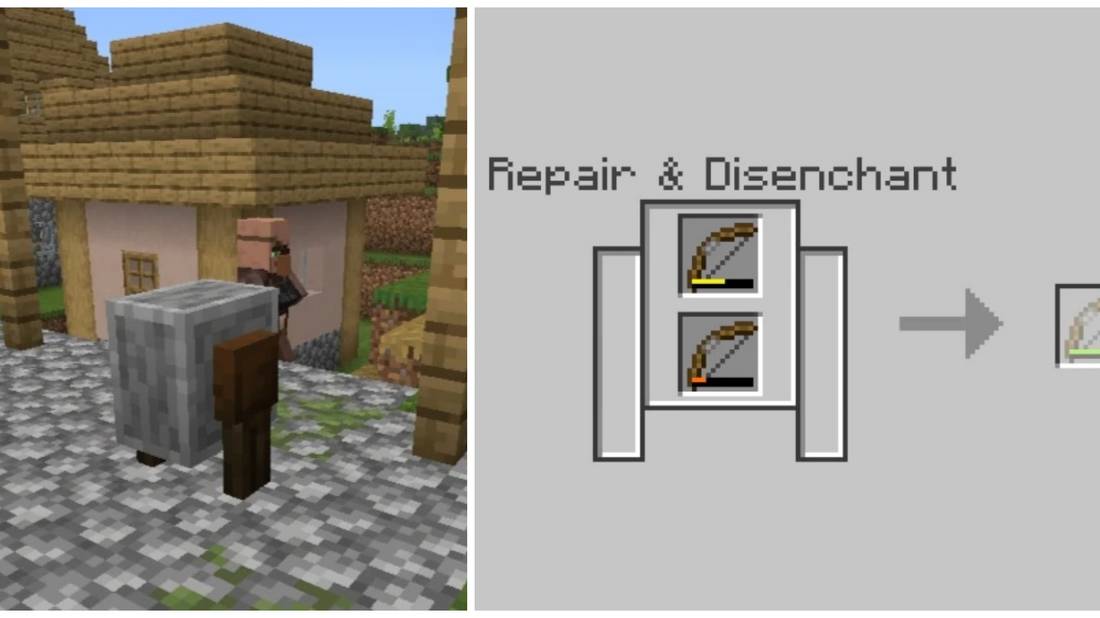
Assembling The Grind Stone
Attach the handle or base firmly to the grind stone. Use strong glue or screws for a tight fit. The handle should be comfortable to hold and easy to turn. A wooden or metal handle works well.
To secure the stone, place it on a flat surface. Use clamps or a sturdy frame to hold it in place. This stops the stone from moving while grinding. Make sure it is stable before starting work.
Testing And Using
To check the balanceof a grind stone, place it on a flat surface. It should not wobble or tilt. Spin the stone slowly by hand. Listen for any unusual soundsor feel for rough spots. A well-balanced stone spins smoothly without shaking.
Use proper grinding techniques to avoid damage or injury. Hold the tool at a correct angle, usually around 20 degrees. Apply light pressureto the stone while grinding. Move the tool back and forth evenly. Avoid forcing the tool too hard; let the stone do the work.
- Wear safety glasses and gloves for protection.
- Keep the grind stone clean and wet if needed to reduce heat.
- Check the stone regularly for cracks or wear.
Credit: www.charlieintel.com
Maintenance Tips
After using the grind stone, clean it thoroughly to remove metal particles and dust. Use a stiff brush or water to scrub the surface gently. Avoid harsh chemicals that can damage the stone. Dry the stone completely to prevent cracks and mold growth.
Sharpen the grind stone by running a dressing tool across its surface. This removes clogged material and restores roughness for better sharpening. Resurface the stone regularly to keep it flat and effective. A flat stone ensures even sharpening and longer life.
Credit: www.thegamer.com
Frequently Asked Questions
What Materials Are Needed To Make A Grind Stone?
To make a grind stone, you need abrasive materials like sandstone or aluminum oxide. Also, gather bonding agents, water, and a mold for shaping. Safety gear like gloves and goggles is essential during the process.
How Do You Shape A Grind Stone Properly?
Shape the grind stone by pressing abrasive material into a mold. Use consistent pressure for uniform thickness. After molding, allow it to dry or cure fully before use to ensure durability and effectiveness.
Can I Make A Grind Stone At Home Safely?
Yes, making a grind stone at home is safe with proper precautions. Use protective gear, work in a well-ventilated area, and handle materials carefully. Follow step-by-step instructions to avoid accidents and ensure a quality product.
How Long Does It Take To Make A Grind Stone?
Making a grind stone typically takes several hours. Shaping and molding require about one hour. Drying or curing can take from 24 to 48 hours depending on materials and environmental conditions.
Conclusion
Making a grind stone is simple with the right steps. You only need basic materials and tools. Follow each step carefully for the best results. A well-made grind stone helps sharpen tools quickly and safely. Practice makes perfect, so don’t rush the process.
This project saves money and gives you a useful tool. Try making your own grind stone today and enjoy the benefits. Simple, effective, and practical.