

Imagine enjoying your favorite ice cream in a crispy, homemade waffle cone that you made yourself. Sounds delicious, right?
You don’t need a fancy waffle cone maker to get that perfect crunch and sweetness. With just your regular waffle iron and a few simple ingredients, you can create delightful waffle cones that will impress your family and friends. Ready to discover how easy and fun it is?
Keep reading, and by the end, you’ll be making your own fresh waffle cones anytime you want.
Credit: honestandtruly.com
Choosing The Right Ingredients
Making waffle cones with a regular waffle iron starts with good ingredients. Choosing the right ones helps you get a crispy and tasty cone.
This guide covers the essential ingredients and tips for picking fresh, quality items for your waffle cones.
Essential Ingredients For Waffle Cones
Waffle cones need simple ingredients that mix well and crisp up nicely. Use these for the best results:
- All-purpose flour for structure
- Sugar to add sweetness and caramelize
- Eggs to bind the batter
- Butter for rich flavor and crispiness
- Vanilla extract for aroma
- Milk to thin the batter
- A pinch of salt to balance taste
Tips For Fresh And Quality Ingredients
| Ingredient | Quality Tip | Why It Matters |
|---|---|---|
| Flour | Use fresh, finely milled all-purpose flour | Gives light texture and even browning |
| Sugar | Choose granulated white sugar | Melts well for crisp edges |
| Eggs | Use large, fresh eggs | Improves batter binding and texture |
| Butter | Use unsalted and melted butter | Controls salt level and adds flavor |
| Milk | Use whole milk, fresh and cold | Helps batter flow and taste better |
| Vanilla Extract | Use pure vanilla extract | Adds natural, rich aroma |
Preparing The Batter
Making waffle cones with a regular waffle iron starts with the batter. The right batter makes crispy, tasty cones. You need a batter that is smooth and easy to spread.
This guide helps you prepare a simple batter and gives tips for the best cone texture. Follow these steps for great results.
Simple Batter Recipe
Use common ingredients for a quick and easy waffle cone batter. This recipe creates a thin batter that cooks evenly and crisps well.
- 1 cup all-purpose flour
- 2 tablespoons sugar
- 1/4 teaspoon salt
- 2 large eggs
- 1/2 cup melted butter
- 1/2 cup milk
- 1 teaspoon vanilla extract
Mix the dry ingredients first. Beat eggs, then add melted butter, milk, and vanilla. Combine wet and dry ingredients until smooth.
Consistency Tips For Crispy Cones
The batter should be thin but not watery. Too thick batter makes soft cones. Too thin batter breaks easily.
- The batter should flow easily off a spoon.
- If too thick, add a tablespoon of milk.
- If too thin, add a little flour.
- Let the batter rest 5 minutes before cooking.
- Stir the batter gently before each use.
These tips help you get a crispy cone with a perfect shape. Test a small amount first to adjust the batter if needed.
Setting Up Your Waffle Iron
Making waffle cones with a regular waffle iron needs some careful setup. Properly setting up your waffle iron helps you get the perfect cone shape and texture.
Two important steps to prepare your waffle iron are adjusting the temperature and greasing the iron well. Both affect how your waffle cones cook and release from the iron.
Adjusting Temperature Settings
Set the waffle iron to the right temperature for even cooking. Too hot will burn the batter, too low will make it undercooked and soft.
- Preheat the waffle iron on medium heat.
- Test with a small amount of batter to check cooking time.
- Adjust the temperature up or down based on the test waffle’s color and texture.
- Keep the temperature steady once you find the right setting.
Greasing The Iron Properly
Greasing the waffle iron prevents sticking. Use the right amount and type of grease for the best results.
| Type of Grease | How to Apply | Notes |
| Butter | Brush lightly on both plates before heating. | Adds flavor but burns easily. |
| Vegetable Oil | Use a paper towel to spread a thin layer. | Works well and resists high heat. |
| Non-stick Spray | Spray evenly before each waffle. | Convenient and fast to apply. |
Cooking The Waffle Cones
Cooking waffle cones with a regular waffle iron is easy and fun. The key is to get the timing and texture right.
Follow simple tips to ensure your cones cook evenly and taste great every time.
Cooking Time And Indicators
Cook each waffle cone batter for about 1 to 2 minutes. Watch for a golden brown color on the waffle. This shows it is cooked but not burnt.
Check the edges for crispness. They should be firm but not too dark. The waffle should lift easily from the iron without sticking.
- Preheat the waffle iron fully before adding batter.
- Pour a thin layer of batter to cover the surface.
- Cook for 1 to 2 minutes until golden brown.
- Remove carefully and shape while warm.
Avoiding Common Mistakes
Many beginners make simple errors that affect the cone’s texture and shape. Avoid these mistakes for the best results.
| Common Mistake | How to Avoid |
|---|---|
| Batter too thick | Add a little milk to thin it out for even cooking. |
| Cooking too long | Watch the color closely and remove once golden. |
| Not shaping cones fast | Shape immediately after cooking before the waffle cools. |
| Waffle sticks to iron | Grease the iron lightly before each batch. |
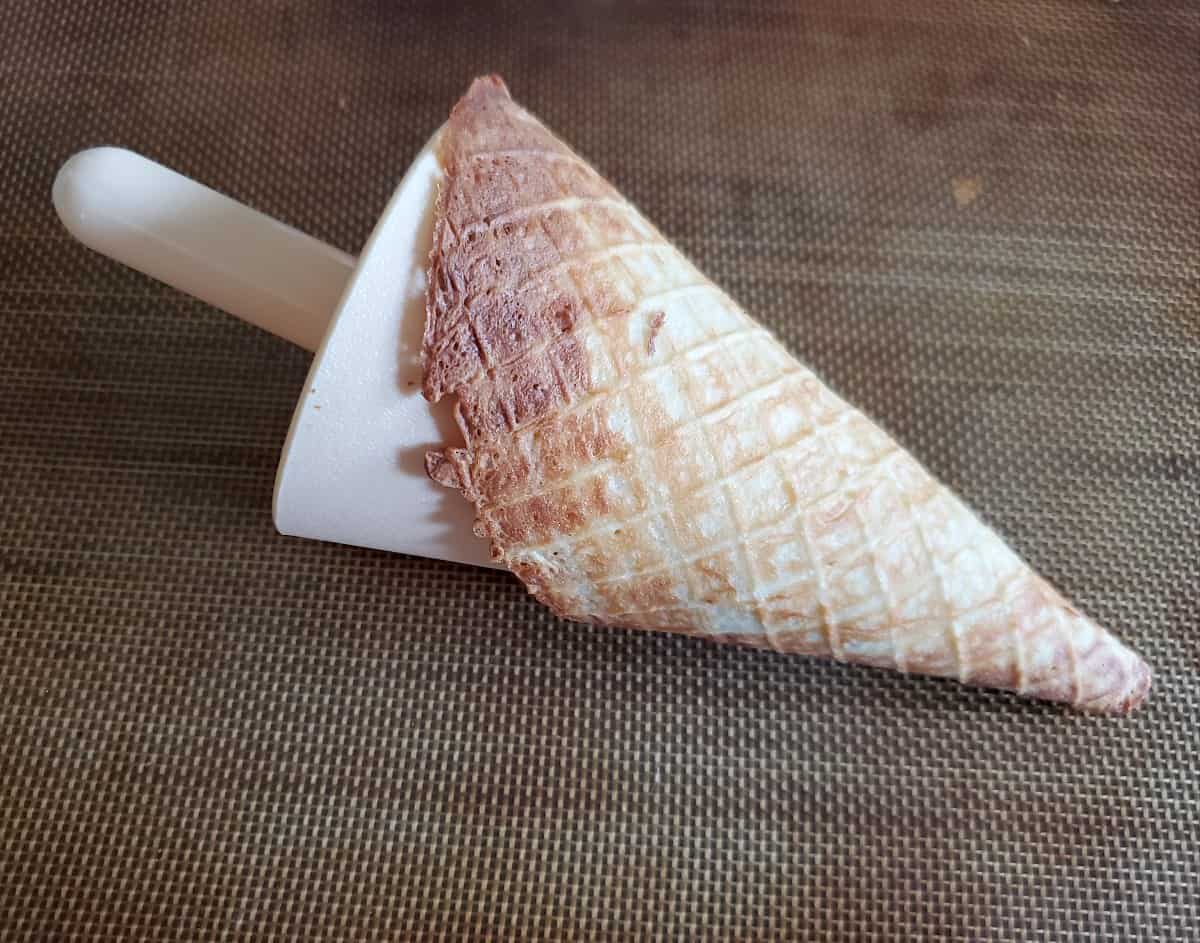
Shaping The Cones
Shaping waffle cones is a fun part of making your own ice cream treat. You can do this using a regular waffle iron and some simple tools. The right tools help you roll the cones while they are warm and soft.
After your waffle is cooked, shaping it quickly is key. The waffle cools fast and becomes hard to shape. Let’s look at the tools you need and the steps to make perfect waffle cones.
Tools For Rolling Waffle Cones
You do not need many tools to shape waffle cones. A few simple items make the job easier and safer.
- A clean kitchen towel to protect your hands from heat.
- A cone roller or a simple cone-shaped mold made from cardboard or metal.
- A spatula or fork to lift the hot waffle from the iron.
- A cooling rack or plate to hold cones after shaping.
Step-by-step Shaping Process
Follow these steps to shape your waffle cones easily and quickly. The key is to work fast while the waffle is still warm and flexible.
- Remove the hot waffle from the waffle iron carefully using a spatula.
- Place the waffle on a flat surface or hold it with a kitchen towel.
- Pick up your cone roller or mold and position the waffle at one edge.
- Gently roll the waffle around the cone mold to form a cone shape.
- Press the edge to seal the cone and hold it for a few seconds to set.
- Place the shaped cone upright on a cooling rack or plate to cool fully.
| Step | Tip |
|---|---|
| Removing waffle | Use a spatula carefully to avoid breaks. |
| Rolling cone | Roll firmly but gently for a tight cone. |
| Cooling | Keep cones upright to keep shape while cooling. |
Storing And Serving
Waffle cones taste best when they are crisp and fresh. Proper storage helps keep them crunchy. Serving ideas can make your waffle cones more fun and tasty.
Use simple methods to store waffle cones and try creative ways to serve them. This makes your dessert time special and enjoyable.
Keeping Waffle Cones Fresh
After making waffle cones, store them properly to keep their crunch. Moisture can make them soft quickly.
- Let cones cool completely before storing.
- Keep cones in an airtight container.
- Store in a cool, dry place away from humidity.
- Use wax paper between cones to avoid sticking.
- Do not refrigerate as it adds moisture.
Creative Serving Ideas
Serve waffle cones in ways that add flavor and fun. Try different toppings and presentations.
| Serving Idea | Description |
| Classic Scoop | Fill cones with ice cream scoops of your choice. |
| Fruit and Cream | Add fresh fruit and whipped cream inside cones. |
| Chocolate Dip | Dip cone edges in melted chocolate before filling. |
| Mini Cones | Use small cones for bite-sized desserts. |
| Layered Treat | Layer ice cream, nuts, and syrup in the cone. |
Troubleshooting Tips
Making waffle cones with a regular waffle iron can be tricky at times. Some common problems include soggy cones or burnt edges. Adjusting your recipe can help if your waffle iron is different from others.
Below are helpful tips to fix these issues and get crispy, delicious waffle cones every time.
Fixing Soggy Or Burnt Cones
Soggy cones usually mean the batter is too wet or the waffle iron temperature is too low. Burnt cones happen if the iron is too hot or cooking time is too long.
- Use a thicker batter to avoid sogginess.
- Preheat your waffle iron fully before cooking.
- Cook cones for a shorter time if they burn quickly.
- Let cones cool on a rack to keep them crisp.
- Clean your waffle iron regularly to prevent burning.
Adjusting Recipe For Different Waffle Irons
Waffle irons vary in size, shape, and heat output. You might need to change the batter amount or cooking time to suit your iron.
| Waffle Iron Type | Batter Amount | Cooking Time | Heat Setting |
| Small iron | 2 tablespoons | 1-2 minutes | Medium |
| Standard iron | 3-4 tablespoons | 2-3 minutes | Medium-high |
| Large iron | 5 tablespoons | 3-4 minutes | High |

Credit: honestandtruly.com

Credit: www.restaurantsupply.com
Frequently Asked Questions
Can I Use A Regular Waffle Iron For Cones?
Yes, you can use a regular waffle iron to make waffle cones. Simply prepare a thin batter and cook it as usual. Once done, quickly shape the waffle around a cone mold. Allow it to cool and harden, transforming it into a delicious, crispy waffle cone.
What Ingredients Are Needed For Waffle Cones?
To make waffle cones, you’ll need all-purpose flour, sugar, eggs, butter, milk, and vanilla extract. Mix them into a smooth batter. This combination creates a flavorful and crispy cone. The ingredients are simple and likely already in your kitchen, making it easy to start crafting your cones.
How Do I Shape Waffle Cones?
After cooking, remove the waffle from the iron while it’s still warm. Quickly wrap it around a cone mold. Hold for a few seconds until it holds its shape. This step is crucial to ensure your waffle cone has the perfect form.
Be cautious, as the waffle may be hot.
How Long Do Homemade Waffle Cones Last?
Homemade waffle cones can last up to a week if stored properly. Keep them in an airtight container to maintain their crispiness. Avoid moisture exposure, as it can make them soft. Storing them correctly ensures they remain fresh and ready for delicious scoops anytime.
Conclusion
Making waffle cones with a regular waffle iron is simple and fun. Just follow the steps, and you will get crispy, tasty cones. You can enjoy them with your favorite ice cream or dessert. It saves money and lets you customize flavors.
Try different batter recipes to find what you like best. Keep practicing, and your cones will look perfect every time. This easy treat brings smiles and makes any day special. Give it a try and enjoy homemade waffle cones today!