

Imagine biting into a warm, crispy waffle cone that you made yourself. The sweet aroma, the satisfying crunch, and the perfect shape holding your favorite ice cream—there’s nothing quite like it.
If you’ve ever wished you could skip the store-bought cones and create your own fresh, delicious waffle cones at home, you’re in the right place. In this guide, you’ll discover simple steps and tips to make waffle cones from scratch, even if you’ve never tried before.
Get ready to impress your family and friends with a treat that tastes as good as it looks. Keep reading, and you’ll be enjoying homemade waffle cones in no time!

Credit: www.leeshandlusrecipebox.com
Ingredients Needed
Making waffle cones from scratch is simple and fun. You only need a few basic ingredients to start.
This guide covers what you need to prepare tasty waffle cones at home.
Basic Ingredients
The main ingredients create the crispy, sweet texture of waffle cones. Use fresh items for best taste.
- All-purpose flour – for structure and texture
- Sugar – adds sweetness
- Eggs – bind the batter together
- Butter – for richness and crispiness
- Milk – thins the batter for easy spreading
- Vanilla extract – adds flavor
- Salt – balances the sweetness
Optional Additions
You can add extra ingredients to change the flavor or texture. These are not required but can make cones special.
- Cinnamon powder – for a warm, spicy taste
- Chocolate chips – melt inside the cone
- Ground nuts – add crunch
- Almond extract – gives a nutty aroma
- Food coloring – to make colorful cones
Essential Tools
Making waffle cones from scratch needs some special tools. These tools help you shape and cook the cones well.
Using the right tools makes your waffle cones crisp and tasty every time.
Waffle Cone Maker
A waffle cone maker is a small appliance that cooks your batter into thin waffles. It has a flat or slightly curved surface for even heating.
This tool is easy to use and helps you get the perfect texture. It cooks the batter quickly, so the cones are fresh and warm.
- Non-stick surface for easy cooking
- Temperature control for even baking
- Compact size for kitchen use
- Quick heating for fast cooking
Rolling Tools
Rolling tools help shape the hot waffle into a cone. You need something sturdy and smooth to avoid breaking the cone.
Many people use wooden or metal cone rollers. These tools give the cone a uniform shape and size.
- Wooden cone rollers are traditional and easy to use
- Metal rollers last longer and clean easily
- Use heat-resistant gloves to handle hot cones
- Work quickly before the waffle cools and hardens
Preparing The Batter
Making waffle cone batter is easy with the right steps. The batter must be smooth and have the perfect texture. This will help you get crispy and delicious cones.
Start with fresh ingredients and mix them carefully. The batter should not be too thick or too thin for the best results.
Mixing Tips
Mix the wet and dry ingredients separately before combining them. Use a whisk to avoid lumps. Do not overmix the batter; this can make the cones tough.
- Use room temperature eggs and butter
- Sift the flour to remove clumps
- Add sugar and salt evenly
- Mix wet ingredients gently into dry ones
- Stop mixing once batter is smooth
Consistency Check
Check the batter consistency before cooking. It should flow like thick cream. Too thin batter will spread too much on the waffle iron.
| Consistency | Effect on Waffle Cone |
| Too Thin | Spreads too much, thin and weak cones |
| Perfect (thick cream) | Easy to spread, crisp and strong cones |
| Too Thick | Hard to spread, dry and crumbly cones |
Credit: honestandtruly.com
Cooking The Waffle Discs
Cooking the waffle discs is a key step in making waffle cones from scratch. The discs need to be thin and crispy.
Proper cooking ensures the discs are easy to shape into cones. It also gives them a golden color and good taste.
Heating The Maker
Preheat your waffle cone maker before cooking. The surface should be hot enough to cook the batter quickly.
A properly heated maker helps the discs cook evenly and prevents sticking. Heat it for about 5 minutes.
- Plug in the waffle cone maker
- Close the lid and wait 5 minutes
- Check if the surface is hot by carefully touching or using a small batter drop
- Adjust heat if your maker has settings
Cooking Time
Pour a small amount of batter onto the hot surface. Close the lid and cook for about 1 to 2 minutes.
The waffle discs should turn golden brown. Cooking too long can burn them, too short makes them soft.
- Start with 1 minute cooking time
- Check the color of the disc
- Cook a few seconds longer if needed
- Remove carefully with a spatula
Shaping The Cones
Shaping waffle cones is an important step in making them fresh and crispy. The batter cooks into a thin, warm sheet that you mold quickly.
You need to work fast to shape the cones before the waffle cools and hardens.
Rolling Technique
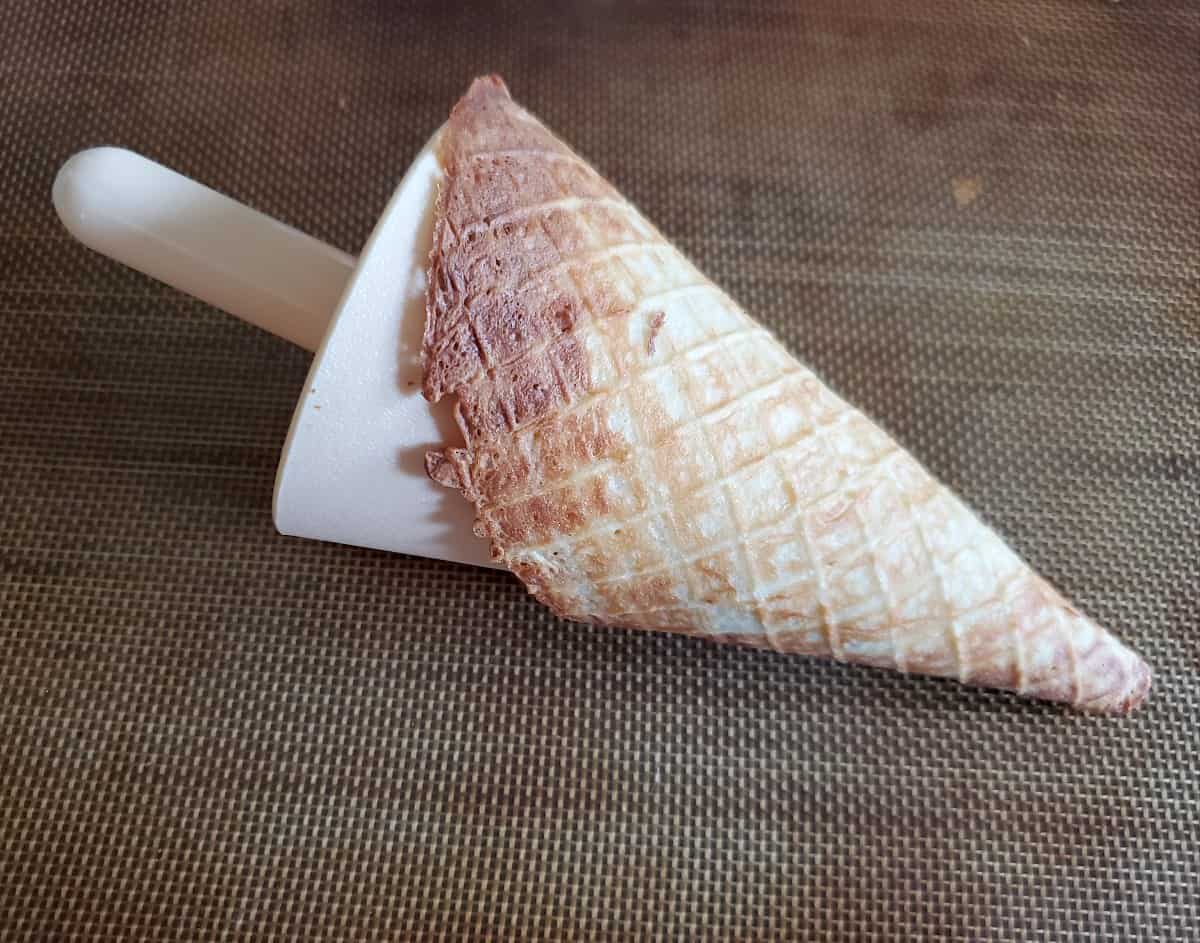
After cooking the waffle sheet, lift it gently from the pan. Place it on a flat surface or clean towel.
Use a cone-shaped mold or a small cup to roll the waffle. Start at one edge and roll tightly to form a cone shape.
- Hold the edge firmly to keep the cone shape
- Seal the edge by pressing gently
- If needed, use a little water or syrup to stick the edge
- Work quickly before the waffle cools
Cooling Process
Let the rolled cones cool fully on a rack or stand. Cooling helps the cones keep their shape and become crisp.
If you stack cones before cooling, they may lose shape or become soggy. Keep them separate until dry.
- Place cones on a wire rack for air circulation
- Cool at room temperature for 10–15 minutes
- Store cones in an airtight container after cooling
- Avoid moisture to keep cones crispy
Storing And Serving
Waffle cones taste best when fresh. Proper storage keeps them crunchy longer.
Serving ideas can make your waffle cones more fun and tasty for everyone.
Storage Tips
Store waffle cones in a cool, dry place. Avoid moisture to keep them crisp.
- Use an airtight container to prevent air exposure.
- Keep cones away from sunlight and heat sources.
- Do not stack heavy items on top of the cones.
- If storing longer, wrap cones in plastic wrap before placing in a container.
Serving Ideas
Make your waffle cones exciting with different fillings and toppings.
| Serving Idea | Description |
| Classic Ice Cream | Fill with your favorite ice cream flavors. |
| Fruit and Cream | Add fresh berries and whipped cream. |
| Chocolate Drizzle | Drizzle melted chocolate inside the cone before filling. |
| Nutty Crunch | Sprinkle chopped nuts on ice cream for texture. |
Troubleshooting Common Issues
Making waffle cones from scratch can be fun but tricky. Sometimes the batter or the shape doesn’t turn out right. Knowing how to fix these problems helps you get perfect cones every time.
This guide covers common problems with batter and cone shape. Use these tips to improve your waffle cone making skills.
Batter Problems
If your waffle cone batter is not right, cones can be tough or crumbly. Watch for these common batter issues.
- Batter too thick:Add a little milk or water to thin it out. Thin batter spreads better and cooks evenly.
- Batter too thin:Add a small amount of flour to thicken it. Thin batter may break when you shape cones.
- Uneven texture:Mix batter gently but well. Avoid lumps by sifting dry ingredients first.
- Overmixed batter:Mix until just combined. Overmixing makes cones hard and chewy.
Cone Shape Fixes
Shaping waffle cones can be difficult. Cones may crack, fold oddly, or not hold their shape. Try these tips to fix shape problems.
| Problem | Cause | Fix |
| Cracked cones | Batter too dry or cones cooled too fast | Add more liquid to batter; shape cones while warm |
| Cones folded oddly | Wrong angle or speed when shaping | Use a cone roller and shape gently but quickly |
| Cones lose shape | Cones cooled without support | Cool cones on a cone-shaped mold or stand |

Credit: honestandtruly.com
Creative Variations
Making waffle cones from scratch lets you add your own twist. You can create different flavors and decorations. This makes your cones more fun and tasty.
Try changing the ingredients or adding toppings. Small changes can make big differences in taste and look.
Flavor Enhancements
Add flavors to the waffle batter to make your cones unique. Mix spices, extracts, or zest for fresh tastes. These options keep the cones exciting.
- Vanilla or almond extract for a sweet aroma
- Cinnamon or nutmeg for warm spice notes
- Lemon or orange zest for a citrus twist
- Cocoa powder to make chocolate waffle cones
- Matcha powder for a green tea flavor
Decorative Touches
Decorate your waffle cones to make them look special. Use colorful toppings or coatings. These touches make cones fun to eat and share.
- Dip cone edges in melted chocolate or caramel
- Sprinkle crushed nuts, candy, or sprinkles on the coating
- Use edible glitter or colored sugar for shine
- Paint designs with food-safe coloring
- Add small candy pieces or mini cookies on the cone
Frequently Asked Questions
What Ingredients Are Needed For Waffle Cones?
To make waffle cones, you need flour, sugar, eggs, milk, butter, and vanilla extract. These ingredients create a delicious and crispy texture. Additionally, a waffle cone maker or iron is essential for shaping and cooking the cones. Having all these ready ensures a smooth cone-making process.
How To Achieve Crispy Waffle Cones?
To achieve crispy waffle cones, ensure your batter isn’t too thick. Preheat the waffle cone maker properly. Cook each cone until golden brown. Allow them to cool completely on a wire rack. This ensures they retain their crispiness. A little patience goes a long way for perfect cones.
Can I Store Homemade Waffle Cones?
Yes, you can store homemade waffle cones. Let them cool completely first. Place them in an airtight container to maintain freshness. Store at room temperature for up to a week. This keeps them crispy and delicious, ready for your next ice cream treat.
What Are Common Mistakes In Making Waffle Cones?
Common mistakes include using a thick batter and not preheating the waffle maker. These result in soggy cones. Overcooking can lead to brittle cones. Ensure even batter spreading for consistent cooking. Cooling cones properly prevents them from becoming soft. Attention to detail prevents these issues.
Conclusion
Making waffle cones from scratch is fun and rewarding. You only need a few simple ingredients. The process is quick and easy to follow. Fresh homemade cones taste better than store-bought ones. You can enjoy them with any ice cream flavor.
Try different shapes and sizes for variety. Practice a few times to get the perfect crisp. Soon, you will impress family and friends with your cones. Homemade waffle cones add a special touch to any dessert. Give it a try and enjoy your sweet treat!