

Craving that perfect crunchy waffle cone to hold your favorite ice cream? Imagine biting into a warm, fresh cone you made yourself—crispy, sweet, and just the way you like it.
Making waffle cones at home isn’t as hard as you think, and once you try it, you’ll never want store-bought ones again. In this guide, you’ll discover simple steps and tips to create your own delicious waffle cones right in your kitchen.
Ready to impress yourself and your taste buds? Let’s get started!

Credit: www.yahoo.com
Ingredients Needed
Making a waffle cone at home is simple and fun. You only need a few basic ingredients to start.
These ingredients mix to create a crispy, sweet cone for your ice cream.
Basic Components
The main ingredients create the classic waffle cone taste and texture. They are easy to find in most kitchens.
- All-purpose flour – 1 cup
- Granulated sugar – 1/2 cup
- Butter (melted) – 4 tablespoons
- Egg whites – 2 large
- Milk – 1/4 cup
- Vanilla extract – 1 teaspoon
- Salt – a pinch
Optional Flavor Additions
You can add flavors to make your waffle cones special. These extras give your cones a unique taste.
- Cinnamon powder – 1/2 teaspoon for warm spice
- Cocoa powder – 1 tablespoon for chocolate taste
- Almond extract – 1/2 teaspoon for nutty flavor
- Orange zest – 1 teaspoon for fresh citrus notes
- Ground ginger – 1/4 teaspoon for a spicy kick
Essential Tools
Making a waffle cone at home is fun and simple. You need a few key tools to get started. These tools help shape and cook the cone perfectly.
Having the right tools makes the process faster and easier. You can enjoy fresh, crispy cones anytime.
Waffle Cone Maker Alternatives
If you do not have a waffle cone maker, there are other ways to make cones. Some kitchen tools can work as good substitutes.
A regular waffle iron or even a stovetop griddle can help you cook the waffle batter. Use a spatula to lift the waffle and shape it quickly before it cools.
- Waffle iron: Use a round pattern for the cones.
- Stovetop griddle: Cook thin waffles carefully.
- Round cake pan: Press thin batter and cook gently.
- Handheld pizzelle maker: Works well for thin, crisp waffles.
Other Useful Kitchen Items
Besides the cooker, some kitchen tools help shape and serve the cones. These items make the process smooth and neat.
Use a cone-shaped mold or make your own from cardboard wrapped in foil. A heat-proof glove helps to shape the hot waffle safely. Also, a cooling rack lets the cones dry without getting soggy.
- Cone mold: Shapes the waffle into a perfect cone.
- Heat-proof gloves: Protect hands from hot waffles.
- Spatula: Lifts waffles without breaking them.
- Cooling rack: Keeps cones crisp while cooling.
- Mixing bowls: For easy batter preparation.
Preparing The Batter
Making the batter is the first step to create delicious waffle cones. It needs simple ingredients and careful mixing.
The right batter texture helps the cone cook evenly and stay crisp after cooling.
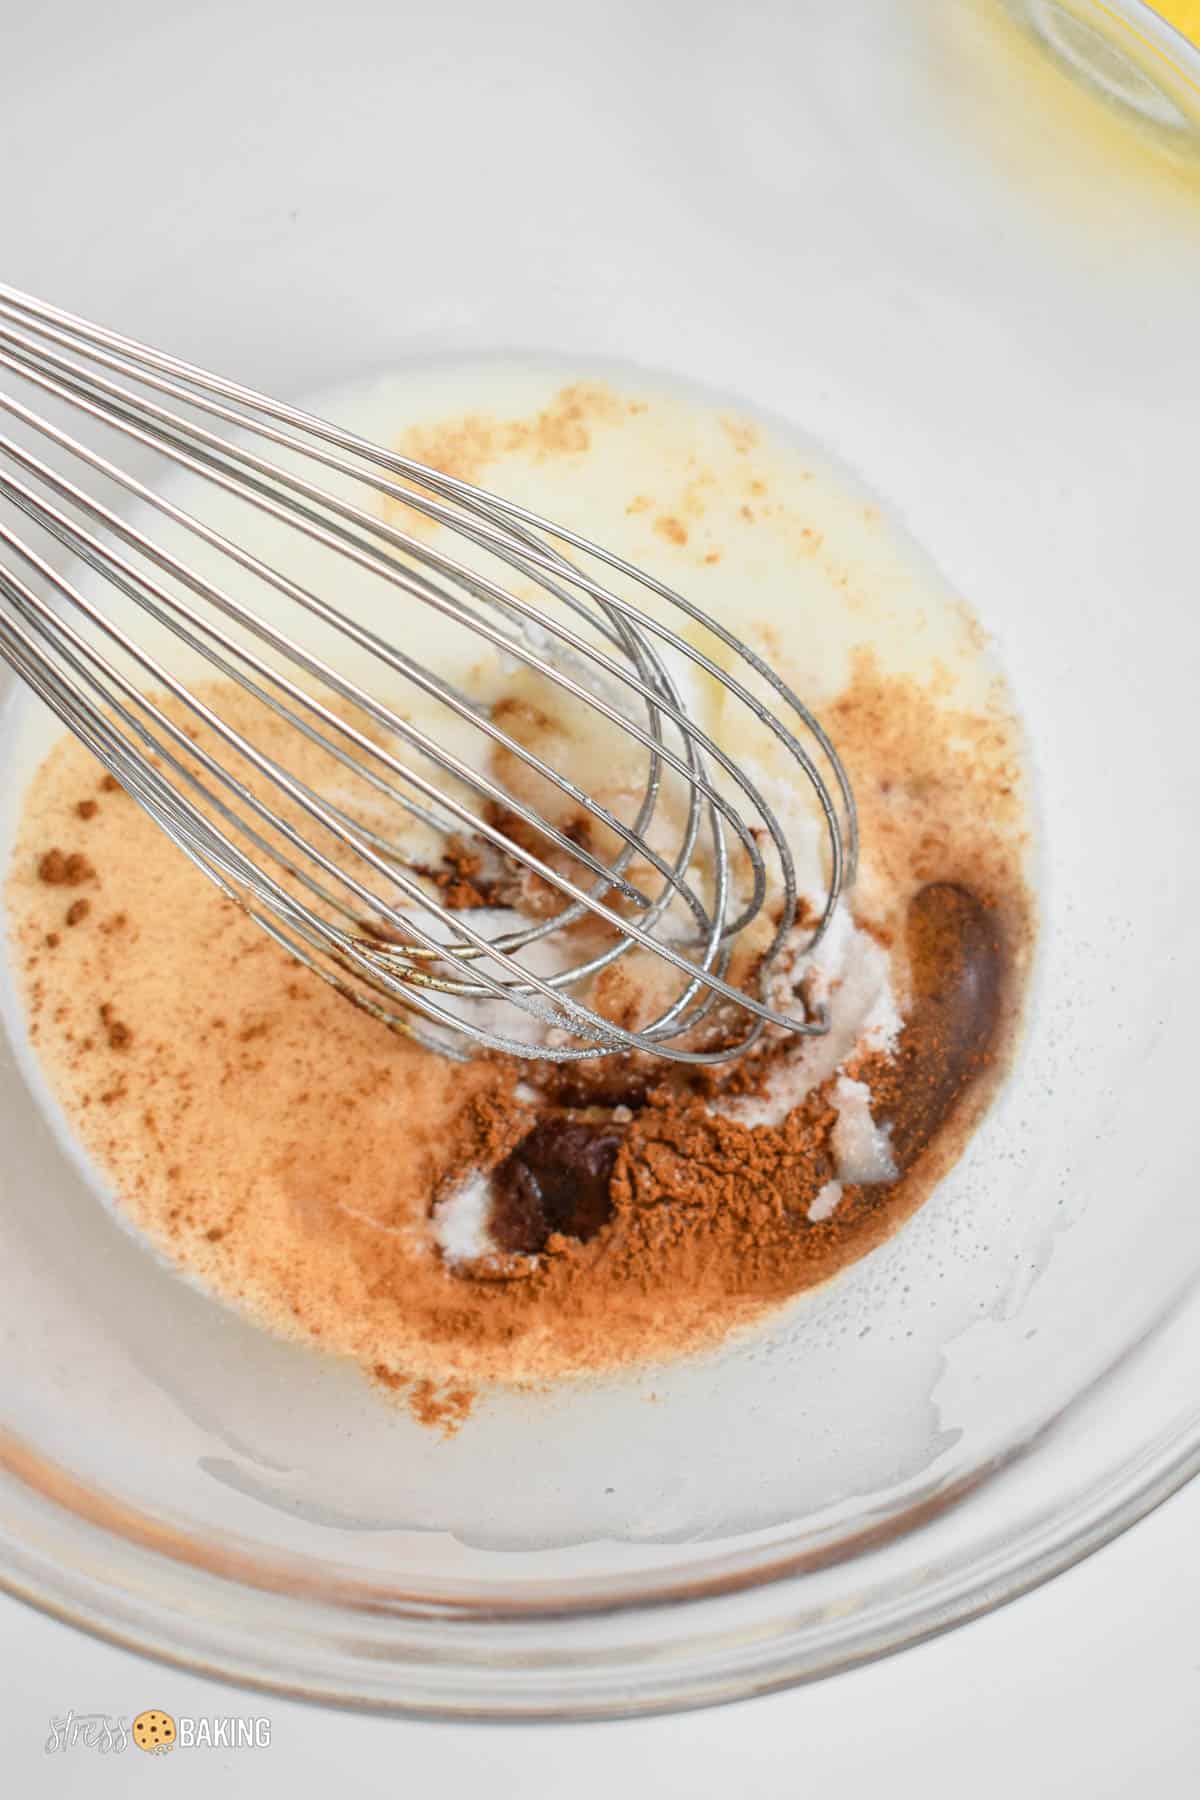
Mixing Instructions
Start by combining flour, sugar, and salt in a bowl. Mix them well so they are evenly spread.
In another bowl, beat eggs and add melted butter and vanilla extract. Stir gently.
Slowly pour the wet ingredients into the dry mix. Stir until the batter is smooth without lumps.
- Use a whisk for better mixing
- Do not overmix to keep batter light
- Let batter rest for 10 minutes before cooking
Tips For Perfect Consistency
The batter should be thin but not watery. It needs to spread easily on the waffle iron.
If the batter is too thick, add a small amount of milk. If too thin, add a spoon of flour.
- Check consistency by dropping a spoon of batter on a plate
- It should hold shape but flow slowly
- Adjust liquid or flour to keep this texture
Credit: stressbaking.com
Cooking The Waffle
Cooking a waffle cone at home is fun and rewarding. The key is to cook the waffle just right. This will give you a crisp, golden cone that holds ice cream well.
We focus on two important parts of cooking: heating and timing, and avoiding common mistakes. Follow these tips to get perfect waffle cones.
Heating And Timing
Preheat your waffle iron fully before cooking. If it is not hot enough, the waffle will be soft and pale. If it is too hot, the waffle may burn.
- Plug in the waffle iron and wait for the ready signal or about 5 minutes.
- Pour the batter quickly but evenly onto the center of the iron.
- Close the iron and cook the waffle for 1 to 2 minutes.
- Check the color after 1 minute to avoid overcooking.
- Remove the waffle carefully when it is golden brown and firm.
Avoiding Common Mistakes
| Mistake | Effect | How to Fix |
|---|---|---|
| Not preheating waffle iron | Waffle is pale and soggy | Wait until the iron is fully hot |
| Using too much batter | Batter spills out and cooks unevenly | Use a small ladle or spoon for batter |
| Opening iron too soon | Waffle breaks or sticks | Wait until cooking time is done |
| Cooling waffle on flat surface | Waffle loses shape and becomes soft | Shape waffle cone immediately and cool upright |
Shaping The Cone
Making a waffle cone at home is fun and tasty. The key part is shaping the cone correctly while the batter is still warm.
Shaping the cone gives it the classic look and makes it easy to hold ice cream. You need to work quickly before the waffle cools and hardens.
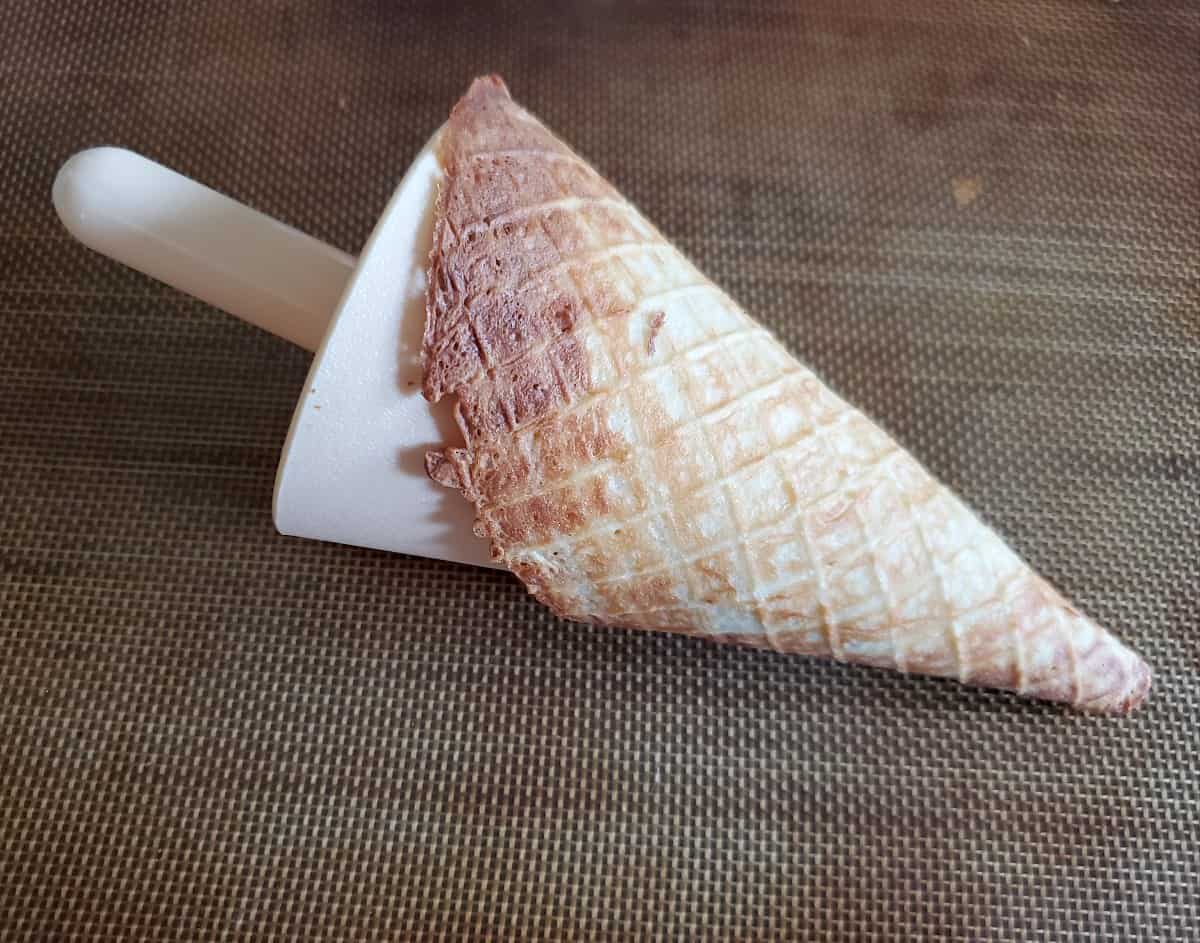
Rolling Techniques
After cooking the waffle thin and golden, remove it from the pan carefully. Use a spatula to lift it without breaking.
Place the waffle on a flat surface or a clean towel. Quickly roll it around a cone-shaped object, like a wooden dowel or a metal cone mold.
- Start rolling at one edge and wrap tightly.
- Keep the shape smooth as you roll.
- Seal the edge by pressing gently with your fingers.
- Work fast before the waffle cools and cracks.
Cooling And Setting
Hold the rolled cone in place for a few seconds. This helps the cone keep its shape as it cools.
Place the cone upright in a holder or cup to cool completely. The cone will harden as it cools, giving it a crunchy texture.
- Cool cones at room temperature.
- Do not put cones in the fridge or freezer.
- Once cooled, cones stay crisp and ready to fill.
Credit: honestandtruly.com
Storage And Serving Tips
Making waffle cones at home is fun and tasty. To enjoy them fully, you need to store and serve them well. This keeps them fresh and crunchy.
Here are some tips on how to keep your cones crispy and some creative ways to serve them.
Keeping Cones Crispy
Waffle cones can get soft if they touch moisture or air. Store them in an airtight container at room temperature. Avoid the fridge because it adds moisture.
If you want to keep cones longer, wrap each cone in plastic wrap. This stops air from making them soggy. Keep them away from heat and sunlight.
- Use airtight containers or zip-lock bags
- Store at room temperature, not in the fridge
- Wrap cones individually to protect from air
- Keep away from moisture and sunlight
Creative Serving Ideas
Waffle cones are great for more than just ice cream. Use them to add fun and flavor to your desserts. You can fill cones with many tasty treats.
Try these ideas to impress your friends and family with your homemade cones.
- Fill cones with fruit salad for a fresh twist
- Use cones as holders for pudding or mousse
- Add whipped cream and berries for a light snack
- Dip cone edges in chocolate and sprinkles
- Fill with yogurt and granola for breakfast
Frequently Asked Questions
What Ingredients Are Needed For Waffle Cones?
To make waffle cones at home, you’ll need flour, sugar, eggs, milk, and vanilla extract. These ingredients form the basic batter. You might also want to have butter for greasing and a pinch of salt for taste enhancement.
Can I Make Waffle Cones Without A Waffle Cone Maker?
Yes, you can use a skillet or a pancake griddle. Spread the batter thinly and cook until golden brown. Quickly shape it around a cone form or any conical object to achieve the desired shape.
How Do I Prevent Waffle Cones From Becoming Soggy?
To keep waffle cones crisp, cool them completely before storing. Store them in an airtight container at room temperature. Avoid exposure to moisture or humidity, as this will soften them.
How Long Do Homemade Waffle Cones Last?
Homemade waffle cones last about 2 weeks if stored properly. Keep them in a cool, dry place in an airtight container. Ensure they are completely cool before storing to maintain crispness.
Conclusion
Making waffle cones at home is simple and fun to try. Fresh cones taste better and feel special. You can change flavors to suit your taste. Enjoy the process and share with family or friends. Homemade cones bring joy and a sweet touch to any day.
Give it a go and enjoy your tasty treat!