
If you use a plastic weed grinder, you know how quickly it can get sticky and clogged. A dirty grinder not only slows you down but can also affect the taste and quality of your herb.
You might think cleaning it is a hassle, but it doesn’t have to be. In this guide, you’ll learn simple and effective ways to clean your plastic weed grinder, so it works like new every time. Ready to make your grinding smoother and your sessions better?
Let’s dive in.
Credit: blimburnseeds.com
Tools And Materials Needed
- Warm waterto soak the grinder parts.
- Mild dish soapfor gentle cleaning.
- Soft brushor old toothbrush to scrub crevices.
- Paper towelsor clean cloth to dry pieces.
- Toothpickor small tool to remove stuck bits.
- Isopropyl alcohol(optional) for deep cleaning.
Gather these tools before starting. They make cleaning easier and safe.
Disassembling The Grinder
Start by carefully taking the grinder apart. Most plastic grinders have three main pieces: the lid, the grinding chamber, and the bottom catcher. Hold the grinder firmly and twist the lid off. Then, remove the grinding chamber from the catcher. Be gentle to avoid breaking any small plastic teeth inside.
Check for stuck pieces of herb in each part. Use a small brush or toothpick to clear out leftover bits. This step is important for a smooth grind next time. Keep all parts separated during cleaning to make sure each piece gets cleaned well.
Removing Loose Debris
Start by tapping the grinder gently over a trash can or paper. This helps remove any loose bits inside. Use a small brush or an old toothbrush to sweep away leftover particles. Pay close attention to the teeth and corners where debris often hides.
If needed, use a toothpick or a cotton swab to get into tight spaces. Avoid using metal tools that might scratch the plastic. Cleaning regularly keeps the grinder working smoothly and prevents buildup.
Soaking And Cleaning
Choose a cleaning solution that is safe for plastic. Rubbing alcohol or warm soapy water works well. Avoid harsh chemicals that can damage the grinder. Use a soft brush to help remove stuck particles.
Soak the grinder in the solution for 20 to 30 minutes. This loosens up resin and grime. For tougher buildup, soak for up to an hour. Do not soak too long to prevent plastic wear.
- Use isopropyl alcoholfor better cleaning power.
- Warm soapy water is gentle and effective.
- Rinse thoroughly after soaking to remove all residue.
- Dry completely before using again to avoid mold.
Scrubbing And Detailing
Soft brushes are perfect for cleaning plastic grinders. They reach tiny spots without scratching. Use a small toothbrush or paintbrush with soft bristles. Gently scrub all surfaces, especially the teeth and edges. This removes stuck bits of weed and resin.
Cleaning hard-to-reach areas is easier with tools like cotton swabs or pipe cleaners. These can get inside cracks and corners where brushes can’t reach. Dip them in rubbing alcohol for better cleaning power. Wipe away any loosened dirt with a clean cloth or paper towel.
- Choose brushes with soft bristles to avoid damage
- Use rubbing alcohol to break down sticky residue
- Swab narrow spaces carefully to remove buildup
- Dry the grinder completely before using it again

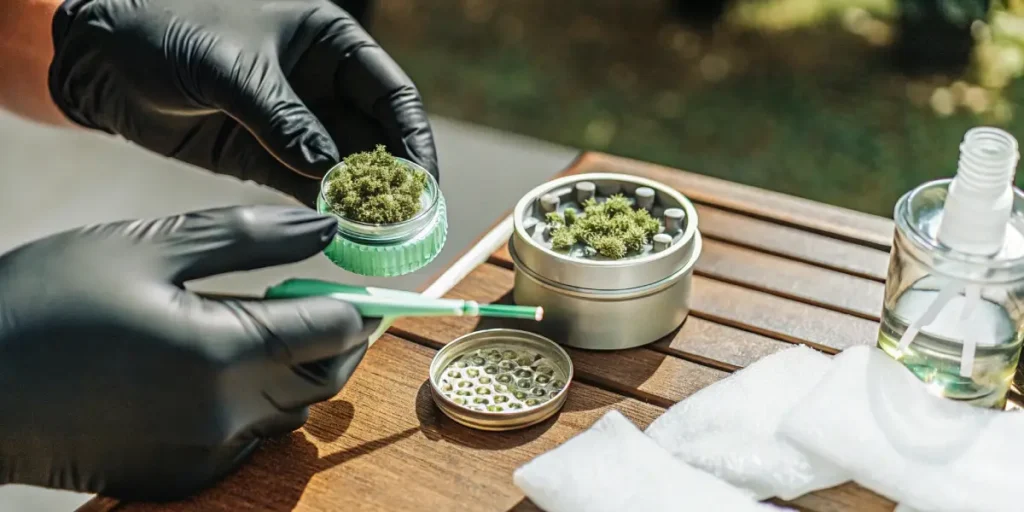
Credit: mjwholesale.com
Rinsing And Drying
Start by rinsing the grinder with warm water. This helps remove loose bits and sticky residue. Use your fingers or a soft brush to clean hard-to-reach spots gently.
Make sure water flows through all parts. Avoid using very hot water, as it can warp plastic.
After rinsing, dry the grinder completely. Use a clean towel to pat it dry. Let it air dry for a while to remove all moisture.
Proper drying stops mold and keeps the grinder fresh. Store it in a dry place to avoid dampness.
Reassembling And Testing
Make sure all parts of the grinder are dry before putting them back together. Check for any leftover dirt or residue and clean again if needed. Fit the pieces carefully, matching each part to its place. Avoid forcing parts as this can cause damage.
Once assembled, test the grinder by twisting it slowly. It should turn smoothly without sticking. If it feels tight or rough, disassemble and clean again. Proper assembly ensures the grinder works well and lasts longer.

Credit: pilotdiarystore.com
Maintenance Tips For Longevity
Cleaning your plastic weed grinder regularly keeps it working well. Set a weekly or bi-weeklycleaning schedule. This helps remove sticky residue and small particles. Use a soft brush or a toothpick to clear out crumbs.
Avoid using harsh chemicals or hot water. These can damage the plasticand make it brittle. Instead, rinse with warm water and mild soap. Dry it completely before using again to prevent mold.
- Keep the grinder away from direct sunlight to avoid warping.
- Do not drop or apply strong force; plastic can crack easily.
- Store in a cool, dry place to maintain its shape.
Frequently Asked Questions
How Often Should I Clean My Plastic Weed Grinder?
Clean your plastic weed grinder every 1-2 weeks. Regular cleaning prevents residue buildup. It maintains grinding efficiency and flavor quality.
What Materials Are Safe For Cleaning Plastic Grinders?
Use isopropyl alcohol, warm water, and mild soap. Avoid harsh chemicals or abrasive tools. These can damage the plastic and affect grinder performance.
Can I Use A Toothbrush To Clean A Grinder?
Yes, a soft toothbrush effectively removes stuck debris. It reaches small crevices without scratching the plastic surface. Use it gently for best results.
How Do I Dry My Plastic Weed Grinder After Cleaning?
Air dry your grinder completely before use. Avoid using towels that may leave fibers. Proper drying prevents mold and maintains grinder longevity.
Conclusion
Cleaning your plastic weed grinder keeps it working well and tasting fresh. Regular cleaning stops buildup and makes grinding easier. Use simple tools and mild soap for the best results. Dry the grinder fully to avoid mold and damage. Clean grinders last longer and give better performance.
Keep a routine to enjoy smooth, clean grinding every time. Small efforts make a big difference in your experience. Stay consistent and your grinder will serve you well.