

Imagine enjoying your favorite ice cream in a fresh, crispy waffle cone made by you. Sounds delicious, right?
Making waffle ice cream cones at home is easier than you think, and it lets you control every bite – from the perfect crunch to the ideal sweetness. If you want to impress your friends, save money, or just enjoy a fun kitchen project, this guide is exactly what you need.
Keep reading to discover simple steps and tips that will have you creating irresistible waffle cones in no time!
Ingredients Needed
Making waffle ice cream cones at home is fun and tasty. You only need a few simple ingredients to get started.
These ingredients create the base of your crispy, sweet cones. You can also add flavors to make them unique.
Basic Ingredients
The basic ingredients make the waffle cone batter smooth and crispy. Use fresh items for the best taste.
- All-purpose flour
- Granulated sugar
- Eggs
- Butter (melted)
- Milk
- Vanilla extract
- Salt
Optional Flavor Additions
You can add flavors to the batter to change the taste of your cones. These ingredients are not required but add a nice touch.
- Cinnamon powder for warmth and spice
- Cocoa powder for chocolate flavor
- Almond extract for a nutty hint
- Orange zest for a fresh citrus note
- Honey instead of sugar for natural sweetness
Credit: honestandtruly.com
Equipment Required
Making waffle ice cream cones at home needs some special tools. Using the right equipment helps you create perfect cones.
This guide covers the main equipment you need to start making waffle cones easily.
Waffle Cone Maker
A waffle cone maker is a machine that cooks the batter into thin, crispy waffles. It shapes the waffles into cones while they are warm.
Some waffle cone makers have adjustable temperature controls. This helps get the right texture and color for your cones.
- Electric waffle cone maker with non-stick plates
- Manual or automatic temperature control
- Easy to clean surfaces
Mixing Bowls And Utensils
You need mixing bowls to prepare the waffle cone batter. Choose bowls that are big enough to mix all ingredients without spilling.
Some useful utensils are whisks, spatulas, and measuring cups. They help mix the batter smoothly and measure ingredients accurately.
- Large mixing bowls made of glass or metal
- Whisk for mixing batter evenly
- Spatula to scrape the bowl clean
- Measuring cups and spoons for accuracy
Preparing The Batter
Making waffle ice cream cones starts with preparing the right batter. It needs to be smooth and easy to cook.
This guide helps you mix ingredients and get the perfect batter consistency for crispy cones.
Mixing Ingredients
Use fresh ingredients to ensure good flavor and texture. Mix dry and wet items carefully to avoid lumps.
- 1 cup all-purpose flour
- 2 large eggs
- 1/2 cup sugar
- 1/4 teaspoon salt
- 1/2 cup milk
- 1/4 cup melted butter
- 1 teaspoon vanilla extract
Achieving The Right Consistency
The batter should be smooth and slightly runny. Too thick batter makes hard cones. Too thin batter breaks easily.
Batter Consistency Tips:
- If batter is too thick, add milk one tablespoon at a time.
- If batter is too thin, add a small amount of flour.
- Mix gently to avoid air bubbles.
- Rest batter for 10 minutes before cooking.

Credit: honestandtruly.com
Cooking The Waffle Cones
Cooking waffle cones requires care and attention. The right heat and timing help make crispy, tasty cones.
Using a waffle maker designed for thin waffles is best. This guide focuses on cooking the cones perfectly.
Heating The Waffle Maker
Preheat the waffle maker before cooking. A fully heated surface cooks the batter evenly.
Turn the waffle maker on and wait for the ready signal. This can take 3 to 5 minutes depending on the model.
- Plug in the waffle maker
- Set the temperature to medium-high
- Wait until the indicator light shows it is hot
- Do not open the waffle maker during preheating
Cooking Time And Temperature
Cook each waffle cone for about 60 to 90 seconds. The time depends on your waffle maker’s heat.
Keep the temperature medium to medium-high. Too hot burns the waffle; too low makes it soft.
| Temperature Setting | Cooking Time | Result |
|---|---|---|
| Medium | 90 seconds | Crispy, golden brown |
| Medium-High | 60 seconds | Golden with slight crunch |
| High | Less than 60 seconds | Risk of burning |
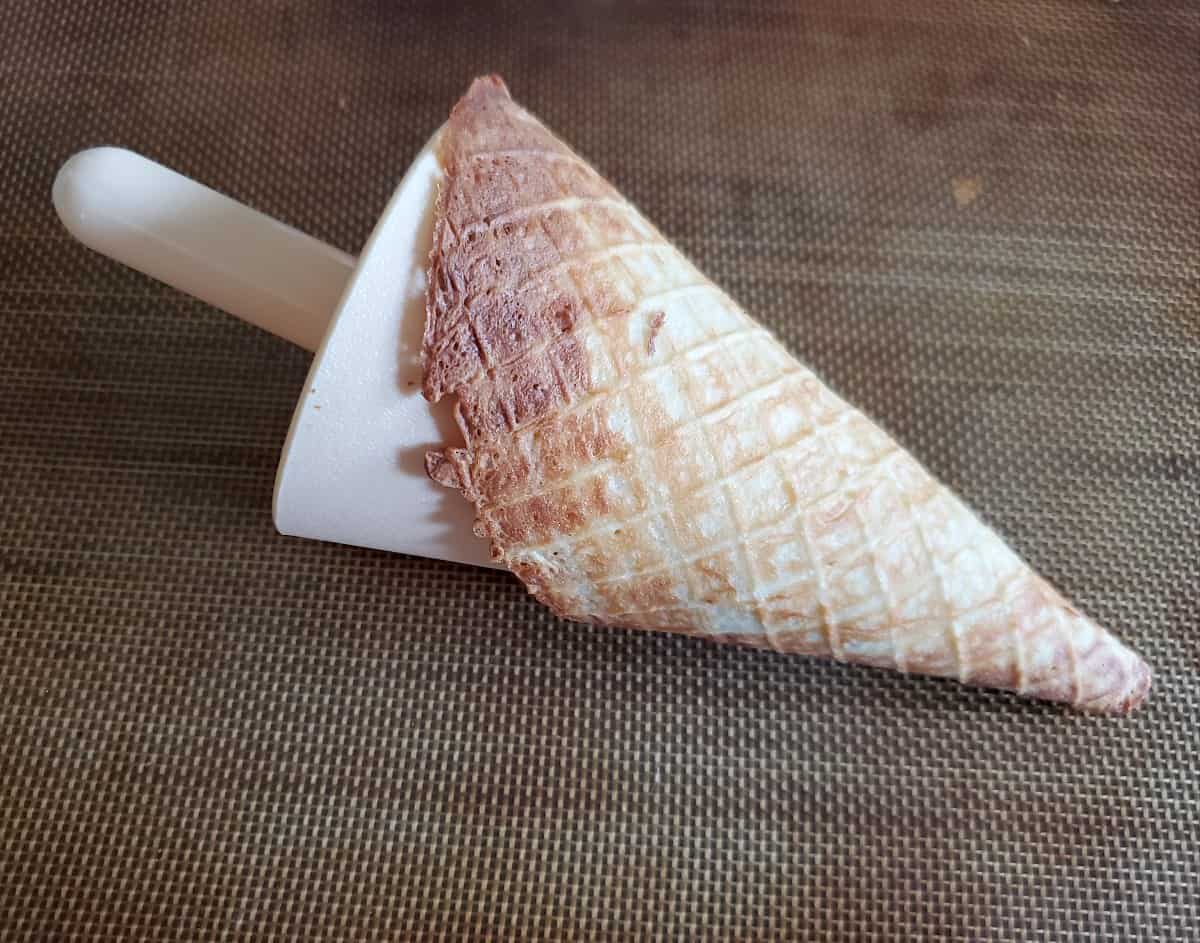
Shaping The Cones
Shaping waffle ice cream cones is a fun and important part of the process. The cones need to be rolled carefully while they are warm. This helps create a perfect cone shape that holds ice cream well.
In this section, we will focus on how to roll the cones and how to cool them properly. These steps make sure the cones keep their shape and stay crispy.
Rolling Technique
Start rolling the warm waffle from one edge. Use your fingers to shape it into a cone. Roll slowly to avoid cracking the waffle.
Press the edge lightly to seal the cone. You can use a small amount of water to help the edges stick together. Hold the cone shape for a few seconds to keep it firm.
- Roll while the waffle is warm and flexible
- Begin from one edge and roll tightly
- Use water to seal the cone edge
- Hold the cone shape for a few seconds
Cooling And Setting
After rolling, place the cones on a rack or stand to cool. Cooling helps the cone keep its shape and become crisp. Let the cones cool for at least 10 minutes.
Do not stack cones while they are warm. This can cause them to lose shape or stick together. Once cool, the cones are ready to fill with ice cream.
- Place cones on a cooling rack or stand
- Cool for at least 10 minutes
- Avoid stacking warm cones
- Cool cones become firm and crispy
Storing The Cones
Waffle ice cream cones are best kept fresh and crisp. Proper storage helps keep their texture and taste.
Storing cones correctly stops them from getting soft or stale. This guide covers short-term and long-term storage tips.
Short-term Storage
Keep waffle cones in a cool, dry place if you plan to use them soon. Avoid moisture and heat, which make cones soft.
Use an airtight container or a resealable plastic bag to protect cones from air. Do not crush or stack too many cones.
- Store at room temperature away from sunlight
- Use airtight containers or resealable bags
- Do not stack cones tightly to avoid breakage
- Avoid storing near moisture sources
Long-term Storage Tips
For longer storage, keep cones in a freezer-safe container. Freezing stops moisture and preserves freshness.
Wrap cones in parchment paper before freezing. Let cones reach room temperature before use to avoid cracks.
- Wrap cones in parchment or wax paper
- Place wrapped cones in a freezer-safe container
- Freeze for up to two months
- Let cones thaw at room temperature before use
Serving Suggestions
Waffle ice cream cones are a fun treat that you can enjoy in many ways. How you serve them can make your dessert even better.
Here are some ideas for ice cream pairings and creative toppings to try with your waffle cones.
Ice Cream Pairings
Choose ice cream flavors that taste great with the sweet, crispy waffle cone. Classic and unique flavors both work well.
- Vanilla is simple and goes with almost anything.
- Chocolate adds a rich, deep flavor.
- Strawberry gives a fresh, fruity touch.
- Mint chocolate chip offers a cool, refreshing taste.
- Salted caramel adds a sweet and salty mix.
- Cookies and cream is creamy and crunchy.
Creative Toppings
Toppings make waffle cones more exciting. You can add crunch, color, and extra flavor with simple ingredients.
- Sprinkles add color and sweetness.
- Chopped nuts give a crunchy texture.
- Mini chocolate chips melt slightly on ice cream.
- Drizzle chocolate or caramel sauce for richness.
- Fresh fruit pieces bring natural sweetness.
- Whipped cream adds a light, fluffy finish.
Troubleshooting Tips
Making waffle ice cream cones can be tricky. Some problems may happen during the process.
Knowing common issues helps you fix them and improve your cones.
Common Issues
Sometimes, waffle cones turn out too soft or too hard. They might crack or not hold their shape.
Other problems include uneven cooking or sticky batter that sticks to the iron.
Fixes And Improvements
If your cones are too soft, try cooking them longer. If they get too hard, reduce cooking time.
Use non-stick spray or brush oil on the waffle iron to stop batter from sticking.
- Adjust cooking time for the right texture
- Keep batter smooth and not too thick
- Work quickly to shape cones while warm
- Use a proper cone mold for shaping
- Clean the waffle iron often to avoid buildup

Credit: kirbiecravings.com
Frequently Asked Questions
How Do You Make Waffle Ice Cream Cones At Home?
To make waffle ice cream cones, prepare a thin waffle batter. Cook it on a hot waffle iron until golden. Quickly shape the warm waffle into a cone shape. Let it cool and harden before adding ice cream.
What Ingredients Are Needed For Waffle Ice Cream Cones?
You need flour, sugar, eggs, butter, milk, and vanilla extract. These basic ingredients create a crispy, sweet waffle cone. Adjust sugar and vanilla for extra flavor.
How Long Should Waffle Cones Cool Before Use?
Waffle cones should cool for at least 10 minutes. Cooling helps them harden and hold their shape. Avoid handling them before fully cooled to prevent cracks.
Can Waffle Cones Be Stored For Later Use?
Yes, store waffle cones in an airtight container. Keep them in a cool, dry place to maintain crispness. Use within a week for best freshness.
Conclusion
Making waffle ice cream cones at home is fun and simple. Fresh cones taste better than store-bought ones. You only need a few ingredients and a little time. Enjoy customizing your cones with different flavors and toppings. Sharing homemade cones adds joy to any dessert.
Try this recipe and bring a tasty treat to your table. Keep practicing to get the perfect crisp and shape. Making cones yourself saves money and impresses friends. Give it a go—you might never buy cones again!