
If you love quick, tasty meals that don’t keep you in the kitchen for hours, you’re going to want to try Ninja Foodi rice and beans. This simple dish packs big flavor and hearty nutrition, all made easy with your Ninja Foodi.
Imagine a perfectly cooked, fluffy rice combined with creamy, flavorful beans, ready in a fraction of the time. Whether you’re cooking for yourself, your family, or friends, this recipe will become your go-to comfort food. Keep reading to discover how you can make this delicious, fuss-free meal right in your Ninja Foodi.
Credit: temeculablogs.com
Ingredients For Ninja Foodi Rice And Beans
Making rice and beans in the Ninja Foodi is simple and tasty. Choosing the right ingredients helps create a perfect dish every time.
Below are key ingredients to prepare delicious rice and beans with your Ninja Foodi.
Choosing The Right Rice
Picking the right type of rice affects texture and cooking time. Long grain rice stays fluffy, while short grain is stickier.
- Long grain white rice for fluffy texture
- Brown rice for a nutty flavor and more fiber
- Jasmine rice for a fragrant aroma
- Basmati rice for light and separate grains
Selecting The Beans
Beans add protein and creaminess. You can use canned or dried beans, but soaking dried beans helps them cook faster.
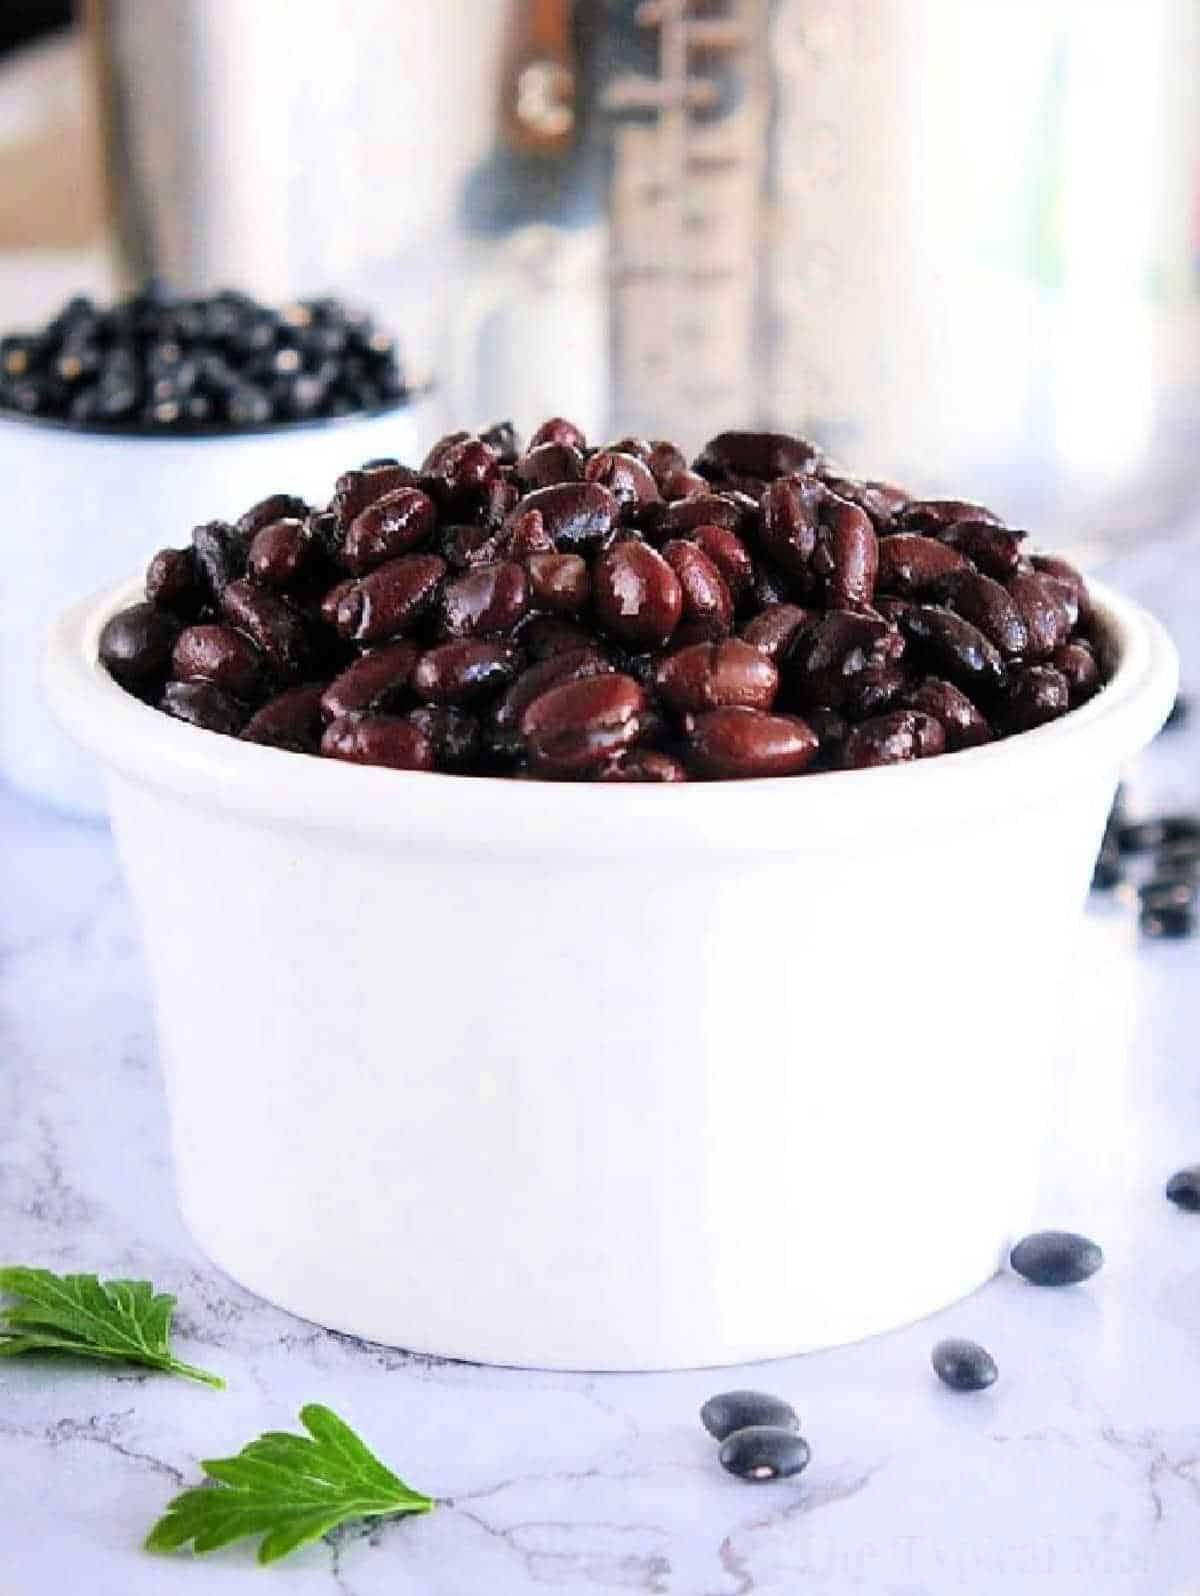
- Black beans for a rich taste
- Pinto beans for a smooth texture
- Kidney beans for a firm bite
- Red beans for a slightly sweet flavor
Essential Spices And Aromatics
| Spice/Aromatic | Purpose |
| Garlic | Adds depth and aroma |
| Onion | Provides sweetness and flavor |
| Cumin | Gives a warm, earthy taste |
| Bay leaf | Enhances overall aroma |
| Salt | Brings out flavors |
| Black pepper | Adds mild heat |
Optional Add-ins
Extra ingredients can boost flavor and texture. Use these to match your taste preference.
- Chopped bell peppers for sweetness
- Fresh cilantro for brightness
- Hot sauce for spice
- Tomato paste for richness
- Vegetable or chicken broth instead of water

Credit: temeculablogs.com
Preparing The Ninja Foodi
The Ninja Foodi is a versatile cooker that can make rice and beans easily. Before you start cooking, it is important to prepare the cooker properly. This helps you get the best results every time.
Follow these simple steps to set up your Ninja Foodi and use the sauté function safely and effectively.
Setting Up The Cooker
Make sure your Ninja Foodi is clean and placed on a flat, stable surface. Plug it into a power outlet and check that the pressure release valve is in the correct position. Add the inner pot if it is not already inside.
- Clean the inner pot and lid before use.
- Place the inner pot inside the cooker.
- Check that the pressure release valve is set to “Seal.”
- Make sure the cooker is on a flat surface.
- Plug in the power cord securely.
Using The Sauté Function
The sauté function lets you cook onions, garlic, or spices before pressure cooking. This adds flavor to your rice and beans. Use the control panel to select the sauté mode and adjust the temperature.
| Control Panel Button | Action |
| Sauté | Press to turn on the sauté function |
| Temp | Adjust to low, medium, or high heat |
| Cancel | Stop the sauté function |
After sautéing, press “Cancel” to stop the function before adding other ingredients. Always use a wooden or silicone spoon to avoid damaging the inner pot’s coating.
Step-by-step Cooking Process
Cooking rice and beans in the Ninja Foodi is easy and fast. Follow each step carefully for best results.
This guide explains how to sauté, add ingredients, set pressure time, and release pressure.
Sautéing Aromatics And Spices
Start by turning on the sauté function on your Ninja Foodi. Add oil, then cook onions, garlic, and spices until soft and fragrant.
- Heat 1 tablespoon of oil
- Add 1 chopped onion and sauté for 2-3 minutes
- Stir in 2 minced garlic cloves
- Add 1 teaspoon cumin and 1 teaspoon paprika
- Cook for another 1-2 minutes
Adding Rice And Beans
Next, add the rinsed rice and drained beans to the pot. Stir them with the sautéed aromatics to mix well.
- Use 1 cup of long-grain rice
- Add 1 cup of cooked or canned beans
- Pour 1.5 cups of water or broth
- Mix everything evenly
Setting Pressure Cooking Time
Close the lid and set the valve to sealing. Choose the pressure cook function and set the time.
| Rice Type | Pressure Cooking Time |
| White Rice | 6 minutes |
| Brown Rice | 15 minutes |
| Mixed Beans | 10 minutes |
Natural Release Vs Quick Release
After pressure cooking, you can release the pressure naturally or quickly. Each method affects the texture.
- Natural Release:Let pressure drop by itself for 10 minutes. Rice will be fluffier.
- Quick Release:Turn valve to venting to release pressure fast. Rice may be stickier.
Tips For Perfect Texture And Flavor
Cooking rice and beans in a Ninja Foodi can be quick and easy. Getting the right texture and flavor needs some care. Follow these tips to improve your dish.
The Ninja Foodi uses pressure and heat to cook fast. Balancing liquid and seasoning helps make your rice and beans tasty and soft.
Adjusting Liquid Ratios
Liquid amount controls how soft or firm your rice and beans turn out. Too much water makes it mushy. Too little leaves it hard.
Start with the basic ratio and change it depending on your beans and rice type. Soak beans before cooking to reduce needed liquid.
- Use 1 cup rice to 1¼ cups liquid for white rice
- Add ¼ to ½ cup extra liquid for beans
- Soak beans for 4-6 hours to soften
- Check after cooking and let sit to absorb liquid
Flavor Boosters
Add spices and aromatics to make your rice and beans taste better. Use fresh herbs, garlic, and onions to add depth.
Season early so flavors blend well. Use broth instead of water for more taste. Add acid like lime or vinegar after cooking for brightness.
- Sauté onions and garlic before cooking
- Use chicken or vegetable broth instead of water
- Add cumin, paprika, or chili powder for spice
- Finish with fresh cilantro or parsley
- Squeeze lime juice after cooking
Avoiding Common Mistakes
Many cooks add too much or too little water. This causes bad texture. Do not skip rinsing rice and beans to remove starch and dirt.
Do not open the lid too soon. Let the pressure release naturally for best results. Stir gently after cooking to keep grains separate.
- Rinse rice and beans before cooking
- Measure liquids carefully
- Do not open the lid early
- Let pressure release naturally
- Stir gently after cooking
Serving Suggestions
Ninja Foodi rice and beans are a tasty and easy side dish. You can enjoy them in many ways.
Try different toppings and pairings to make your meal special. You can also save leftovers for later.
Garnishes And Toppings
Adding garnishes and toppings can enhance the flavor and texture of your rice and beans. Fresh ingredients work best.
- Chopped cilantro for a fresh, herbal taste
- Diced green onions to add a mild crunch
- Shredded cheese for a creamy touch
- Avocado slices to add creaminess and richness
- Fresh lime wedges for a bright, tangy flavor
- Crumbled bacon for a smoky, savory note
- Hot sauce or sliced jalapeños for some heat
Pairing With Main Dishes
Ninja Foodi rice and beans go well with many main dishes. They add a hearty and filling side to your plate.
Try pairing rice and beans with grilled meats, seafood, or vegetarian options. They balance the flavors nicely.
- Grilled chicken or steak for a protein-rich meal
- Fried or baked fish for a light, tasty combo
- Roasted vegetables to keep it vegetarian
- Tacos or burritos for a Mexican-inspired dinner
- Barbecue ribs or pulled pork for smoky flavors
Storing And Reheating Leftovers
Store leftover rice and beans in an airtight container. Keep them in the refrigerator for up to four days.
Reheat leftovers in the microwave or on the stove. Add a splash of water to keep the rice moist.
- Microwave on high for 1-2 minutes, stirring halfway
- Heat in a pan over medium heat until warm
- Add a little water or broth to prevent drying out
- Do not refreeze leftovers once thawed

Credit: www.oldecastlebar.com
Frequently Asked Questions
How Do I Cook Rice And Beans In Ninja Foodi?
To cook rice and beans in Ninja Foodi, rinse rice and beans. Add water and seasonings. Use the pressure cook function for 20 minutes. Allow natural pressure release for best texture.
What Type Of Beans Work Best For Ninja Foodi?
Dry beans like black, pinto, or kidney beans work best. Soak beans for 6-8 hours before cooking. This helps reduce cooking time and improve texture.
Can I Cook Rice And Beans Together In Ninja Foodi?
Yes, you can cook rice and beans together. Use the right water ratio and pressure settings. This saves time and creates a flavorful one-pot meal.
How Do I Prevent Rice From Sticking In Ninja Foodi?
Rinse rice thoroughly before cooking to remove excess starch. Add a little oil or butter to the pot. Avoid stirring during cooking to prevent sticking.
Conclusion
Ninja Foodi makes cooking rice and beans quick and easy. You save time and get tasty results every time. This method fits well into busy days and simple meals. Try different beans and spices to find your favorite mix. Cooking at home can be fun and healthy with Ninja Foodi.
Enjoy a warm, filling dish with little effort. Give this recipe a chance and enjoy great food fast.