
You’ve invested in a fantastic outdoor kitchen grill, and you want it to last through every season. But harsh weather, rain, and humidity can quickly damage your grill and outdoor setup.
How do you keep your grill safe and working perfectly, no matter the weather? This guide will show you simple, effective ways to waterproof your outdoor kitchen grill. By following these steps, you’ll protect your investment and enjoy worry-free cooking outside all year long.
Keep reading to discover the must-know tips that will save you time, money, and frustration.
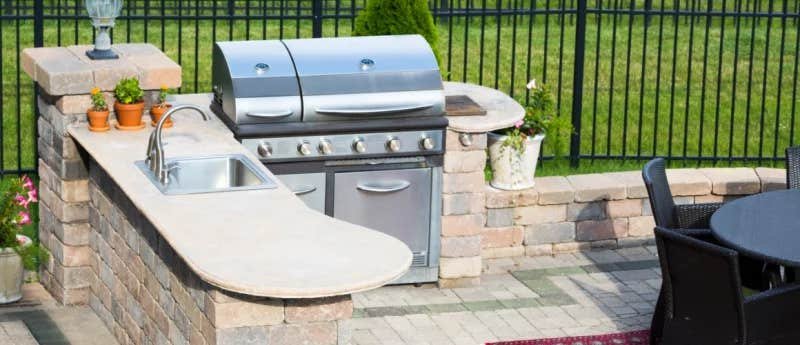
Choosing Waterproof Materials
Outdoor kitchens need materials that resist water damage. Choosing the right materials helps protect your grill and countertops.
Waterproof materials last longer and keep your outdoor kitchen looking good through rain and moisture.
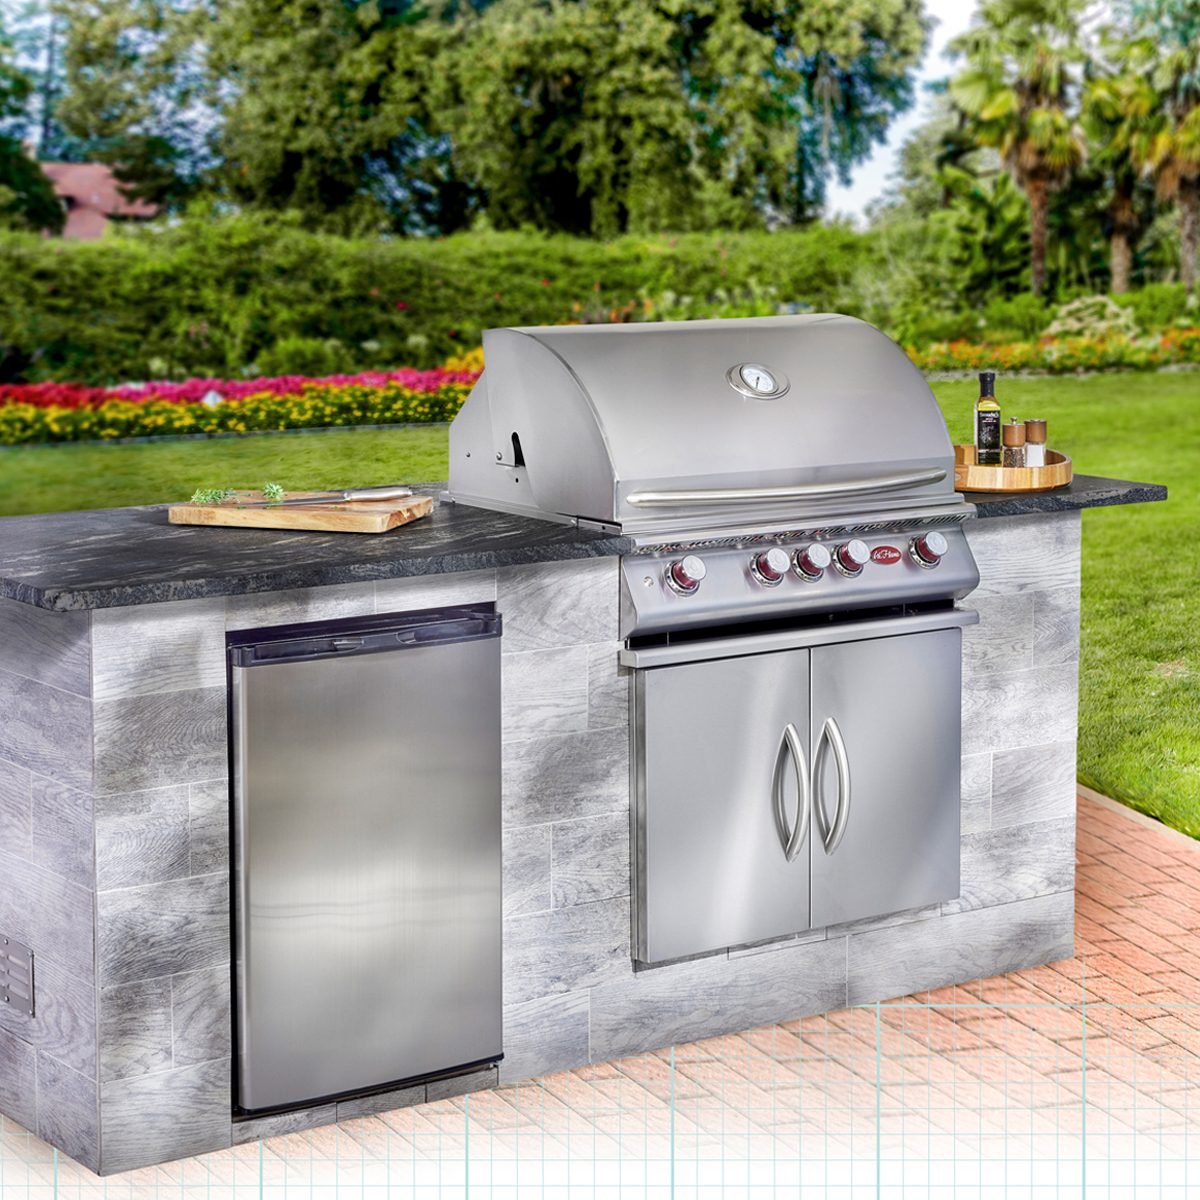
Best Waterproof Grills
Pick grills made from stainless steel or coated with rust-resistant finishes. These materials handle water and humidity well.
- Stainless steel grills resist rust and corrosion
- Cast aluminum grills are lightweight and water-resistant
- Grills with powder-coated surfaces add extra protection
- Look for grills with sealed control panels to prevent water entry
Water-resistant Countertops
Choose countertops made from materials that do not absorb water easily. These keep your kitchen clean and dry.
| Material | Water Resistance | Notes |
| Granite | High | Needs sealing to stay water-resistant |
| Quartz | Very High | Non-porous and easy to clean |
| Concrete | Medium | Must be sealed to prevent water absorption |
| Tile | High | Grout needs sealing to avoid water damage |
Sealants For Outdoor Kitchens
Sealants protect surfaces from water damage. Use them on grills, countertops, and cabinets.
- Silicone sealants provide flexible waterproofing
- Polyurethane sealants offer strong, long-lasting protection
- Acrylic sealants are easy to apply and dry quickly
- Reapply sealants every 1-2 years for best results

Credit: www.amazon.ca
Prepping The Grill Area
Preparing your outdoor kitchen grill is key before waterproofing it. A clean and dry surface keeps moisture away and protects your grill parts.
Check every area carefully to ensure the best results. Fix any damage and remove dirt or rust to make the surface ready for waterproofing.
Cleaning And Drying The Surface
Start by cleaning the grill surface with warm water and mild soap. Remove grease, food particles, and dust to prepare for sealing.
- Use a soft brush or cloth to scrub the surface gently.
- Rinse thoroughly to remove soap residue.
- Dry the area completely with a clean towel or let it air dry in the sun.
Inspecting For Damage
Look over the grill for any cracks, holes, or loose parts. Damage can let water in and cause rust or other problems later.
| Type of Damage | Signs to Check | Action Needed |
| Cracks | Visible splits or breaks in the surface | Seal with waterproof filler or replace parts |
| Loose Parts | Wobbly knobs, handles, or panels | Tighten screws or replace hardware |
| Holes | Small openings or punctures | Patch with metal or waterproof sealant |
Removing Rust And Debris
Rust weakens metal and lets water damage the grill. Removing rust keeps your grill strong and ready for protection.
Follow these steps to remove rust and debris:
- Use a wire brush or sandpaper to scrub off loose rust.
- Wipe the area with a damp cloth to clear dust and debris.
- Apply a rust remover or vinegar to stubborn rust spots.
- Rinse and dry the surface fully before waterproofing.
Applying Waterproof Sealants
Protecting your outdoor kitchen grill from water damage keeps it working longer. Applying waterproof sealants is a smart way to stop moisture from causing rust or wear. This guide explains how to choose and apply the right sealants.
Using the correct sealant and following the right steps helps your grill resist rain, spills, and humidity. Pay attention to drying and curing times for the best results.
Types Of Sealants
Different sealants work well for outdoor kitchen grills. Choose based on the material and exposure level. Common types include silicone, polyurethane, and acrylic sealants.
- Silicone Sealants:Flexible and waterproof, great for metal and stone surfaces.
- Polyurethane Sealants:Durable and strong, good for heavy-duty weather protection.
- Acrylic Sealants:Easy to apply and paintable, best for less exposed areas.
- Hybrid Sealants:Combine qualities of silicone and polyurethane for extra strength.
Step-by-step Application
Follow these steps to apply your chosen sealant correctly and protect your grill well.
- Clean the grill surface thoroughly. Remove dirt, grease, and old sealant.
- Dry the surface completely before applying any sealant.
- Apply painter’s tape around areas you want to protect from sealant.
- Use a caulking gun or brush to apply the sealant evenly along seams and cracks.
- Smooth the sealant with a wet finger or tool for a neat finish.
- Remove painter’s tape carefully before the sealant dries.
Drying And Curing Times
Sealants need time to dry and cure to form a strong waterproof layer. Times vary by product and weather conditions.
| Sealant Type | Drying Time | Curing Time |
|---|---|---|
| Silicone | 30 minutes to 1 hour | 24 to 48 hours |
| Polyurethane | 2 to 4 hours | 3 to 7 days |
| Acrylic | 1 to 2 hours | 24 hours |
| Hybrid | 1 to 3 hours | 48 hours |

Credit: woodlarkgardenluxury.co.uk
Protecting Electrical Components
Outdoor kitchens need special care for electrical parts. Water can damage outlets, lights, and wiring. Protecting these parts keeps your grill safe and working.
Use simple steps to stop water from reaching electrical components. This helps avoid shocks and power problems.
Waterproofing Outlets And Lights
Outdoor outlets and lights must stay dry to work well. Use waterproof covers made for outdoor use. These covers block rain and splashes from getting inside.
Install outlets and lights in places that do not hold water. If possible, place them under a roof or awning to reduce direct exposure.
- Choose outdoor-rated waterproof outlet covers
- Seal around outlet boxes with silicone caulk
- Use waterproof light fixtures designed for outdoors
- Place electrical parts away from direct rain or spray
Using Weatherproof Covers
Weatherproof covers protect electrical parts from rain, dust, and dirt. They fit tightly and keep water out. Use them on all outdoor electrical boxes.
Make sure covers close securely and use covers rated for outdoor use. Check covers often for cracks or damage and replace if needed.
- Pick covers made from durable materials like plastic or metal
- Look for covers with rubber gaskets for a better seal
- Use covers that allow you to use outlets without removing the cover
- Regularly inspect covers for wear and tear
Safe Wiring Practices
Use safe wiring methods to keep electricity from causing hazards. Outdoor wiring should be rated for wet locations. Protect wires with conduit or tubing.
Hire a licensed electrician if you are not sure about wiring. Proper grounding and circuit breakers add extra safety.
- Use outdoor-rated cables and wires
- Place wires inside protective conduits
- Ensure all connections are tight and sealed
- Install ground fault circuit interrupters (GFCIs)
- Follow local electrical codes and standards
Maintaining Your Waterproof Grill
Keeping your outdoor kitchen grill waterproof helps it last longer. Regular care stops water damage and rust.
Simple maintenance steps keep your grill ready for any weather. This guide covers important care tips.
Regular Inspections
Look over your grill often to find any damage. Check seals, joints, and metal parts for cracks or rust.
Early repairs stop small problems from getting bigger. Use a flashlight to see hard spots clearly.
- Check the grill cover and seams
- Look for rust or broken parts
- Inspect drain holes and vents
- Test door and lid seals
Cleaning After Rain
After rain, dry your grill quickly. Water left on the surface can cause rust and damage.
Wipe down metal and wood parts with a soft cloth. Remove dirt and debris from all corners.
- Use a dry towel to remove water
- Clear out debris from vents and shelves
- Check under grill for standing water
- Open lids to air out moisture
Reapplying Sealants
Sealants keep water from seeping into your grill parts. Reapply them once a year or after damage.
Clean the surface before adding new sealant. Follow product instructions to get the best waterproof layer.
- Use high-quality waterproof sealant
- Apply sealant evenly on all joints
- Allow sealant to dry fully before use
- Check sealant condition regularly
Additional Waterproofing Tips
Keeping your outdoor kitchen grill dry helps it last longer. Water can cause rust and damage parts. Use extra steps to protect your grill from rain and moisture.
Simple waterproofing tips can save you money on repairs. These tips help keep your cooking area clean and ready to use anytime.
Using Grill Covers
Grill covers block rain and dust from reaching your grill. Choose a cover made from waterproof material. Make sure the cover fits your grill tightly to stop water from getting inside.
Use the cover every time you finish cooking. This simple step keeps your grill dry and clean. Wash the cover regularly to keep it working well.
- Pick covers with waterproof fabric
- Check the size before buying
- Secure the cover with straps or ties
- Clean the cover often to avoid mold
Installing Drainage Systems
Water can pool around your grill if the area has poor drainage. Adding a drainage system helps water flow away quickly. This stops water from sitting near your grill and causing damage.
Drainage systems include pipes, trenches, or gravel beds. Place them near your grill to guide water away. This keeps the cooking space dry and safe.
- Install a French drain or gravel trench
- Use sloped surfaces for better water flow
- Check drainage paths regularly for blockages
- Keep gutters clean to avoid overflow near the grill
Positioning For Shelter
Place your outdoor kitchen grill in a sheltered spot. A covered patio or gazebo protects it from rain and sun. Good positioning reduces water contact and heat damage.
If you don’t have a shelter, build a simple roof or use an umbrella. Avoid placing the grill under trees where sap or leaves can fall on it. Find a spot with good airflow to keep the area dry.
- Choose a covered or shaded area
- Build a roof or canopy if needed
- Keep grill away from trees and plants
- Ensure good air circulation around the grill
Credit: www.familyhandyman.com
Frequently Asked Questions
How Do I Waterproof An Outdoor Kitchen Grill?
Start by applying a high-quality water sealant designed for grills. Clean the surface thoroughly before sealing. Use covers and weatherproof materials to protect your grill from moisture and rain.
What Materials Are Best For Waterproofing Outdoor Grills?
Use water-resistant sealants, stainless steel, and weatherproof covers. Silicone-based sprays and marine-grade sealants offer excellent moisture protection for grill surfaces and components.
How Often Should I Waterproof My Outdoor Grill?
Waterproof your grill at least once a year, ideally before the rainy season. Regular maintenance ensures long-lasting protection against rust and water damage.
Can Waterproofing Prevent Rust On Outdoor Grills?
Yes, waterproofing creates a barrier that blocks moisture. This significantly reduces rust formation and extends the grill’s lifespan.
Conclusion
Protecting your outdoor kitchen grill keeps it safe from rain and rust. Use waterproof covers and sealants for better protection. Clean the grill regularly to avoid dirt buildup. Store tools and accessories in dry places. These simple steps extend your grill’s life.
Enjoy cooking outside without worrying about weather damage. Keep your grill ready for every barbecue season. Small efforts make a big difference in maintenance. Stay prepared and enjoy your outdoor cooking space longer.