
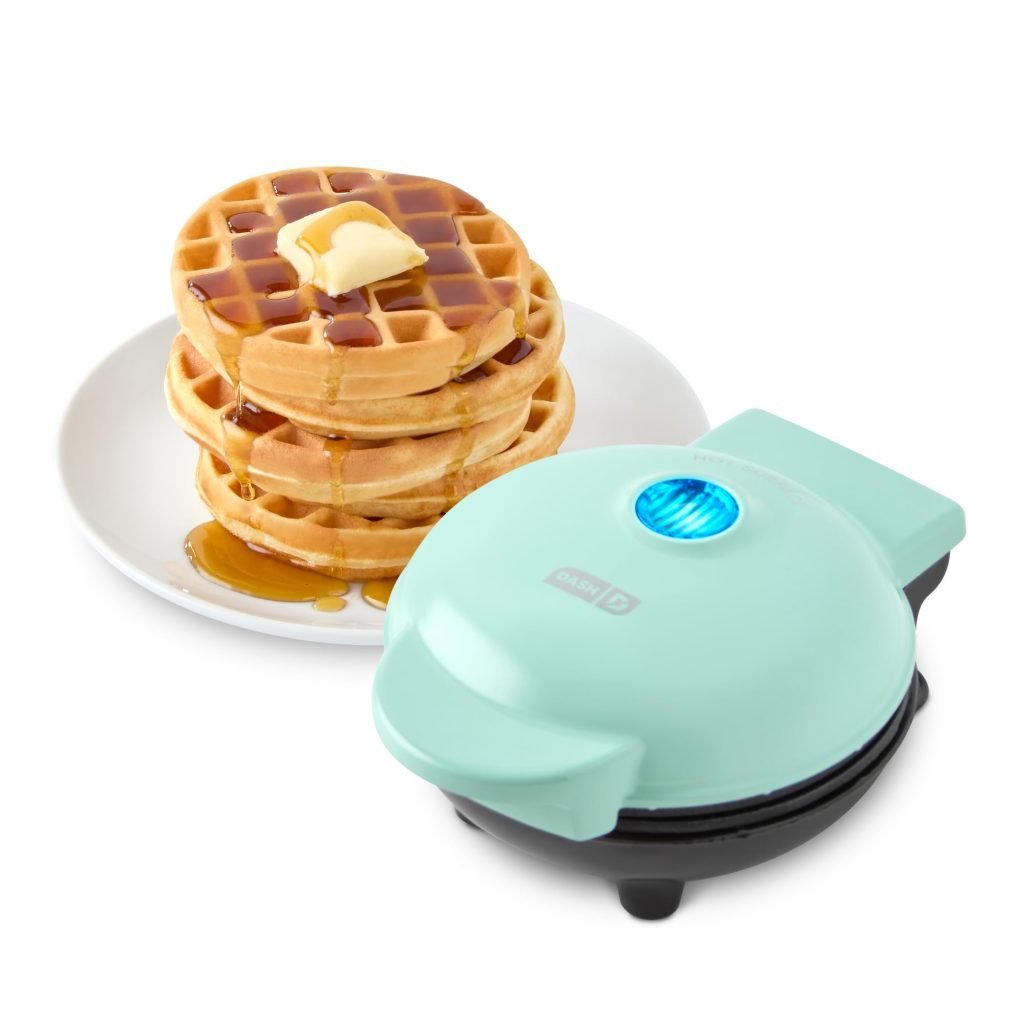
Imagine waking up to the aroma of warm, golden waffles wafting through your home. With a mini waffle maker, this delightful breakfast dream can become your reality.
But how do you make the most out of this tiny culinary powerhouse? You might be wondering if it’s as simple as it seems, or if there’s a secret to crafting the perfect waffle. You’re in the right place. This guide will walk you through everything you need to know to master your mini waffle maker.
By the end of this article, you’ll be surprising yourself with how effortlessly you can whip up delicious waffles that everyone will love. Ready to become a breakfast hero in your own kitchen? Let’s get started!

Credit: www.amazon.com
Choosing The Right Mini Waffle Maker
Choose a mini waffle maker with non-stick plates. Non-stick makes cleaning easy. Look for a compact design. It saves space in your kitchen. Indicator lights are helpful. They show when the waffle is ready. Adjustable temperature settings allow you to control how crispy you want your waffles. A cool-touch handle keeps your hands safe. Cord storage is a plus. It keeps your counter tidy.
- Dash – Known for colorful options and easy use.
- Cuisinart – Offers durable models with great features.
- Nostalgia – Perfect for fun and unique designs.
- Black+Decker – Reliable and affordable choices.
- Hamilton Beach – Offers practical features at a good price.
Preparing Your Ingredients
Gather all your waffle-making ingredients before starting. Measure each item carefully to ensure perfect waffles. Keep everything within reach for smooth cooking.
Basic Batter Recipe
Mix one cup of flourwith two tablespoons of sugar. Add one teaspoon of baking powderand a pinch of salt. In another bowl, whisk one eggwith half cup of milk. Pour egg and milkinto the flour. Stir until smooth. Add two tablespoons of melted butter. Mix well.
Creative Add-ins
- Chocolate chipsfor a sweet bite.
- Blueberriesfor a fruity twist.
- Chopped nutsfor a crunchy texture.
- Cinnamonfor a warm flavor.
Setting Up Your Mini Waffle Maker
Plug in your mini waffle maker and let it preheat. Pour the batter onto the center of the grid. Close the lid and wait a few minutes until the waffle is cooked. Carefully remove your delicious waffle and enjoy!
Preheating Tips
Plug in your mini waffle maker. Wait for the light to turn on. This means it’s heating up. Preheating is important for crispy waffles. Always wait until the light turns off. This shows it is ready to use. Preheating takes about 5 minutes. Be patient for the best results.Greasing The Plates
Use a brush to spread a little oil. A small amount is enough. Grease keeps waffles from sticking. You can use butter too. Avoid using too much. Too much grease makes waffles soggy. Make sure to cover the whole plate. This helps in easy waffle removal. `Cooking The Perfect Waffle
Cooking the perfect waffle with a mini waffle maker is simple and fun. Preheat the waffle maker and pour the batter evenly. Wait until golden brown and crisp.
Pouring The Batter
Start by mixing your favorite waffle batter. Make sure it’s smooth without lumps. Open the mini waffle maker carefully. Pour the batter in the center using a ladle. Fill it until it covers the grid but not too full. Close the lid gently. This helps the waffle cook evenly.
Cooking Time And Techniques
Watch the indicator lightclosely. Wait until it turns off or changes color. This means the waffle is cooked. Cooking usually takes around three to five minutes. Different batters may need different times. Use a wooden spatula to remove the waffle. Be careful, it’s hot! Enjoy your perfect waffle while it’s warm.
Removing And Serving Waffles
Let the waffles cool for a moment before touching them. Use a silicone spatula to gently lift waffles. Avoid using metal utensils; they can scratch the surface. Be cautious of the hot steam escaping. Hold the spatula at an angle for easy lifting. Slide the spatula under the waffle from the side. Carefully place on a plate for serving.
- Top with fresh fruits like strawberries or bananas.
- Add a dollop of whipped cream for extra sweetness.
- Drizzle maple syrup or chocolate sauce over the waffles.
- Pair with a scoop of vanilla ice cream for a treat.
- Serve with bacon or sausage for a hearty meal.

Credit: www.youtube.com
Cleaning And Maintenance
Unplug the mini waffle maker. Let it cool down. Use a damp cloth to wipe the surfaces. Avoid harsh cleaners; they can damage the maker. Clean the grooves gently. Use a soft brush to remove crumbs. Always check for leftover batter. Make sure it’s fully clean before storing. Regular cleaning keeps it working well.
Find a dry, cool place for storage. Keep it away from moisture. Use its original box if available. It protects the maker. Ensure the cord is wrapped neatly. It prevents tangling. Store it upright if possible. This saves space. Always check it is unplugged before storing.
Troubleshooting Common Issues
Mini waffle makers often encounter issues such as uneven cooking or batter sticking. To resolve these, ensure proper preheating and use non-stick spray. For consistent results, evenly distribute batter and clean the waffle plates thoroughly after each use.
Undercooked Waffles
Undercooked waffles can be a problem. Ensure the mini waffle maker is preheated. This helps in even cooking. Pour the right amount of batter. Too much batter leads to uneven cooking. Close the lid tightly for best results. Check the cooking time. Follow the instructions in the manual. If waffles are still undercooked, try cooking a bit longer. Make sure the batter isn’t too thick. Thick batter takes longer to cook.
Sticking Problems
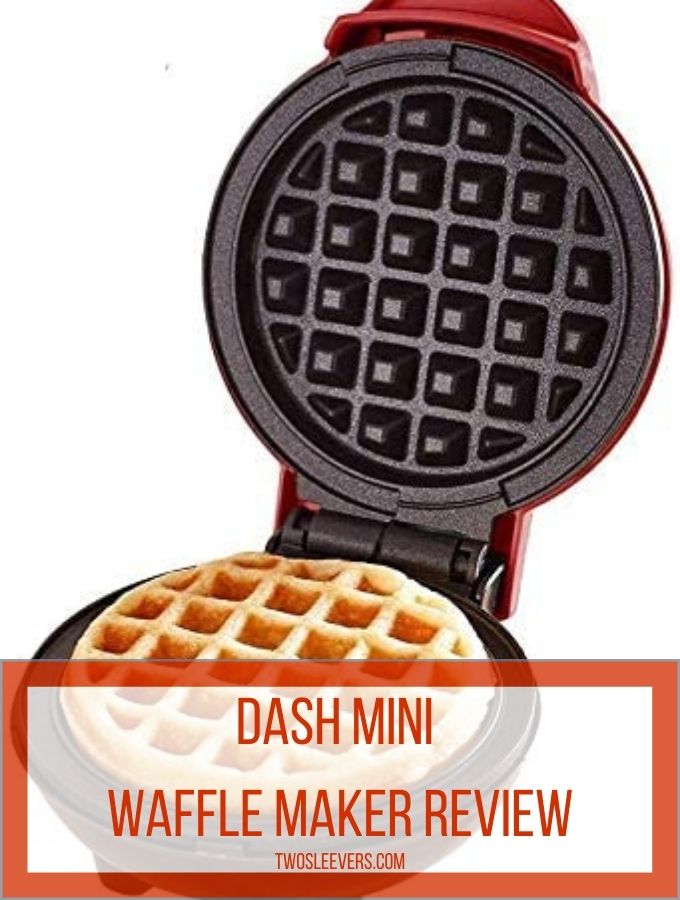
Waffles sticking to the plates is frustrating. Grease the plates lightly before use. Use a non-stick spray or a bit of oil. Don’t use too much batter. Excess batter causes sticking. Clean the waffle maker after each use. Remove any leftover crumbs. This prevents future sticking. If problems persist, check if the non-stick coating is damaged. Damaged coating needs replacing for best results.
Credit: twosleevers.com
Frequently Asked Questions
Do You Need To Spray A Mini Waffle Maker?
Yes, you should spray a mini waffle maker with non-stick cooking spray. This prevents sticking and ensures easy waffle removal. Always spray before preheating for best results. Use a light coating to avoid residue buildup. Non-stick spray helps maintain the maker’s surface and extends its lifespan.
How Long Do You Keep A Waffle In A Mini Waffle Maker?
Cook waffles in a mini waffle maker for 3-5 minutes until golden brown. Check for desired crispness. Adjust cooking time based on batter thickness and preference. Always follow the manufacturer’s instructions for best results and safety. Enjoy your perfectly cooked waffle!
How Much Batter Do You Put In A Dash Mini Waffle Maker?
Use about 2-3 tablespoons of batter for a dash mini waffle maker. Ensure the batter covers the bottom evenly. Avoid overfilling to prevent spilling. Adjust the amount slightly depending on the batter’s consistency. Enjoy perfectly cooked mini waffles with the right amount of batter.
How To Use A Waffle Maker Step By Step?
Preheat the waffle maker and lightly coat with non-stick spray. Pour batter evenly onto the grid. Close the lid and cook until steam stops. Carefully remove the waffle using a spatula. Repeat with remaining batter. Enjoy your perfectly cooked waffles.
Conclusion
A mini waffle maker is easy and fun to use. With simple steps, you can create delicious waffles at home. Just mix your batter and pour it in. Close the lid and wait. In minutes, you have tasty waffles. Experiment with flavors and toppings for variety.
Perfect for breakfast or snacks. Easy cleanup makes it convenient. Enjoy making waffles and share them with family. A mini waffle maker adds joy to any kitchen. Try it today and see the smiles it brings.