

Are you tired of finding your carving sets scattered around the kitchen or worried about their safety? You’re not alone.
Keeping your carving tools in good condition is crucial, not just for maintaining their sharpness but also for ensuring the safety of your household. Imagine reaching for a carving knife and finding it dull or, worse, causing an accident because it wasn’t stored properly.
That’s a scenario no one wants. In this guide, you’ll discover simple yet effective tips to store your carving sets safely and conveniently. Stick around to learn how you can protect your investment and keep your kitchen organized. Your peace of mind is just a few steps away.
Choosing The Right Storage
Choosing the right storagefor carving sets protects the tools and keeps them sharp. Different materialsoffer various benefits. Wood cases look classic and absorb moisture. Plastic boxes are lightweight and easy to clean. Metal containers are strong but may rust if not dry.
Size matters. Storage should fit all pieces without crowding. Too tight can dull blades. Too loose lets tools move and get damaged. Think about the space where you keep the set.
Portability is key if you move your tools often. Look for cases with handles or compact designs. Lightweight options ease carrying but still protect tools well.
Cleaning Before Storage
Carving sets must be free of food residuebefore storage. Use warm water and mild soap to clean each piece gently. Avoid harsh scrubbing to protect the blades.
Drying is very important to stop rust. Use a soft cloth to dry the tools completely. Let them air dry for a few minutes to ensure no moisture remains.
| Preventing Rust Tips |
|---|
| Apply a thin layer of food-safe oil to metal parts. |
| Store knives in a dry place away from humidity. |
| Use a knife block or protective sheath for storage. |
Protecting The Blades
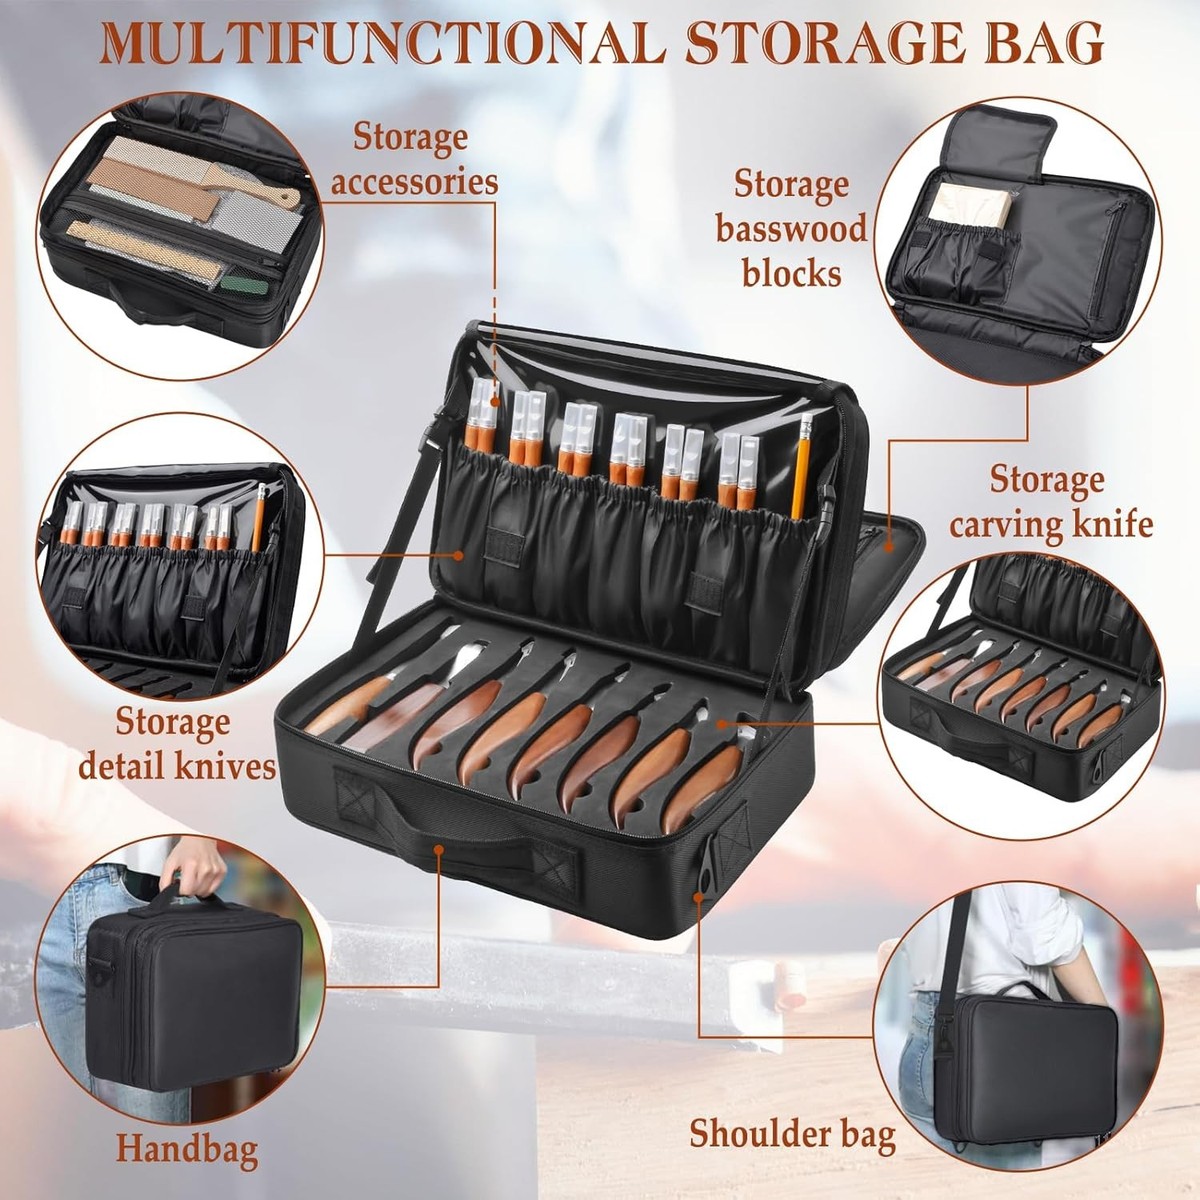
Blade guardshelp keep carving blades safe and sharp. They stop the blades from touching hard surfaces that can dull or damage them. Use covers made from plastic or leather for better protection.
Protective oilsprevent rust and corrosion on metal blades. Apply a thin layer of oil after cleaning and drying the blades. This keeps moisture away and extends the blade life.
Regular sharpeningkeeps blades sharp and effective. Use a sharpening stone or tool made for carving blades. Check for any damage or dull spots and fix them quickly to avoid accidents.
Cleaning and drying blades before storage avoids rust. Store carving sets in a dry, cool place. Avoid leaving blades exposed to air and moisture.
Credit: www.ebay.com
Organizing Your Carving Set
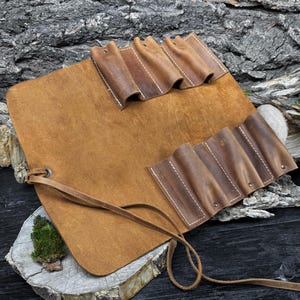
Keep your carving tools neatly arranged to find them quickly. Use a tool rack or a tray with separate slots for each piece. This stops tools from touching and keeps them safe.
Label each slot or section with the tool’s name or use color codes. This helps you pick the right tool fast and avoids confusion.
| Tool Type | Storage Tip | Reason |
|---|---|---|
| Knives | Use blade guards or sheaths | Protect sharp edges and prevent cuts |
| Gouges | Store in padded slots | Stop damage to curved edges |
| Mallets | Keep separate from metal tools | Prevent dents and scratches |
Ideal Storage Environments
Maintaining the right temperature and humidityis key for carving sets. Too much moisture can cause rust and damage. A dry place with stable temperatureprotects metal parts well.
Avoid direct sunlight. Sunlight can fade handlesand weaken materials. Keep carving sets in shaded areasto keep them strong and looking good.
- Store sets in a closed box or caseto keep dust away.
- Place them away from heat sourceslike radiators or ovens.
- Choose a spot with low humidity, like a closet or drawer.
Credit: www.etsy.com
Long-term Storage Tips
Check your carving sets often to keep them in good shape. Look for rust or damage every few months. This helps catch problems early and avoid bigger issues.
Apply a thin layer of oil or protective spray to the metal parts. This stops rust and keeps blades sharp. Use food-safe oils if you use the tools for cooking.
- Keep the oil layer thin and even.
- Wipe off any extra oil before storing.
- Repeat this every few months for best results.
Handle your carving sets with care after storage. Avoid dropping or banging them. Clean blades gently before use to remove any dust or residue.

Credit: www.familyhandyman.com
Frequently Asked Questions
How Should I Clean Carving Sets Before Storage?
Clean carving sets with warm, soapy water after each use. Dry thoroughly to prevent rust and damage before storing.
What Is The Best Container For Storing Carving Sets?
Use a sturdy case or wooden block with slots to keep blades protected and organized. Avoid loose storage to prevent accidents.
Can I Store Carving Sets In A Humid Environment?
No, avoid humid places as moisture causes rust. Store sets in a dry, well-ventilated area to maintain sharpness and longevity.
How Often Should Carving Sets Be Sharpened During Storage?
Sharpen carving sets before storage if dull. Regularly check and sharpen every few months to keep edges effective.
Conclusion
Storing carving sets safely keeps them sharp and ready to use. Use protective cases or holders to avoid damage and accidents. Keep the tools dry to stop rust and wear. Store sets in a place that is out of reach from children.
Regular care extends the life of your carving tools. Safe storage means less worry and more enjoyment while crafting. Simple steps make a big difference in tool maintenance. Remember, good habits protect your tools and your hands.