
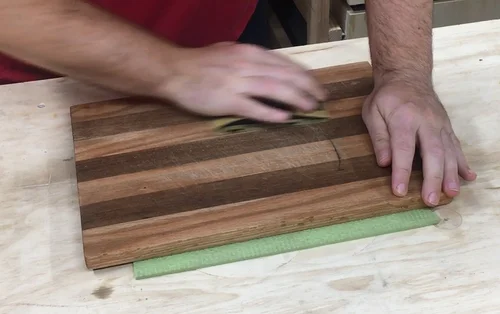
Have you ever looked at your cutting board and wondered how to bring it back to its original smooth and shiny state? Over time, cutting boards can become scratched, stained, and dull.
But with the right techniques, you can make yours look brand new. Sanding a cutting board might seem like a daunting task, but it’s simpler than you think. Imagine the satisfaction of turning a worn-out board into a gleaming kitchen tool once again.
In this guide, you’ll discover easy steps to sand your cutting board, enhancing both its appearance and functionality. Stick around to learn how a little elbow grease can make a big difference in your kitchen.
Credit: www.coatingsworld.com
Choosing The Right Sandpaper
Sandpaper grit levelsshow how coarse or fine the paper is. Lower numbers like 80 or 100 mean coarse grit. They remove rough spots fast but leave scratches. Higher numbers like 220 or 320 mean fine grit. They smooth the board without much damage. Start with coarse grit to fix deep cuts or stains. Then switch to medium grit to even the surface. Finish with fine grit for a smooth feel.
Recommended sandpaper typesinclude aluminum oxide and silicon carbide. Aluminum oxide is tough and lasts long. It works well on hardwood boards. Silicon carbide is sharper and good for softwoods. It also handles wet sanding well. Avoid sandpaper with too low grit; it can damage the board. Use sandpaper made for wood for best results.
Preparing The Cutting Board
Start by washing the cutting board with warm, soapy water. Rinse it well to remove all soap. Dry the board completely using a clean towel or let it air dry. A dry surface helps sanding work better and safer.
Check the board for cracks, deep cuts, or loose pieces. Small cracks can trap bacteria and should be fixed or avoided. Deep cuts may need extra sanding or repair. Remove any dirt or debris stuck in the cracks before sanding.
Sanding Techniques
Start by using coarse sandpaper to remove rough spots on the cutting board. Gradually switch to finer grits for a smooth, even surface. Always sand along the wood grain to prevent scratches and keep the board safe for food use.
Hand Sanding Tips
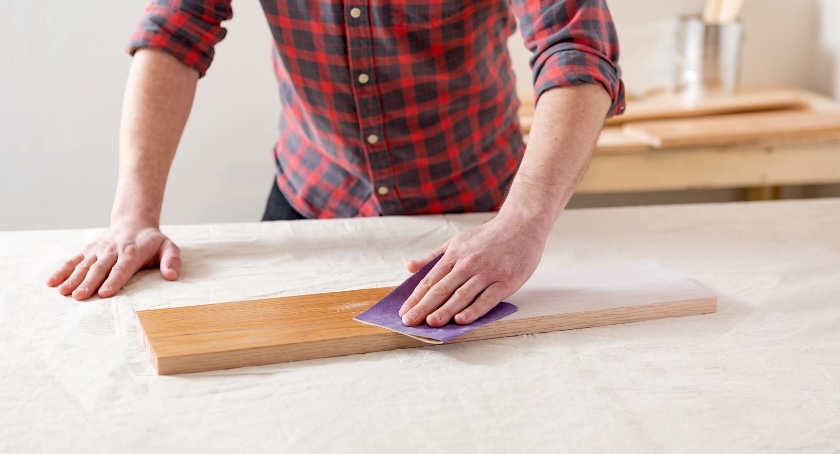
Use fine-grit sandpaperto avoid deep scratches. Wrap it around a sanding block for better control. Sand in the direction of the wood grain. Apply even pressure to get a smooth surface. Check your progress by feeling the board with your hand. Clean the dust with a damp cloth before finishing.
Using A Power Sander
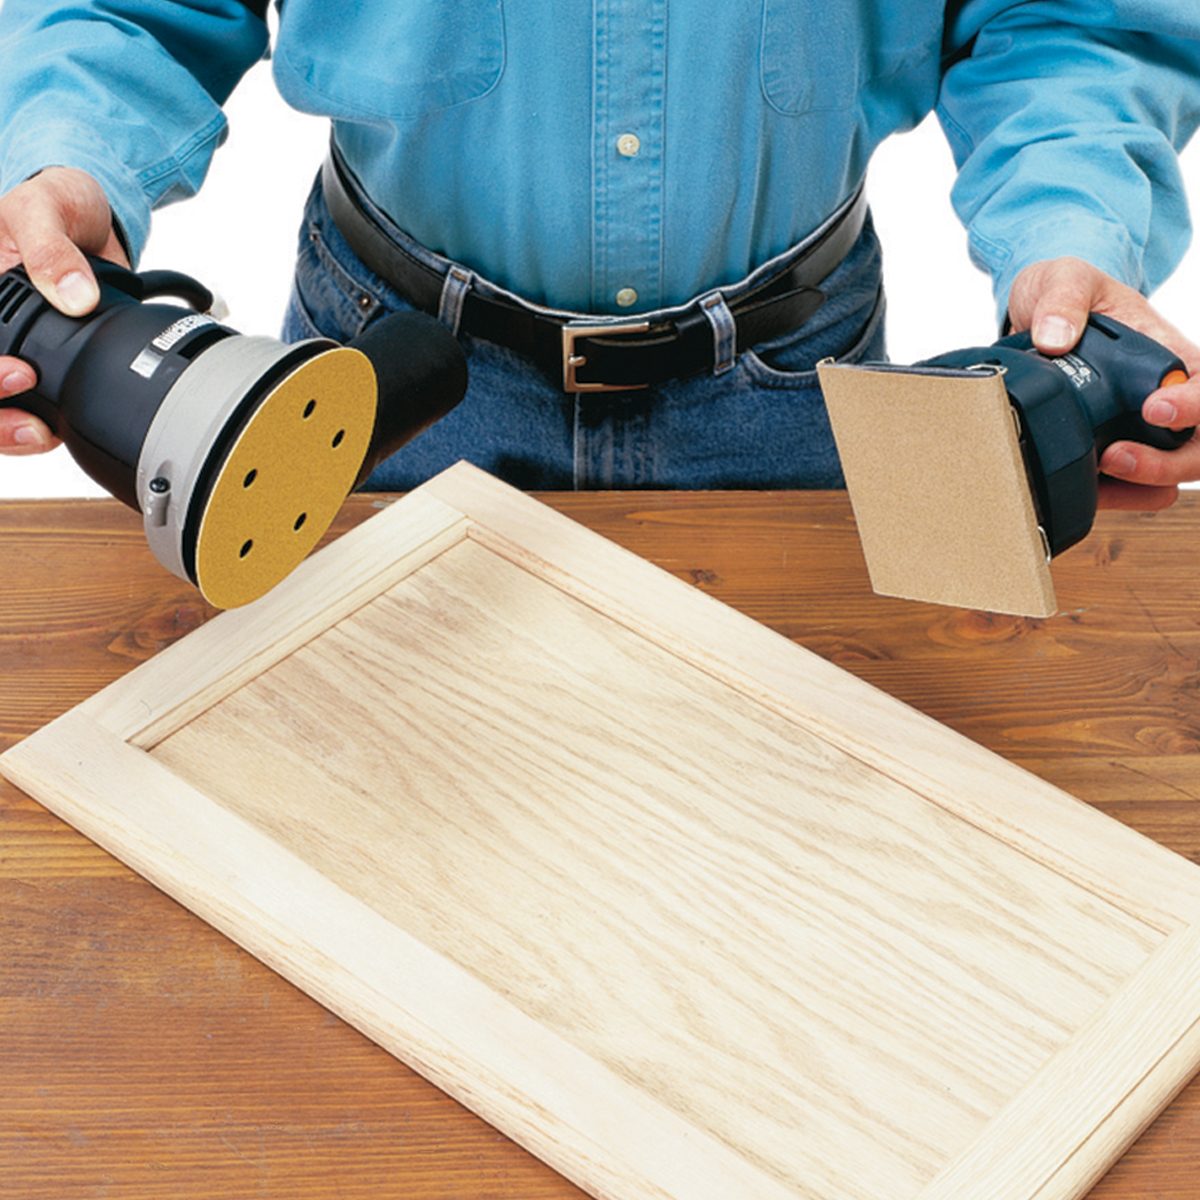
Choose a random orbital sanderfor even sanding. Start with medium-grit sandpaper, then switch to fine grit. Move the sander in slow, circular motions. Avoid staying too long in one spot to prevent damage. Wear a mask to protect from dust. Always unplug the sander before changing sandpaper.
Sanding Sequence For Smoothness
Start with coarse grit sandpaper(around 80 grit) to remove rough spots and deep scratches. This grit helps shape the surface and smooth out uneven areas quickly. Sand evenly across the entire board surface, following the wood grain to avoid new scratches.
Move to medium grit sandpaper(around 120-150 grit) next. This grit removes the marks left by the coarse grit and starts to smooth the surface. Keep sanding with the grain for a better finish.
Finish with fine grit sandpaper(220 grit or higher) for a smooth, soft finish. This step removes any remaining roughness and prepares the board for sealing or oiling. Fine grit makes the surface safe for cutting and easy to clean.
- Use coarse grit for heavy sanding
- Switch to medium grit for smoothing
- End with fine grit for a soft finish
- Always sand with the grain
Finishing Touches
After sanding, remove all dust using a clean, dry cloth. A soft brush can help clear dust from corners and grooves. Ensure the surface is completely free of particles before applying any finish.
Applying oil or finish protects the wood and makes it last longer. Use food-safe mineral oil or a special cutting board oil. Pour a small amount on the board and spread it evenly with a clean cloth. Let it soak in for several hours or overnight.
Wipe off any extra oil with a dry cloth. Repeat the oiling process until the wood stops absorbing oil. This keeps the board smooth and prevents cracks. Avoid using vegetable or olive oils as they can go rancid.

Credit: www.reddit.com
Maintenance After Sanding
Keep your cutting board clean by washing it after every use. Use warm water and mild soap. Avoid soaking it in water to stop warping or cracking. Dry it well with a towel or air dry standing up.
Resanding the board helps keep it smooth and safe. Sand it lightly every few months or when the surface feels rough. Use fine-grit sandpaper to avoid damaging the wood. After sanding, always apply a food-safe oil to protect the board.
Credit: www.familyhandyman.com
Frequently Asked Questions
How Do You Prepare A Cutting Board For Sanding?
Start by cleaning the board with warm, soapy water. Let it dry completely. Remove any food particles or debris before sanding for a smooth surface.
What Grit Sandpaper Is Best For Cutting Boards?
Begin with 120-grit sandpaper to remove rough spots. Progress to 220-grit for a smooth finish. Finer grits prevent damage and preserve the wood’s surface.
How Often Should You Sand A Wooden Cutting Board?
Sanding every 6 to 12 months is ideal. It depends on usage and wear. Regular sanding keeps the board smooth and safe for food prep.
Can Sanding Remove Deep Cuts Or Stains On Boards?
Yes, sanding can remove shallow cuts and stains. Deep gouges might require more sanding or professional repair. Always sand evenly to maintain board integrity.
Conclusion
Sanding a cutting board keeps it smooth and safe for food. Use the right grit sandpaper and work evenly across the surface. Take your time and clean the board well after sanding. Regular sanding removes scratches and helps the board last longer.
Remember to oil the board after sanding to protect the wood. Simple steps can make your cutting board look and feel like new. Enjoy cooking with a clean, fresh cutting board every day.