

Is your slicer wheel not cutting as smoothly as it used to? You don’t have to struggle or buy a whole new slicer just yet.
Replacing the slicer wheel yourself is easier than you think—and it can save you time and money. In this guide, you’ll discover simple steps to get your slicer back to perfect condition. Keep reading, and you’ll be slicing like a pro again in no time.
Signs A Slicer Wheel Needs Replacement
Dull or uneven cutsshow the slicer wheel is losing sharpness. Slices may look rough or jagged. This reduces food quality and can cause waste.
Visible damage or wearon the wheel means replacement is needed. Look for chips, cracks, or worn edges. These signs affect slicing performance and safety.
Increased effort while slicingis a clear sign too. If pushing food feels harder, the wheel may be dull or damaged. This can strain the slicer motor and user.
Tools And Materials Required
Essential tools include a screwdriver, replacement slicer wheel, and gloves for safety. Materials needed are a clean cloth and lubricant to ensure smooth operation.
Replacement Wheel Options
Choosing the right replacement wheel is crucial. Options vary based on size and material. Ensure the wheel matches your slicer’s brand and model. Stainless steel wheels last longer and resist rust. Plastic wheels are lighter but may wear quickly. Always check compatibility before purchasing.
Safety Gear
Safety is important when replacing slicer wheels. Always wear safety goggles to protect your eyes. Gloves can shield your hands from sharp edges. A dust mask is useful if there is debris. Ensure you have a clear workspace to prevent accidents.
Common Tools
- Screwdriver for loosening screws.
- Wrench to tighten bolts securely.
- Pliers for gripping small parts.
- Lubricant to ensure smooth wheel movement.
Preparing For The Replacement
Always unplug the slicerbefore doing any work on it. This stops any accidents from happening. Clean the slicer well to remove leftover food and dust. A clean machine helps you see parts better.
Remove all attachmentslike trays and guards. This gives full access to the wheel and other parts. Keep the screws and small pieces safe so they do not get lost.
Create a safe workspacewith good light and enough room. Use a flat surface and keep tools nearby. Wear protective gloves to avoid cuts. Clear the area of distractions to focus on the task.

Credit: www.ebay.ca
Removing The Old Slicer Wheel
Use a screwdriver to loosen the mounting screwsgently. Keep them safe for later use. Avoid forcing the screws to prevent damage.
Hold the slicer wheel firmly while detaching it. Pull it straight off to avoid bending. Use gloves to protect your hands from sharp edges.
Check the housing and other partsfor dirt or damage. Clean any dust or crumbs carefully. Look for cracks or worn-out areas before installing the new wheel.
Installing The New Slicer Wheel
Place the new slicer wheel on the mount carefully. Make sure the wheel fits snugly and straight. Proper alignment is key to smooth cutting.
Use a screwdriver to tighten the mounting screws. Secure them evenly to avoid wobbling. Do not over-tighten to prevent damage.
- Spin the wheel gently by hand.
- It should move freely without resistance.
- Check for any wobble or uneven motion.
- If the wheel is loose or tight, adjust screws accordingly.

Credit: www.amazon.ca
Testing The Repaired Slicer
Test the slicer by making a small cut. Use a piece of food to check how the new wheel slices. Watch the slice thickness and smoothness. It should be even and clean.
Adjust the thickness control if slices are too thick or thin. Make small changes and test again. Keep adjusting until the slices look right and match your needs.
- Check that the safety guard is in place.
- Make sure the slicer stops when the guard moves.
- Confirm the power switch works properly.
- Look for any loose parts or unusual sounds.
Safety is very important. Do not use the slicer if any safety feature fails. Fix all issues before slicing more food.
Maintenance Tips To Extend Wheel Life
Regular cleaning keeps the slicer wheelfree from dirt and debris. Use a soft brush or cloth to remove particles after each use. Avoid harsh chemicals that can damage the wheel’s surface. Clean wheels cut better and last longer.
Proper storage protects the wheel from moisture and damage. Store the slicer wheel in a dry, cool place away from heavy objects. Keep it covered to prevent dust buildup. This helps avoid rust and wear.
Routine inspections catch problems early. Check for cracks, chips, or dull edges before each use. Replace the wheel if you spot any damage. Regular checks ensure safe and effective slicing.
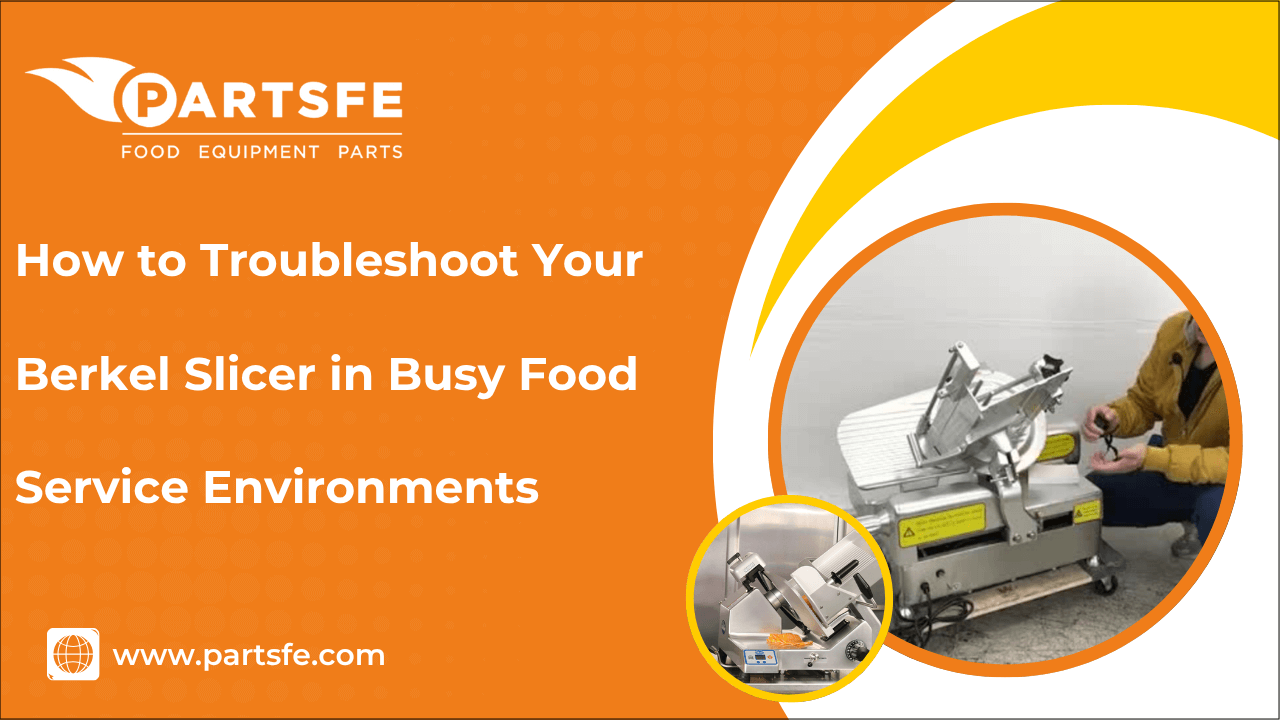
Credit: partsfe.com
Frequently Asked Questions
How Do I Safely Remove A Slicer Wheel?
First, unplug the slicer to avoid accidents. Use a screwdriver to loosen the screws holding the wheel. Carefully lift the wheel out without forcing it. Handle the blade with caution to prevent cuts or damage.
What Tools Are Needed To Replace A Slicer Wheel?
You will typically need a screwdriver, wrench, and gloves. A cleaning cloth and lubricant may also be helpful. Always check your slicer’s manual for specific tool requirements. Using the right tools ensures a safe and efficient replacement.
How Often Should I Replace My Slicer Wheel?
Replace the slicer wheel when it becomes dull or damaged. Frequent use may require replacement every few months. Regularly inspect the blade for nicks, rust, or wear. Timely replacement maintains slicing efficiency and safety.
Can I Replace The Slicer Wheel Myself?
Yes, most slicer wheels can be replaced by users. Follow your slicer’s manual instructions carefully. Always unplug the machine before starting. If unsure, consult a professional to avoid injury or damage.
Conclusion
Replacing a slicer wheel is easier than it seems. Follow each step with care and patience. Use the right tools and work safely at all times. A sharp slicer wheel cuts better and lasts longer. Keep your slicer clean and well-maintained for best results.
Doing this can save you money and time. Now, your slicer is ready to use again. Simple fixes keep your kitchen running smoothly.