
Have you ever faced the frustration of a slicer that won’t work because its screws or bolts are worn out or broken? You’re not alone.
When these small parts fail, your slicer can come to a halt, disrupting your work or kitchen routine. But here’s the good news: replacing slicer screws and bolts is easier than you think. In this guide, you’ll learn simple, step-by-step methods to fix your slicer quickly and safely.
By the end, you’ll have the confidence to tackle this repair yourself, saving time and money. Ready to get your slicer back in perfect shape? Let’s dive in.
Tools Needed
A screwdriver and wrench are essential for replacing slicer screws and bolts. Having replacement screws and bolts ready makes the process smoother. Safety gloves help protect your hands during the task.
Screwdrivers And Wrenches
Screwdrivers are essential for removing screws. Use the right size for the screw. A mismatch can damage the screw head. Wrenches are crucial for bolts. They help in loosening and tightening. Keep different sizes handy. They fit different bolts.
Replacement Screws And Bolts
Always have spare screws and bolts. Make sure they match the old ones. This ensures a secure fit. Check the size and material. This helps in maintaining the equipment’s integrity. Having the right replacements avoids future issues.
Safety Gear
Safety is important. Wear gloves to protect your hands. Safety goggles shield your eyes from debris. Make sure the area is well-lit. A well-lit area helps you see clearly. This prevents accidents and injuries.
Preparing The Slicer
Always unplug the slicerbefore starting any work. This keeps you safe from electrical shocks. Clean the slicer surface carefully to remove crumbs and grease. Use a soft cloth and mild soap for cleaning.
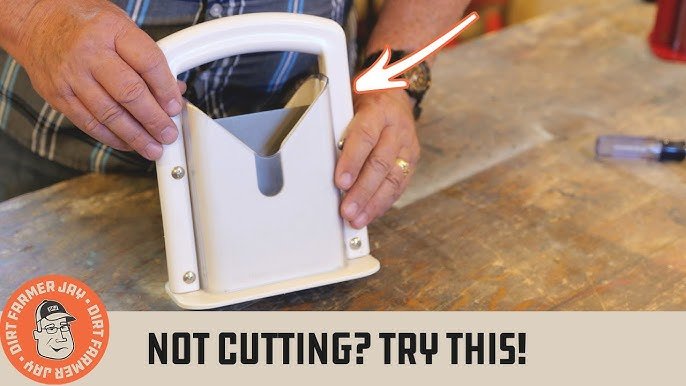
To remove the blade, find the screws or bolts holding it in place. Use the correct screwdriver or wrench. Turn the screws gently to avoid damage. Place the blade on a safe surface to prevent accidents.
Removing Old Screws And Bolts
Start by finding all the screws and boltsthat hold the slicer parts together. Some fasteners might hide under covers or guards. Look closely around the edges and joints.
Use a flashlight to see better in tight spots. Mark the screws you want to remove. This helps avoid missing any.
- Use the right screwdriver or wrench size to avoid damage.
- Turn screws counterclockwise to loosen them.
- If screws are stuck, apply a small amount of oil or lubricant.
- Tap gently with a hammer to help loosen rusted bolts.
Slow and steady turns prevent stripping the screw heads. Keep tools steady and firm.
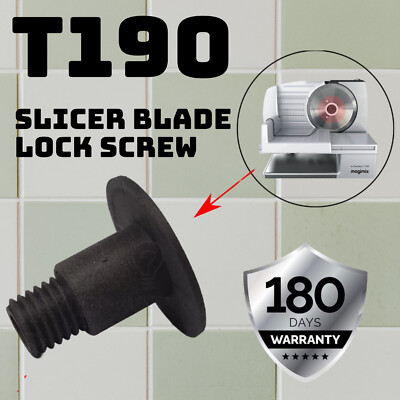
Credit: www.ebay.com
Choosing The Right Replacements
Choosing the right replacements is key for slicer screws and bolts. First, match the size and threadexactly. Wrong size can cause damage or loose parts. Use a thread gaugeor compare with old screws to find the right fit.
Material matters too. Stainless steel screws resist rust and last longer. Steel bolts are strong but may rust if exposed to moisture. For food slicers, choose food-safe materials. Brass or coated metals work well in wet environments.
| Material | Benefits | Best For |
|---|---|---|
| Stainless Steel | Rust-resistant, durable | Wet or humid areas |
| Steel | Strong, affordable | Dry environments |
| Brass | Corrosion-resistant, food safe | Food slicers, moist areas |
Installing New Screws And Bolts
Ensure the new screws and bolts fit the slicer holes perfectly. Proper alignment helps avoid damage and ensures smooth operation. Gently place each screw or bolt in its spot before tightening.
Use a screwdriver or wrench that matches the screw or bolt head. Tighten slowly and evenly to prevent stripping or bending. Avoid over-tightening, which can crack the slicer parts.
- Check alignment before tightening each screw or bolt.
- Tighten screws and bolts in a crisscross pattern when possible.
- Stop tightening as soon as the parts feel secure.
- Use proper tools for the screw or bolt type.

Credit: sstonline.co.uk
Testing The Slicer
Before turning on the slicer, ensure all screws and bolts are tight. Check the blade guard and other safety parts for damage. Never test the slicer if any part looks broken or loose. Wear protective gloves to avoid cuts during checks.
Test the slicer by running it without food first. Listen for strange noises or vibrations. The slicer should run smoothly and quietly. If it shakes or makes loud sounds, stop immediately and inspect again.
Check the thickness dial to see if it moves easily. The blade should stop quickly when turned off. Make sure the power switch works without sticking.
- Ensure all safety guards are in place
- Wear safety gloves while testing
- Run slicer without food to check operation
- Listen for unusual sounds or vibrations
- Test blade stop function
Maintenance Tips
Regularly check slicer screws and bolts for tightnessand wear. Loose parts can cause damageor malfunction. Use a screwdriver or wrench to test each screw and bolt gently. Look for signs of rustor corrosion. Replace any damaged or worn pieces immediately. This helps keep the slicer safeand working well.
Lubricate screws and bolts with a light machine oil. This reduces frictionand prevents rust. Apply oil sparingly to avoid excess buildup. Regular lubrication makes it easier to tighten or loosen parts later. Wipe off extra oil to keep the slicer clean and safe to use.

Credit: www.kitchenwarestation.com
Frequently Asked Questions
What Tools Are Needed To Replace Slicer Screws And Bolts?
You need a screwdriver, wrench, replacement screws and bolts, and a cleaning cloth. These tools help remove old parts and install new ones securely.
How Do I Safely Remove Old Slicer Screws And Bolts?
Turn off and unplug the slicer first. Use the correct screwdriver or wrench to unscrew bolts carefully, avoiding damage to surrounding parts.
How To Choose The Right Replacement Screws And Bolts?
Match the size, thread type, and material of the original screws and bolts. Using correct replacements ensures proper fit and slicer safety.
How Often Should Slicer Screws And Bolts Be Replaced?
Replace screws and bolts when they show wear, rust, or looseness. Regular inspection helps maintain slicer performance and safety.
Conclusion
Replacing slicer screws and bolts keeps your machine running smoothly. Follow the steps carefully to avoid damage or injury. Use the right tools and parts for the best fit. Regular checks help spot worn screws early. A well-maintained slicer saves time and effort.
Stay safe by working slowly and with focus. Now, your slicer is ready for use again. Simple care makes a big difference.