
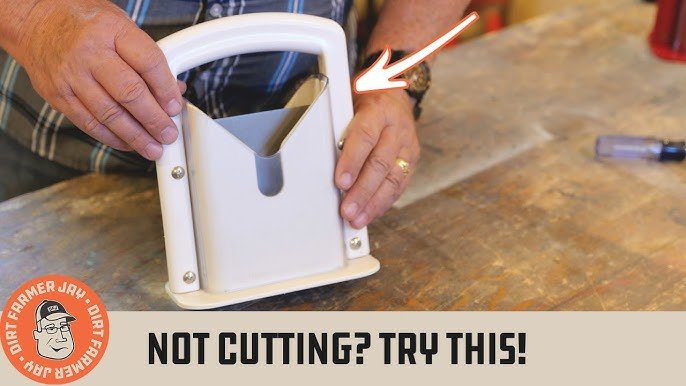
If you use a slicer regularly, you know how important the safety guard is for protecting your fingers. But what happens when that guard gets damaged or worn out?
You might feel unsure about replacing it yourself. Don’t worry—this guide will walk you through every step to replace your slicer safety guard quickly and safely. By the end, you’ll feel confident handling this task and keeping your slicer as safe as possible.
Keep reading to learn exactly what you need to do.
Slicer Safety Guard Basics
The safety guardon a slicer helps protect users from sharp blades. It stops hands from touching the blade during slicing. Using the guard reduces the chance of cuts and injuries.
There are several common types of safety guardsdesigned for slicers:
- Fixed guardsthat stay in one place and cover the blade.
- Adjustable guardsthat move to fit different slicing needs.
- Interlocking guardsthat stop the slicer if the guard is not in place.
- Plastic or metal guardsmade for durability and easy cleaning.
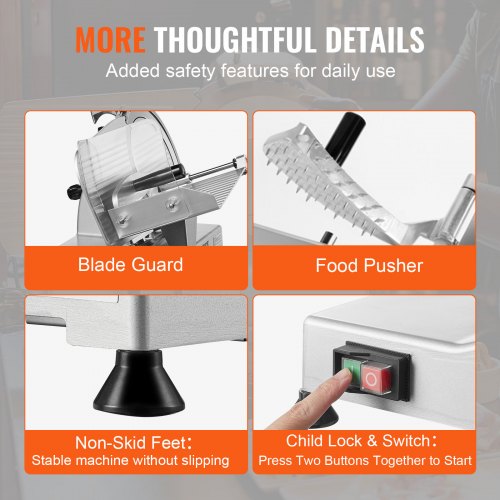
Credit: www.vevor.ca
Signs You Need Replacement
Look for cracks or breaks on the slicer safety guard. A broken guard can’t protect well. Scratches and dents may also show wear. Worn edges might not fit right. A loose guard can slip off during use. It’s important for safety.
A faulty guard can cause accidents. If the guard moves easily, it might be unsafe. Listen for unusual sounds when slicing. Strange noises can mean a guard issue. If the slicer stops suddenly, check the guard. It might be blocking the blade. Safety comes first, so replace if needed.
Tools Needed For Replacement
Gathering the right tools makes the replacement process smoother.
- Screwdrivers:Phillips and flat-head for removing screws.
- Allen wrenches:Often needed for hex screws on guards.
- Pliers:Useful for gripping and pulling parts.
- Wrench set:Helps loosen or tighten bolts.
- Replacement guard:Make sure it fits your slicer model.
Using proper safety gear keeps you protected during work.
- Safety goggles:Shield your eyes from debris.
- Cut-resistant gloves:Protect your hands from sharp edges.
- Closed-toe shoes:Prevent injuries from dropped tools.
- Dust mask:Avoid inhaling dust or particles.
Step-by-step Replacement Process
Start by unplugging the slicer to ensure safety. Clean the area around the slicer to remove any crumbs or debris. Wear protective glovesbefore handling the guard to avoid cuts. Check the slicer’s manual for any specific instructions related to the guard.
Locate the old safety guard attached to the slicer. Usually, it is held by screws or clips. Use a screwdriver or the proper tool to remove these fasteners. Carefully take off the old guard without touching the blade. Dispose of the old guard safely.
Align the new guard with the slicer’s mounting points. Make sure it fits snugly and covers the blade properly. Secure the guard with screws or clips removed earlier. Tighten all fasteners firmly but do not overtighten, to avoid damage.
Plug the slicer back in and turn it on briefly. Check if the new guard stays in place during operation. Test the slicer by moving the blade guard carefully. Confirm that it offers full protection without blocking the blade.
Maintenance Tips To Extend Guard Life
Keeping the slicer safety guard clean helps it work properly. Use a soft cloth and mild soap to wipe it down every day. Avoid harsh chemicals that can damage the guard.
Check the guard for cracks or loose parts often. A small problem can become dangerous fast. Tighten screws and replace broken pieces right away.
| Inspection Task | Frequency |
|---|---|
| Visual Check for Cracks | Daily |
| Tighten Screws | Weekly |
| Deep Clean | Monthly |
| Replace Worn Parts | As Needed |
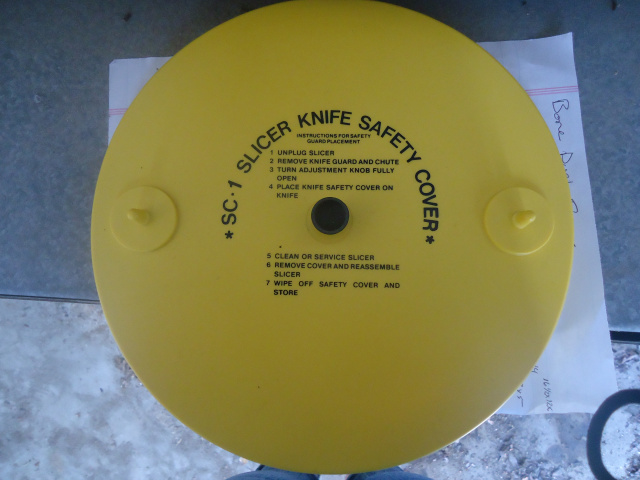
Credit: onesharpstore.com
Common Mistakes To Avoid
Improper installationcan cause the slicer safety guard to fail. This leads to serious injuries. Always ensure the guard fits securelyand aligns with the slicer blades. Loose parts can cause accidents and damage the machine.
Ignoring safety protocolsis dangerous. Never skip steps like unplugging the machine before replacing the guard. Using the slicer without the guard or with a broken guard increases risk. Follow all manufacturer instructionscarefully to stay safe.
- Check the guard for cracks or wear before installation.
- Use only parts designed for your slicer model.
- Wear protective gloves during replacement.
- Test the slicer after installing the guard to ensure it works properly.

Credit: www.amazon.com
Frequently Asked Questions
What Tools Do I Need To Replace A Slicer Safety Guard?
You need a screwdriver, wrench, and replacement safety guard. Always disconnect power before starting. Follow the manufacturer’s instructions carefully for safety and proper installation.
How Long Does It Take To Replace A Slicer Safety Guard?
Replacing a slicer safety guard typically takes 10 to 20 minutes. Time varies based on slicer model and user experience. Ensure the guard is securely fitted before use.
Can I Replace The Slicer Safety Guard Myself?
Yes, you can replace it yourself if you follow safety steps. Make sure to unplug the slicer first. Use the right tools and follow instructions precisely.
Why Is Replacing A Slicer Safety Guard Important?
Replacing a damaged safety guard prevents injuries and ensures compliance with safety standards. It protects users from blade contact and maintains slicer functionality.
Conclusion
Replacing a slicer safety guard keeps your kitchen safe and efficient. Follow each step carefully to avoid injury. Use the right tools and parts for the best fit. Check the guard regularly to ensure it stays secure. Taking time now prevents accidents later.
Safety matters in every kitchen task. Stay alert and handle your slicer with care. Your effort protects you and those around you. Keep your slicer working well with simple maintenance. Safety first—always.