

Is your slicer motor making strange noises or not working at all? You don’t have to buy a new slicer just yet.
Replacing the motor yourself can save you money and get your slicer back in perfect shape quickly. In this guide, you’ll find simple, step-by-step instructions that anyone can follow. By the end, you’ll feel confident handling the repair and avoiding costly service fees.
Ready to bring your slicer back to life? Let’s dive in.
Tools And Materials Needed
To replace a slicer motor, gather these essential tools and materials. A screwdriver setis needed for removing screws. Use needle-nose pliersto handle small parts safely. A replacement motormust match the slicer model. Have electrical tapeready to secure wires. A multimeterhelps check electrical connections. Also, keep a clean clothnearby to wipe dust and debris.
Wear protective glovesfor safety. Ensure the slicer is unpluggedbefore starting. Keep all parts organized to avoid losing screws or small items.
Safety Precautions
Always unplug the machine first. Electricity can be very dangerous. Wear gloves to protect your hands from cuts. Keep a clean workspace. It helps avoid accidents. Use tools carefully. They are sharp and can cause injuries.
Read the manual before starting. It gives important information. Make sure the area is well-lit. You need to see clearly. Check that all parts are stable. Loose parts can cause problems. Do not rush. Take your time for safety.
Preparing The Slicer
Ensure the slicer is unpluggedbefore starting any work. This step is vital for safetyto avoid electric shock. Check the power cord and the plug to be sure the device is disconnected.
Next, remove the blade carefully. Use gloves to protect your hands from sharp edges. Hold the blade firmly and follow the slicer’s guide to detach it safely. Keep the blade in a secure place to prevent accidents.
Accessing The Motor
Start by unplugging the slicer to ensure safety. Remove screws on the housing using a screwdriver. Gently lift or slide the cover off. Keep the screws in a safe place to avoid loss.
Look inside the housing to find the motor. It is usually at the back or side of the slicer. The motor is a small, box-like part with wires attached. Check for any labels or tags that say “motor”.
- Use a flashlight if the motor is hard to see.
- Note the position of wires before disconnecting.
- Take a picture to help with reassembly.
Disconnecting The Old Motor
Start by turning off the power to the slicer. This prevents electric shocks.
Carefully unplug the motor wires. Note which wire connects where.
Use a screwdriver to loosen wire connectors. Keep wires separated to avoid confusion.
Look for screws or bolts holding the motor. These attach it to the mount.
Remove all screws carefully. Keep them safe for reattaching the new motor.
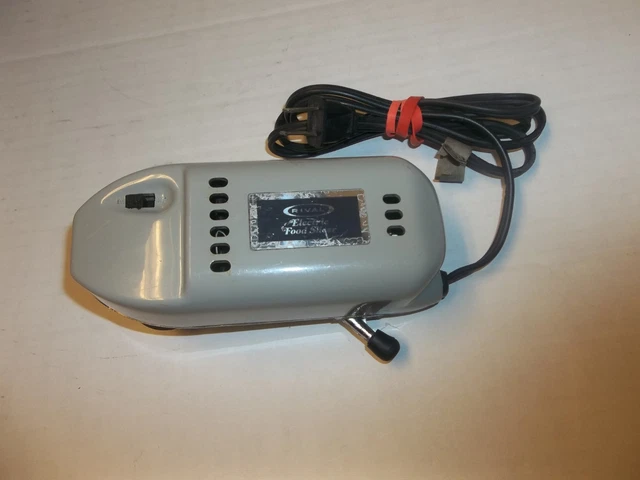
Gently lift the motor from its place. Avoid pulling on wires or other parts.
Credit: picclick.ca
Installing The New Motor
Place the new motor carefully into the slicer frame. Make sure it fits well and aligns with the original position. Check that the shaft lines up with the slicer blade.
Use the screws or bolts to secure the motor mounts tightly. The motor should not move or wobble after tightening. Tighten the mounts evenly for stable support.
Reconnect the wires by matching colors or labels on each wire. Ensure connections are firm to avoid loose contacts. Double-check that the wires follow the original wiring path.
Testing The Replacement
Plug in the slicer and switch it on carefully. Listen for any unusual sounds from the motor.
Check if the blade starts spinning smoothly. No jerks or stops means the motor works well.
Look for any smoke or smell. These signs show the motor might have issues.
- Ensure the power cord is securely connected.
- Watch the blade speed for consistency.
- Feel the motor for overheating after running a short time.
- Turn off immediately if you notice sparks or noise.
Testing the motor under normal conditions helps confirm the replacement success.
Reassembling The Slicer
Carefully place the new bladeonto the motor shaft. Make sure it fits securelyand is aligned properly. Tighten the blade boltfirmly but avoid over-tightening to prevent damage.
Check that the blade spins freely without touching the housing. Adjust if needed to ensure safe operation.
- Align the housing parts back together
- Secure all screws tightly
- Confirm no parts are loose or misaligned
Close the housing carefully to avoid pinching wires or parts. Test the slicer after reassembly to ensure it runs smoothly and safely.
Maintenance Tips For Longevity
Regular cleaningkeeps the slicer motor free from dust and debris. Dirt buildup can cause the motor to overheat or stop working. Use a soft cloth and mild cleaner to wipe the motor area carefully.
Check the motor’s connections and wiresoften. Loose or damaged wires can cause the motor to fail. Tighten any loose parts and replace damaged wires immediately.
- Lubricate moving partsto reduce friction and wear.
- Use the right type of lubricant recommended by the slicer manufacturer.
- Avoid over-lubrication, as it can attract dirt.
Keep the slicer motor dry and cool. Avoid using it near water or in hot places. This helps prevent damage and extends motor life.
Test the slicer motor regularly. Listen for unusual sounds or slow operation. Early checks help catch problems before they get worse.

Credit: www.amazon.ca

Credit: www.amazon.ca
Frequently Asked Questions
How Do I Know If My Slicer Motor Needs Replacing?
If your slicer motor makes unusual noises or stops working, it likely needs replacement. Check for burning smells or inconsistent slicing. These signs indicate motor wear or failure, requiring timely replacement to maintain slicer performance and safety.
What Tools Are Required To Replace A Slicer Motor?
You will need a screwdriver, wrench, multimeter, and possibly pliers. Ensure you have the replacement motor compatible with your slicer model. Safety gloves and a clean workspace help prevent accidents during the motor replacement process.
Can I Replace A Slicer Motor Myself Safely?
Yes, if you follow the manufacturer’s instructions carefully. Disconnect the slicer from power before starting. Handle parts gently and avoid electrical hazards. If unsure, consult a professional to ensure safety and proper installation.
How Long Does It Take To Replace A Slicer Motor?
Replacing a slicer motor typically takes 30 to 60 minutes. Time depends on your experience and slicer model complexity. Proper preparation and having tools ready can speed up the process.
Conclusion
Replacing a slicer motor can save time and money. Follow each step carefully for best results. Use the right tools to avoid damage. Double-check all connections before testing the slicer. Safety matters—always unplug the machine first. Taking your time helps prevent mistakes.
With patience, you can handle this repair confidently. Keep your slicer working smoothly with regular care. A well-maintained slicer lasts much longer. Simple fixes like this help you stay independent and prepared.