
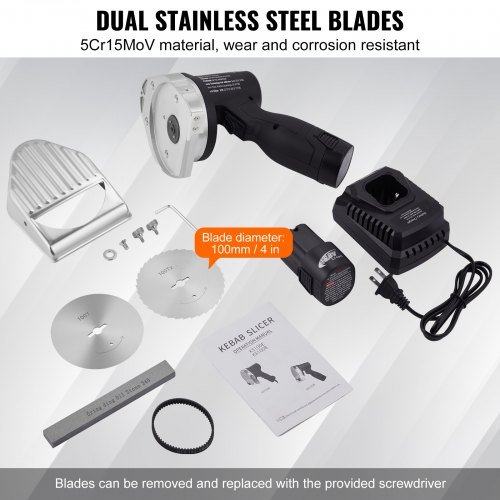
Are you struggling with a dull or damaged slicer accessory but don’t know where to start? Replacing slicer parts might seem tricky if you’re new to it, but it’s easier than you think.
Imagine saving time and money by fixing your slicer yourself instead of buying a new one or paying for repairs. In this guide, you’ll discover simple, clear steps to replace your slicer accessories quickly and safely. Keep reading to make your slicer work like new again—no special skills needed!
Choosing The Right Accessories
Choosing the right slicer accessories means finding parts that fit your model exactly. Each slicer brand uses different sizes and shapes for blades, guards, and trays. Check your slicer’s manual or model number to find the correct parts. Using the wrong accessories can damage the machine or cause injury.
Look for parts labeled as compatible with your slicer brand and model. Genuine parts offer the best fit and safety. Some third-party options may work, but read reviews and product details carefully.
| Where to Buy | Notes |
|---|---|
| Official Brand Websites | Best for genuine, guaranteed fit parts |
| Authorized Dealers | Offer expert advice and warranty support |
| Online Marketplaces | More variety but check seller ratings |
| Local Kitchen Supply Stores | Quick access but limited stock |
Tools Needed For Replacement
Basic tools like a screwdriver and cleaning cloth are essential for replacing slicer accessories. Having a pair of gloves helps protect your hands during the process. Keep a small brush handy to remove food particles before installation.
Basic Tools Checklist
- Screwdriver: For loosening and tightening screws.
- Wrench: Useful for bolts and nuts.
- Pliers: Handy for gripping and twisting tasks.
- Allen Keys: Essential for hexagonal screws.
- Lubricant: Helps in smooth operation.
Safety Gear Recommendations
- Gloves: Protects your hands from cuts.
- Goggles: Keeps your eyes safe from debris.
- Apron: Shields your clothes from dirt.
- Dust Mask: Protects you from inhaling dust.
Preparing The Slicer
Always unplug the slicerbefore starting any work. This ensures safetyand prevents accidents. Use a soft cloth to clean the slicer. Remove all food bits and dust. This helps the new accessories fit well.
To remove old accessories, check the manualfor specific instructions. Usually, parts can be twisted or pulledgently. Avoid using force to prevent damage. Keep all removed parts in a safe place.
Replacing The Blades
Start by unplugging the slicer for safety. Use a cloth to hold the blade to avoid cuts. Find the screws or knobs that hold the old blade in place. Carefully loosen and remove them. Take out the old blade and set it aside safely.
Check the new blade for any damage before installing. Align the new blade with the slicer’s holder. Secure it by tightening the screws or knobs firmly but not too tight. Make sure the blade spins freely without wobbling. Wipe the blade gently to remove fingerprints or dust.
Changing The Food Carriage
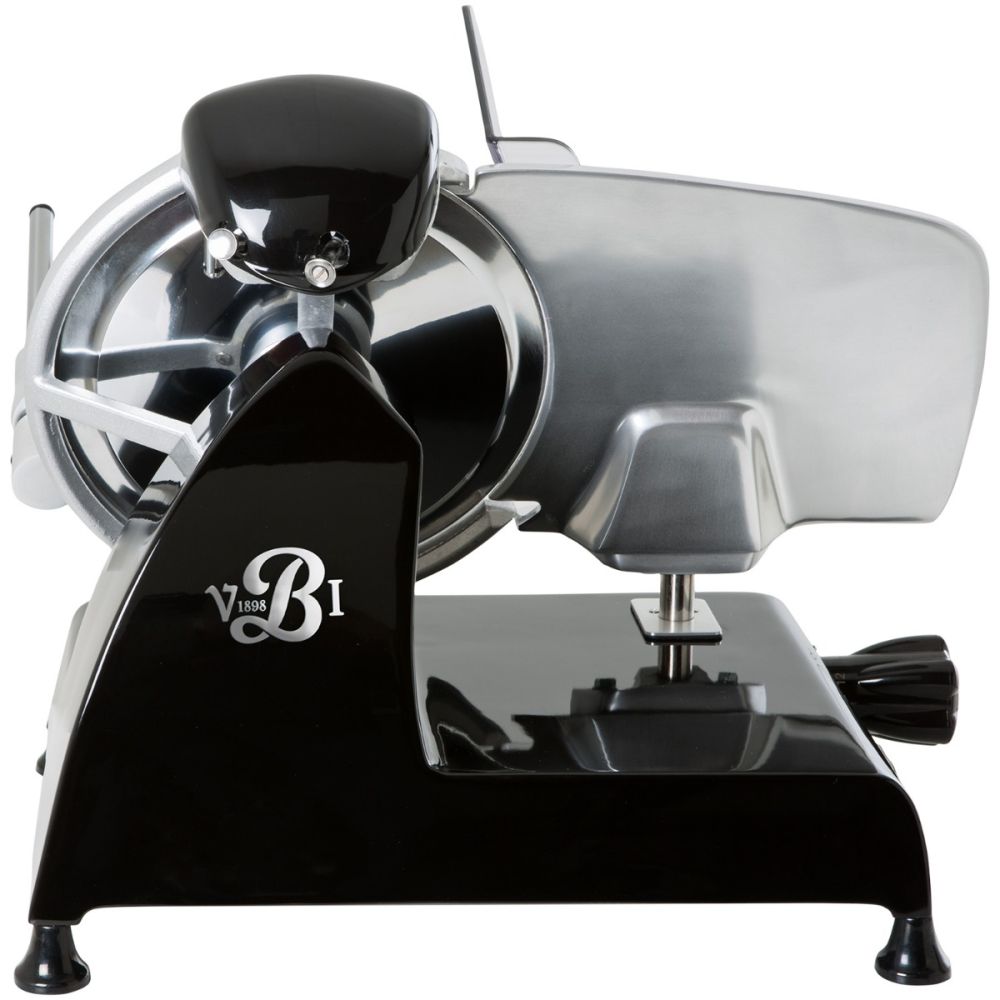
Start by unplugging the slicer for safety. Locate the food carriage, usually a sliding tray. To detach, press the release button or lever gently. Slide the carriage out carefully to avoid damage.
Take the new carriage and align it with the slicer’s rails. Slide it in smoothly until it clicks or locks into place. Make sure it moves without sticking. Test by sliding it back and forth a few times.
Credit: www.theberkelworld.com
Adjusting And Testing
Check that all accessories are alignedproperly before use. Misalignment can cause poor slicing or damage. Adjust parts gently until they fit well and move smoothly. The slicer should feel stable and balanced.
Perform a test sliceon a soft item like bread or cheese. This helps to confirm the accessory works correctly. Watch for smooth, even cuts without resistance. If the slice is uneven, realign and try again.
- Ensure the blade is secured tightly.
- Test slice using a small piece first.
- Check that the thickness setting matches your needs.
- Listen for unusual noises during slicing.
Maintenance Tips
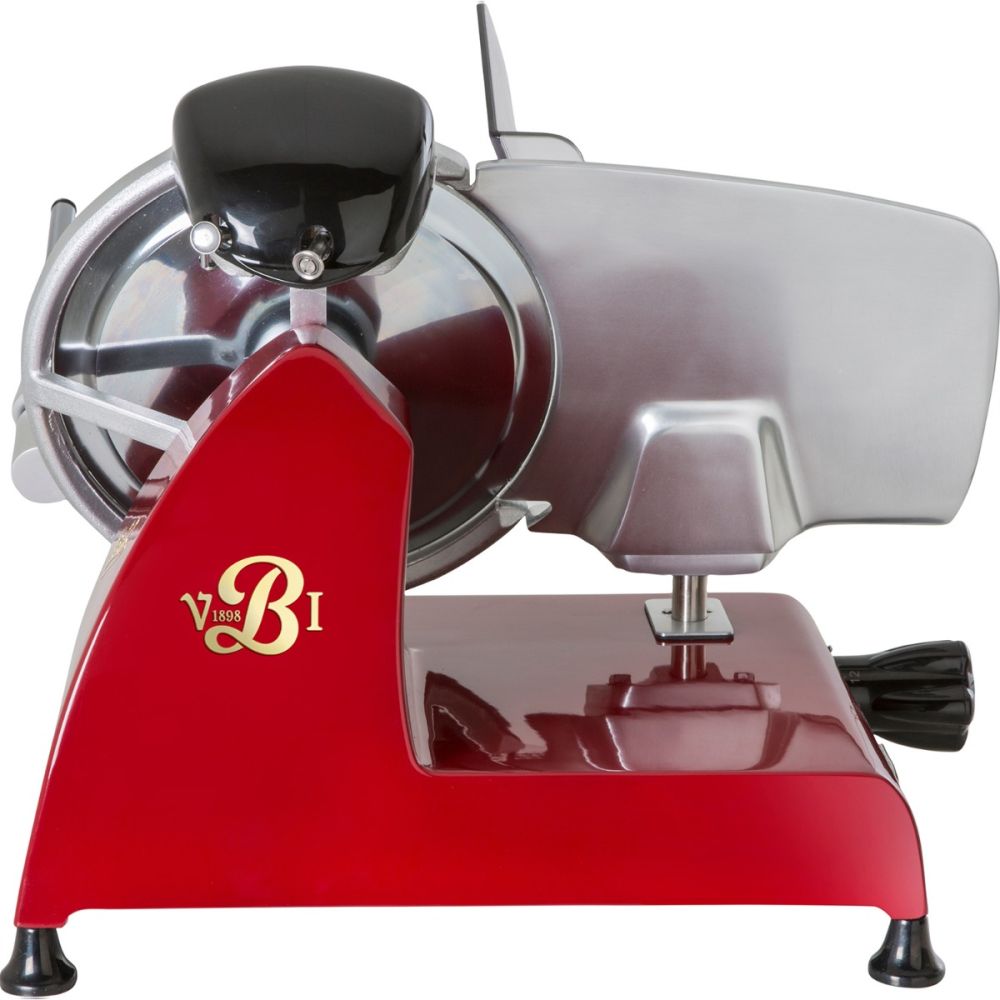
Keep slicer accessories clean to ensure they work well. Rinse parts with warm water after each use. Use a soft brush to remove stuck bits. Avoid harsh chemicals that can damage the accessories. Dry all parts completely before storing to stop rust and mold.
Store slicer accessories in a dry, safe place. Use a box or container to keep parts together. Avoid places with high moisture or direct sunlight. Proper storage prevents damage and keeps accessories ready for use.
Credit: www.computerworld.com
Credit: www.theberkelworld.com
Frequently Asked Questions
How Do I Safely Remove Slicer Accessories?
To remove slicer accessories safely, unplug the slicer first. Use gentle force to detach blades or attachments. Avoid using sharp tools to prevent damage. Always refer to the user manual for specific instructions. Handle blades carefully to avoid injury.
When Should Slicer Accessories Be Replaced?
Replace slicer accessories when blades become dull or damaged. Also, replace attachments if they crack or wear out. Regular inspection helps maintain slicing quality and safety. Using worn accessories can harm food texture and cause accidents.
Can I Replace Slicer Accessories Myself?
Yes, most slicer accessories can be replaced by beginners. Follow the manufacturer’s guidelines carefully. Use proper tools and ensure the slicer is unplugged. If unsure, watch tutorial videos or seek expert help to avoid damage or injury.
What Tools Are Needed To Replace Slicer Accessories?
Basic tools include screwdrivers, cleaning cloths, and gloves. Some slicers may require specific tools listed in the manual. Always have a clean workspace to avoid losing small parts. Proper tools ensure safe and efficient replacement.
Conclusion
Replacing slicer accessories is easier than it seems. Follow the steps carefully and take your time. Use the right tools for safety and efficiency. Keep your slicer clean to help it last longer. Regularly check parts for wear and tear.
Doing this ensures your slicer works well every time. Practice makes the process smoother and faster. Soon, you will feel confident handling slicer accessories yourself. Simple care and attention keep your kitchen tools ready to use.