

If you’ve noticed your compact slicer isn’t cutting as smoothly as before, it might be time to replace the blade. A dull or damaged blade can slow you down and affect the quality of your slices.
But don’t worry—changing the blade yourself is easier than you think. In this guide, you’ll discover simple steps to replace your compact slicer blade safely and quickly. Keep reading, and you’ll save time, avoid costly repairs, and get your slicer working like new again.
Tools Needed
To replace a compact slicer blade, gather a few essential tools. A screwdriveris needed to remove screws holding the blade. Use a wrenchor pliersto loosen any nuts. Wear cut-resistant glovesto protect your hands from sharp edges. Have a clean clothready to wipe the blade and slicer parts. A small brushhelps clean hard-to-reach areas. Keep the new blade nearby for quick replacement. Double-check all tools before starting to ensure a smooth process.
Credit: www.ebay.com
Safety Precautions
Ensure your hands are dry and cleanbefore touching the slicer. Unplug the slicer to avoid accidental injuries. Use gloves to protect your hands from sharp edges. Keep the slicer on a stable surfaceto prevent it from moving. Ensure the area is well-lit for better visibility.
Do not rush while handling the slicer blade. Take your time to avoid mistakes. Keep children and pets away from the area. This prevents distractions and accidents. If unsure, ask an adult for help. Safety should always come first.
Removing The Old Blade
First, disconnect the powerto avoid accidents. Always make sure the slicer is unplugged before touching any parts. Safety comes first.
Next, unlock the blade assembly. This may involve turning a knob or pressing a release button. Use your hands carefully to avoid cuts.
Finally, remove the blade carefully. Hold the blade by the edges only. Place it on a flat surface and keep it away from children.
Credit: www.ebay.com
Choosing The Right Replacement Blade
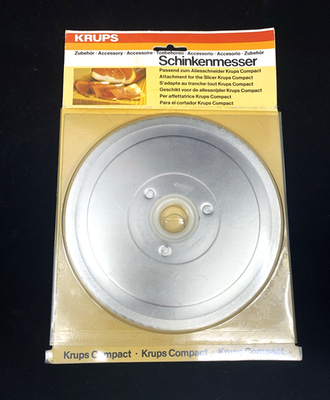
Always check the model numberof your compact slicer. This helps to find the correct blade sizeand type. Using the wrong blade can cause damageor poor slicing results.
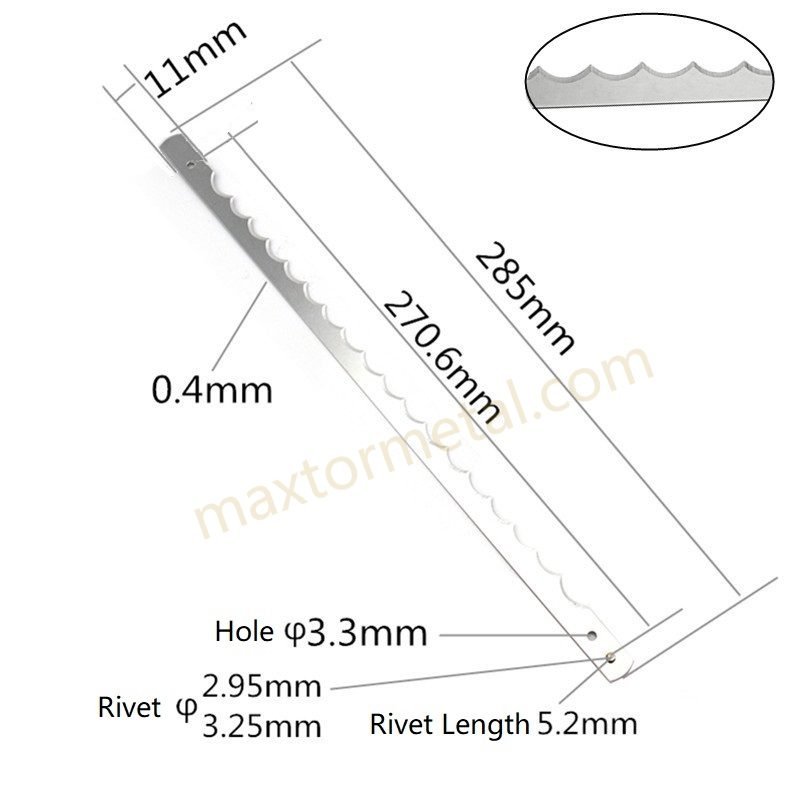
Blades come in different typesand materials. Stainless steel blades are sharpand rust-resistant. Ceramic blades stay sharp longer but can be fragile. Choose a blade that fits your slicer’s use and maintenanceneeds.
| Blade Type | Material | Features | Best For |
|---|---|---|---|
| Standard Blade | Stainless Steel | Sharp, Rust-resistant | General slicing tasks |
| Ceramic Blade | Ceramic | Sharp, Long-lasting, Fragile | Precision slicing, less wear |
Installing The New Blade
Place the new blade carefully on the slicer hub. Make sure the blade hole fits the hub exactly. The sharp side should face outwards. Align the blade with any guide marks on the slicer. Avoid touching the blade edge to keep it sharp and safe.
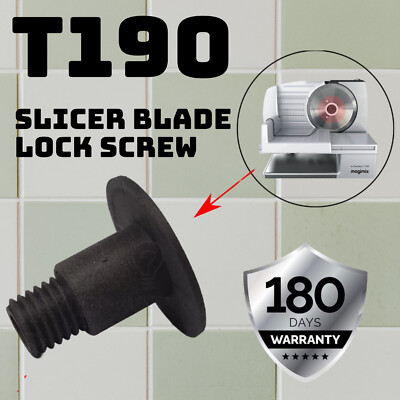
Use the original screws or fasteners to hold the blade. Tighten them firmly but do not over-tighten. Over-tightening can damage the blade or slicer. Check that the blade does not wobble or move when secured.
- Turn the slicer on briefly to check blade spin.
- Listen for any unusual noises or vibrations.
- Stop immediately if the blade wobbles or rubs on parts.
- Adjust the blade position if needed, then retest.
Maintenance Tips
Cleaning the slicer blade keeps it sharp and safe. Use a soft cloth and warm soapy water to wipe the blade after each use. Avoid harsh chemicals that can damage the metal. Dry the blade fully to stop rust from forming.
Regular blade inspection helps spot any damage early. Check for chips, cracks, or dull edges before use. A damaged blade can cause accidents or poor slicing. Replace the blade if you find any signs of wear or damage.
Sharpen the blade to keep it cutting well. Use a sharpening tool made for slicer blades. Sharpen gently to avoid removing too much metal. Store the blade in a dry place away from moisture. Cover it with a blade guard to protect the edge and prevent injuries.
Credit: maxtormetal.com
Frequently Asked Questions
How Do I Safely Remove A Compact Slicer Blade?
To safely remove a compact slicer blade, first unplug the machine. Then, use a screwdriver to loosen the blade screws carefully. Wear cut-resistant gloves to avoid injury during removal.
What Tools Are Needed To Replace A Slicer Blade?
You will need a screwdriver, cut-resistant gloves, and possibly a wrench. These tools help you remove and secure the blade properly, ensuring safety and precision.
How Often Should I Replace My Compact Slicer Blade?
Replace the blade when it becomes dull or damaged. Regular use may require replacement every 6 to 12 months for optimal slicing performance.
Can I Replace A Compact Slicer Blade Myself?
Yes, you can replace it yourself by following the manufacturer’s instructions carefully. Always prioritize safety by unplugging the slicer and wearing protective gloves.
Conclusion
Replacing a compact slicer blade is simpler than it seems. Follow safety steps carefully to avoid injuries. Use the right tools for a smooth process. Check the blade fits well before using the slicer again. Regular maintenance keeps your slicer sharp and safe.
Taking time to replace the blade helps keep your food prep efficient. Now, you can slice with ease and confidence.