
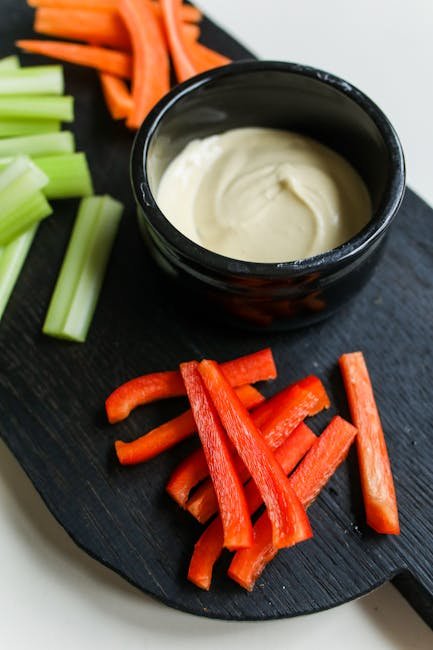
Are you struggling with a dull blade when cutting your vegetables? A sharp blade makes all the difference, saving you time and effort in the kitchen.
But when was the last time you replaced your vegetable blade? If you’re unsure how to do it safely and correctly, you’re not alone. You’ll discover simple steps to replace your blade quickly, so your veggies stay fresh and perfectly sliced every time.
Keep reading to make your kitchen tasks easier and more enjoyable!
Choosing The Right Blade
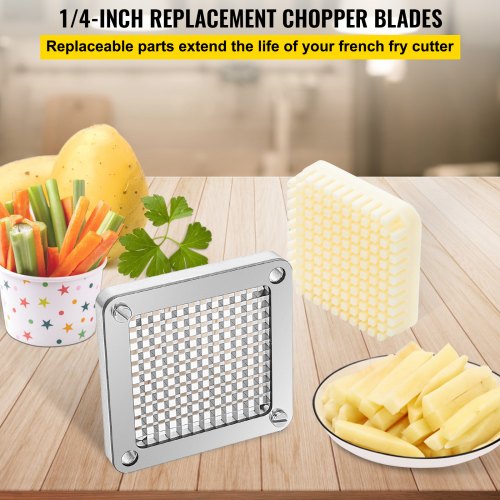
Choosing the right blade is key for easy vegetable cutting. Different blades suit different tasks. Some blades are sharp for thin slices, others are thicker for chopping.
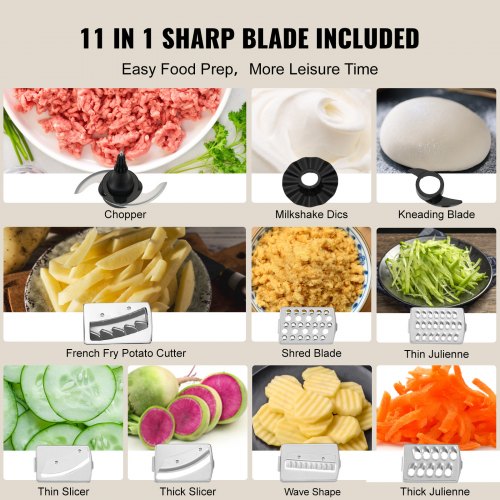
Types of Vegetable Blades:
- Straight blades: Good for slicing and dicing.
- Julienne blades: Make thin, stick-like cuts.
- Crinkle blades: Create wavy cuts for decoration.
- Grater blades: Used for shredding vegetables.
Blade Materials and Durability:Stainless steel blades resist rust and stay sharp longer. Ceramic blades are very sharp but can chip easily. High carbon steel blades are sharp but need more care.
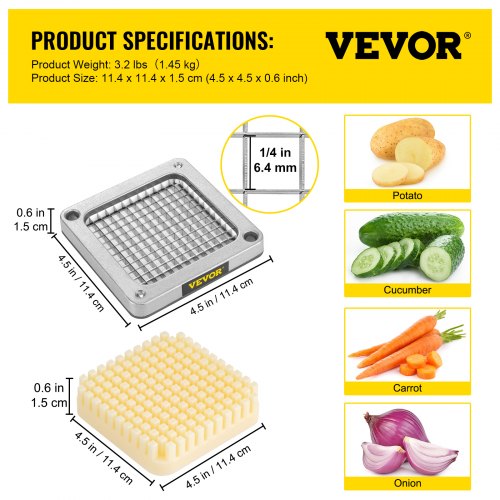
Blade Size and Compatibility:Choose a blade size that fits your vegetable slicer. Small blades work well for small vegetables. Large blades handle bigger veggies. Check the slicer’s instructions to find the right size.
Credit: www.vevor.com
Preparing For Blade Replacement
Gather all tools and unplug the device for safety. Clean the area and read the manual before starting the blade replacement. Ensure you have the correct blade type for your vegetable slicer.
Gathering Necessary Tools
Get the right tools for the job. A screwdriver is often needed. Check your device manual for specific tools. Having a clean cloth is important too. This will help in cleaning and holding parts. Always keep tools close by for easy reach.
Safety Precautions To Follow
Safety is very important. Make sure the device is unplugged. Blades can be sharp and dangerous. Use gloves to protect your hands. Work in a well-lit area. Keep children and pets away while you work. Double-check everything before starting the replacement.
Cleaning The Device
Remove any food bits from the device. Use a damp cloth to clean surfaces. Make sure the device is dry before opening. Clean blades make replacement easier. Ensure no water is inside the device. A clean device works better and lasts longer.
Removing The Old Blade
Start by locating the blade release button or lever. Press or slide it gently to free the blade. Some models may need a small tool to unlock the blade.
Wear thick gloves to protect your hands. Blades are very sharp and can cause cuts easily. Hold the blade carefully by the edges only.
Wrap the old blade in thick paper or cloth. Place it in a container or box that cannot be pierced. Dispose of it following your local safety rules to avoid injury.
Credit: www.vevor.ca
Installing The New Blade
Make sure the new blade fits the machine’s slot perfectly. Align the blade so its sharp edges face the right direction. The small holes or notches on the blade should match the pins or guides on the machine. This helps the blade sit firmly without wobbling.
Hold the blade carefully to avoid cuts. Use the screws or clips that came with your device to secure the blade. Tighten them enough to stop the blade from moving, but not too tight to damage the parts. A loose blade can be unsafe.
After securing, check if the blade spins freely without touching other parts. Turn the machine on briefly to see if the blade works smoothly. If it wobbles or makes noise, turn it off and adjust the blade again. Proper installation means better cutting and safety.
Maintaining Your Vegetable Blade
Clean your vegetable bladeafter each use to stop rust and food build-up. Use warm water and mild soap. Avoid harsh scrubbing that can dull the blade.
For sharpening, use a whetstone or sharpening tool. Hold the blade at a 20-degree angle. Slide the blade across the stone evenly to keep the edge sharp.
Store the blade in a dry place. Use a blade cover or sheath to protect the edge. Keep it away from moisture and other tools to avoid damage.
Credit: www.vevor.com
Troubleshooting Common Issues
Blade not cutting properlymay happen if it is dull or dirty. Clean the blade with warm, soapy water. Dry it fully to avoid rust. If dull, replace with a new blade for sharp cuts.
Blade becoming looseis common with regular use. Check the screw or bolt holding the blade. Tighten it with a screwdriver or wrench. Make sure the blade fits snugly but is not too tight.
Handling rust or corrosionrequires quick action. Use a soft brush and a mixture of vinegar and water to scrub the rust. Rinse well and dry immediately. For heavy rust, replace the blade to keep vegetables safe.
Frequently Asked Questions
How Do I Safely Remove The Vegetable Blade?
To safely remove the blade, unplug the device first. Use a cloth or gloves to avoid cuts. Gently twist or press the release button to detach the blade. Handle it carefully to prevent injury.
What Tools Do I Need To Replace The Blade?
Most vegetable blades require no special tools. Usually, your hands or a simple twist mechanism suffice. Check your appliance manual for specific instructions. Avoid using sharp tools to prevent damage.
How Often Should I Replace The Vegetable Blade?
Replace the blade when it becomes dull or damaged. Frequent use may require blade replacement every few months. Inspect the blade regularly for sharpness and any cracks. Timely replacement ensures efficient and safe cutting.
Can I Use Any Blade For Vegetable Replacement?
Use only blades compatible with your appliance model. Generic blades may not fit properly or work safely. Check manufacturer recommendations before purchasing replacements. Using the correct blade maintains performance and safety.
Conclusion
Replacing a blade for vegetables is simple and quick. Follow the steps carefully to stay safe. Use the right tools and check the blade condition. Sharp blades make cutting easier and safer. Clean the blade before and after use. Store your tool in a dry place.
Regular blade changes keep your kitchen efficient. Enjoy preparing vegetables with a fresh blade. Your meals will taste better and look neat. Keep practicing to replace blades confidently every time.