
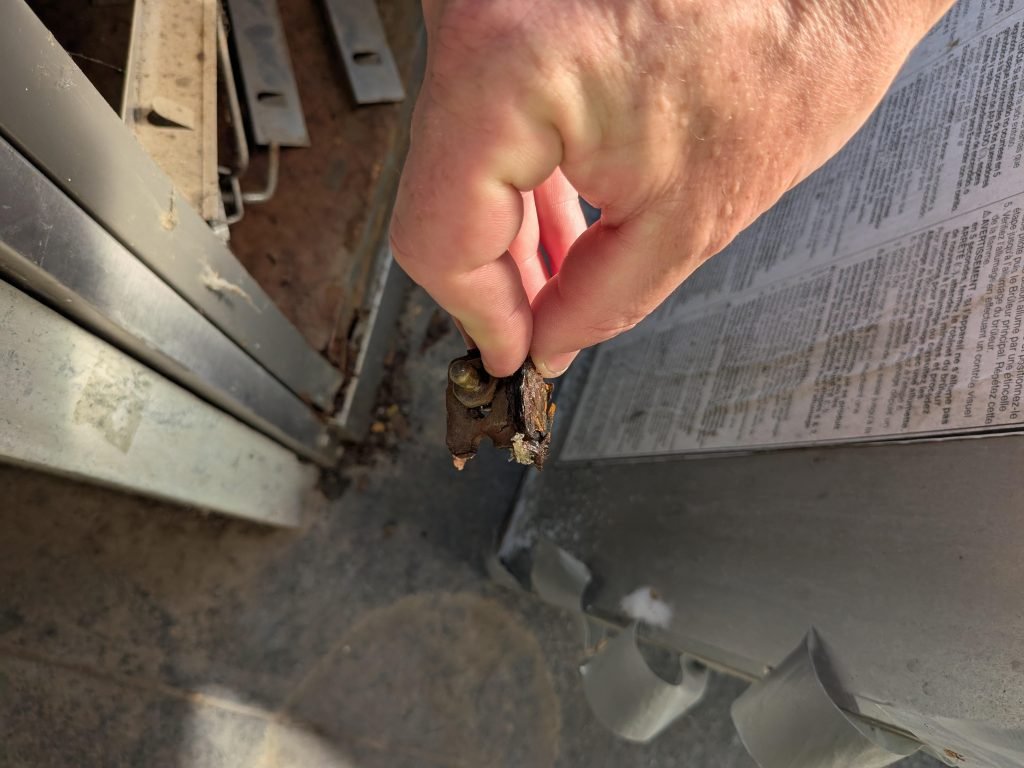
Is your grill handle broken, making it hard to enjoy your backyard cookouts? You’re not alone, and fixing it might be easier than you think.
Imagine being able to grab your grill with confidence again, without worrying about a loose or cracked handle. In this guide, you’ll discover simple, step-by-step tips to repair your broken grill handle quickly and safely. Keep reading, and you’ll have your grill ready for your next barbecue in no time.
Tools And Materials Needed
Fixing a broken grill handle is a simple task. You only need a few tools and materials. Having the right items makes the repair easier and faster.
This guide lists all the tools and materials you will need to repair your grill handle properly.
Screwdriver
A screwdriver helps remove and install screws holding the grill handle. Choose the right type based on the screw heads.
- Flathead screwdriver for slotted screws
- Phillips screwdriver for cross-shaped screws
Replacement Handle Or Handle Parts
You need a new grill handle if the old one is broken. Sometimes, just replacement parts like screws or brackets are enough.
- Check the model of your grill to get the right handle
- Buy replacement screws or brackets if available
Drill
A drill helps remove stuck screws or make new holes if needed. Use the correct drill bit size for your screws.
- Use a power drill for quick work
- Use a hand drill for small jobs
Wrench Or Pliers
Wrenches or pliers help hold nuts or bolts while loosening or tightening screws. They provide a strong grip for tough parts.
- Adjustable wrench fits different sizes
- Pliers work well for gripping small parts
Cleaning Supplies
Clean the grill handle area before fixing it. Dirt and rust can stop new parts from fitting well.
- Use a wire brush to remove rust
- Use a cloth and mild soap to clean dirt
- Apply rust remover if needed
Safety Gloves
Wear safety gloves to protect your hands. Grill parts can be sharp or hot, and tools can slip.
- Use heat-resistant gloves if grill is warm
- Use cut-resistant gloves for sharp parts
Common Causes Of Broken Handles
Grill handles can break for many reasons. Knowing the causes helps you fix them quickly.
Some causes are easy to spot. Others need more attention to detail.
Wear And Tear
Frequent use of the grill causes handles to wear out. The material can weaken over time.
Heat Damage
Grill handles often face high temperatures. Heat can make plastic or wood handles crack or melt.
Poor Quality Materials
Handles made from cheap materials break faster. They may not hold up to regular use or heat.
Loose Screws Or Bolts
Handles fixed with screws or bolts can loosen over time. Loose parts cause wobbling and breakage.
- Screws may rust and weaken
- Bolts can loosen from vibration
- Improper installation leads to instability
Accidental Impact
Dropping the grill or hitting the handle can cause cracks or breaks. Impact damage is common outdoors.
Exposure To Weather
Rain, sun, and cold weather can damage grill handles. Moisture can cause rust or swelling in wood.
| Weather Condition | Effect on Handle |
| Rain | Rusts metal parts |
| Sun | Fades and cracks plastic |
| Cold | Makes materials brittle |
Assessing The Damage
Before fixing a broken grill handle, check the damage carefully. This step helps you know what tools and parts you need.
Look closely at the handle and the area where it connects to the grill. This will guide your repair plan.
Check For Cracks Or Breaks
Look for visible cracks or breaks on the handle. Small cracks can get worse if not fixed soon.
Note if the handle is bent or warped. This can affect how you repair it.
Inspect The Attachment Points
Look where the handle connects to the grill body. Check screws, bolts, or rivets for damage or loosening.
Loose or missing hardware can cause the handle to feel unstable or fall off.
Assess The Material Condition
Find out what the handle is made of, like plastic, metal, or wood. Some materials need special care during repair.
Look for rust, wear, or heat damage. These can weaken the handle and affect your repair options.
Test The Handle’s Stability
Gently wiggle the handle to see if it moves or feels loose. This test shows if the attachment is secure.
If the handle shifts or feels weak, you may need to tighten or replace the fasteners.
Quick Temporary Fixes
A broken grill handle can make cooking hard and unsafe. You do not need to replace it right away. Some quick fixes can hold it until you find a permanent solution.
These temporary repairs use common tools and materials. They are easy to do and help keep your grill working for a short time.
Use Strong Tape
Strong tape like duct tape can hold a broken handle together. Wrap the tape tightly around the handle and the grill body. This will keep the handle from falling off.
This fix is quick and simple. It works best if the break is clean and the handle parts fit well.
Try Zip Ties
Zip ties can fasten loose or broken handles. Use several ties to make the hold stronger. Tighten them around the handle and grill frame.
Zip ties resist heat and are easy to remove. This fix is good for small breaks or cracks.
Apply Epoxy Glue
Epoxy glue can bond broken handle parts. Clean the surfaces well before applying the glue. Press the parts together and hold until the glue sets.
Epoxy works well on plastic and metal handles. It can last longer than tape or zip ties but takes more time to dry.
Use Wire Wrap
Thin metal wire can wrap around a broken handle. Twist the wire tightly to hold the parts in place. This method adds strength to weak spots.
Wire wrap is good if you have wire on hand. Make sure no wire ends stick out to avoid injury.
Using Epoxy For Strong Repairs
Epoxy is a reliable glue for fixing broken grill handles. It creates a tough, lasting bond. You can repair plastic, metal, or wood handles with it.
Before using epoxy, prepare the handle and the grill surface well. This helps the glue stick better and makes the repair stronger.
Cleaning And Preparing Surfaces
Cleaning the broken parts is important. Remove dirt, grease, and rust. Use sandpaper to roughen smooth surfaces. This helps the epoxy bond tightly.
Mixing Epoxy Properly
Epoxy usually comes in two parts: resin and hardener. Mix equal amounts well. Stir slowly to avoid air bubbles. Use a clean surface for mixing.
- Use a disposable mixing stick
- Mix on a plastic or glass plate
- Stir for at least one minute
- Avoid shaking or whipping the epoxy
Applying Epoxy To The Grill Handle
Apply the mixed epoxy evenly on both broken parts. Press the pieces together firmly. Hold or clamp them in place to prevent movement during curing.
Curing Time And Safety Tips
| Task | Details |
| Curing Time | Wait 24 hours for full strength |
| Work Area | Well-ventilated and clean |
| Protective Gear | Wear gloves and eye protection |
| Handling | Avoid stress on handle during curing |

Credit: www.youtube.com
Replacing Screws And Fasteners
Broken grill handles often fail due to worn-out screws or fasteners. Replacing these small parts can restore your grill’s handle securely. Using the right tools and parts makes the job easier.
Check all screws and fasteners for damage before starting. Choose replacements that match the size and type of the original parts. This ensures a strong and safe handle repair.
Removing Old Screws And Fasteners
Use a screwdriver that fits the screw head well to avoid stripping. Turn screws counterclockwise to loosen them. If screws are rusted, apply a lubricant and wait a few minutes before trying again.
Choosing The Right Replacement Parts
- Match the screw length to the original for a proper fit
- Choose rust-resistant materials like stainless steel
- Pick the correct head type: Phillips, flat, or hex
- Ensure the thread size matches the grill’s holes
Using the wrong screws can cause the handle to loosen or break again. Take the old screws to a hardware store to find exact matches.
Installing New Screws And Fasteners
Align the handle holes with the grill frame carefully. Insert the new screws by hand to avoid cross-threading. Tighten screws firmly but do not overtighten to prevent damage.
| Tool | Purpose | Tip |
|---|---|---|
| Screwdriver | Remove and install screws | Use the correct size and type |
| Lubricant | Loosen rusted screws | Apply and wait 5 minutes |
| Replacement Screws | Secure the handle | Match original size and material |
Installing A New Handle
Replacing a broken grill handle is a simple task you can do yourself. Installing a new handle improves safety and makes grilling easier.
This guide explains how to install a new grill handle step by step. You will need basic tools and a replacement handle that fits your grill model.
Remove The Old Handle
Start by turning off the grill and letting it cool completely. Use a screwdriver or wrench to remove the screws or bolts holding the old handle in place.
Keep the screws if they are still in good condition. Carefully pull off the broken handle from the grill lid.
Prepare The Grill Lid
Clean the area where the handle was attached. Remove any rust, dirt, or paint flakes. This helps the new handle fit securely and last longer.
Attach The New Handle
Place the new handle on the grill lid, aligning the holes with the screw spots. Insert the screws or bolts through the handle into the grill lid.
- Hold the handle steady with one hand.
- Use a screwdriver or wrench to tighten the screws firmly.
- Do not overtighten to avoid damaging the handle or grill.
Check The Handle Stability
Test the handle by gently pulling it. Make sure it feels secure and does not wiggle. Tighten screws again if needed.

Credit: www.amazon.co.uk
Preventing Future Damage
Fixing a broken grill handle is only part of the job. You need to stop it from breaking again. Taking care of the handle can save you time and money in the long run.
Simple habits and proper maintenance help keep the grill handle strong. Follow these tips to prevent future damage and enjoy using your grill safely.
Use Heat-resistant Materials
Choose materials that can handle high temperatures. Metal or heat-resistant plastic handles last longer. Avoid cheap plastic that melts or cracks easily.
Avoid Excessive Force
Do not pull or push the handle too hard. Gentle use keeps screws and joints tight. Teach everyone who uses the grill to be careful with the handle.
Regular Cleaning And Inspection
Clean the handle often to remove grease and dirt. Check for loose screws or cracks regularly. Fix small problems before they get worse.
- Use warm soapy water and a soft cloth
- Dry the handle completely after cleaning
- Tighten any loose screws with a screwdriver
- Replace worn parts as soon as you see damage
Protect The Handle From Weather
Cover your grill when not in use. Water and sun damage weaken handles over time. Use a grill cover or store the grill in a sheltered area.
| Weather Factor | Effect on Grill Handle | Protection Tip |
|---|---|---|
| Rain | Rust and corrosion | Use a waterproof cover |
| Sun | Fading and cracking | Store in shade or covered |
| Cold | Material becomes brittle | Keep grill indoors or insulated |
When To Call A Professional
Fixing a broken grill handle can be a simple job. Sometimes, it needs a professional’s help. Knowing when to call one saves time and effort.
Here are signs that you should hire a professional to repair your grill handle.
Handle Is Severely Damaged Or Cracked
If the grill handle has deep cracks or large breaks, it may be unsafe to fix it yourself. A professional can assess the damage and replace the handle if needed.
Trying to fix severe damage without proper tools can cause injury or further damage to the grill.
You Lack Proper Tools Or Materials
Some grill handles need special screws or heat-resistant materials for repair. Without these, the handle may break again soon.
A professional has the right tools and parts to make the repair safe and long-lasting.
Handle Is Attached To Gas Or Electrical Parts
If the handle is close to gas lines or electrical parts, it is safer to get help. Wrong repairs can cause leaks or electrical problems.
Professionals know how to work safely around these parts and prevent accidents.
You Are Not Comfortable Doing The Repair
Some people may feel unsure about fixing a grill handle. If you are not confident, a professional can do the job correctly.
It is better to avoid risks and let experts handle the repair for safety and durability.
Handle Repair Needs Welding Or Advanced Work
Sometimes, broken handles require welding or complex fixing. This needs skill and special equipment.
Calling a professional ensures the repair is done properly and the grill is safe to use.

Credit: www.youtube.com
Frequently Asked Questions
How Do I Know If My Grill Handle Is Broken?
A broken grill handle may show cracks, become loose, or not function properly. Inspect it for visible damage or instability. If the handle feels unsafe or doesn’t support the grill lid properly, it’s likely broken and needs repair or replacement to ensure safe usage.
What Tools Are Needed To Fix A Grill Handle?
To fix a grill handle, you typically need a screwdriver, pliers, and possibly a wrench. Depending on your grill model, you might also need replacement screws or bolts. Having these tools ready ensures a smooth repair process. Always check your grill’s manual for specific tool requirements.
Can I Replace The Grill Handle Myself?
Yes, replacing a grill handle is a straightforward DIY task. Ensure you have the correct replacement handle and necessary tools. Follow your grill’s manual for guidance. Most replacements involve unscrewing the old handle and securing the new one. This simple task can restore your grill’s functionality.
Where Can I Buy Replacement Grill Handles?
Replacement grill handles are available at hardware stores, online marketplaces, or directly from the grill’s manufacturer. Ensure compatibility with your grill model when purchasing. Reading customer reviews can also help in selecting a durable and reliable replacement handle for your grill.
Conclusion
Fixing a broken grill handle is simpler than it seems. With a few tools and some care, you can do it yourself. This saves money and keeps your grill safe to use. Take your time and follow each step carefully.
Soon, your grill will be ready for cooking again. Enjoy your meals without worry. A strong handle makes grilling easier and safer. Try this fix and keep your grill in great shape.