

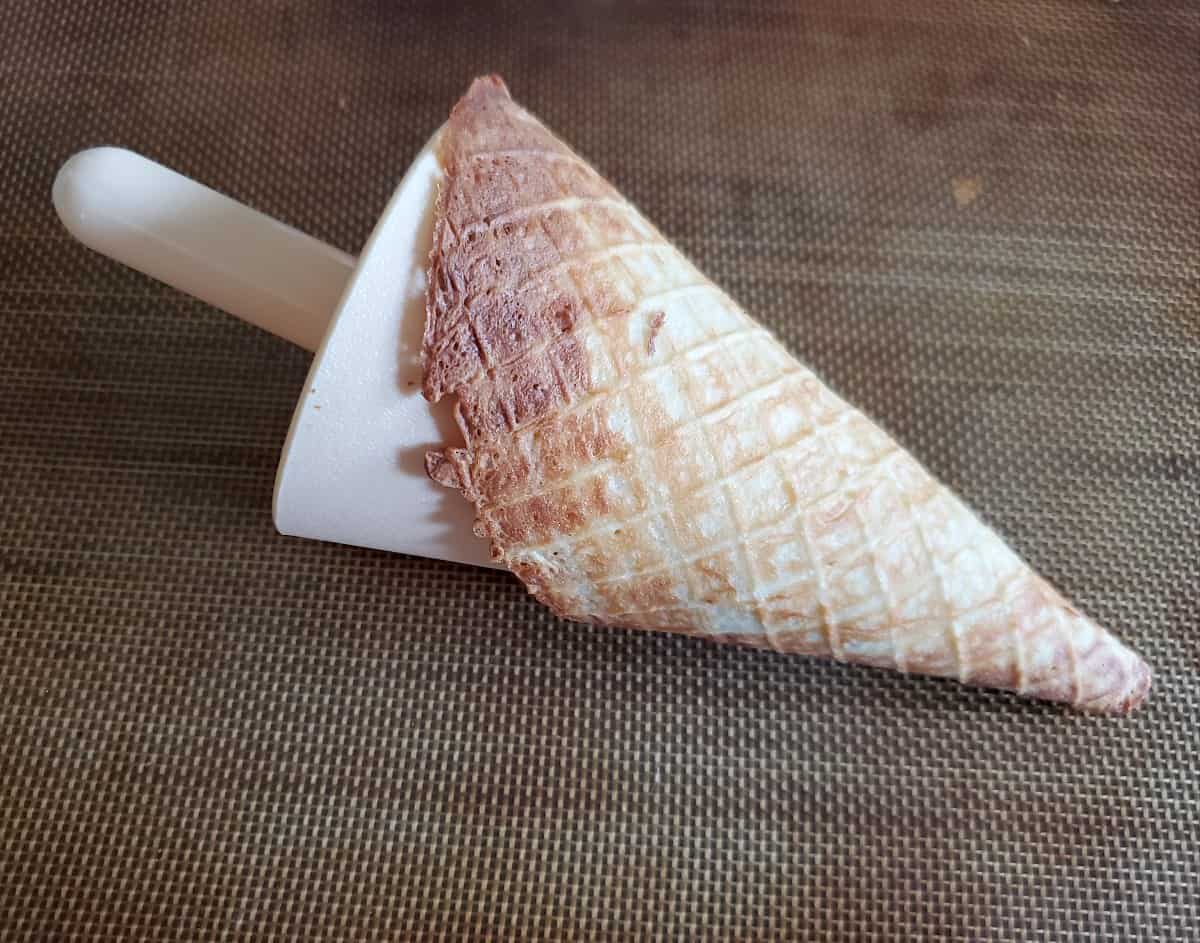
Imagine biting into a warm, crispy waffle cone that you made yourself. The sweet aroma fills your kitchen, and the satisfying crunch makes every scoop of ice cream taste even better.
Making your own waffle cones is easier than you think, and once you learn how, you’ll never want to buy them from the store again. Ready to impress your friends and treat yourself with a homemade twist? Keep reading, because we’re about to show you step-by-step how to create perfect waffle cones right at home.

Credit: honestandtruly.com
Ingredients For Waffle Cones
Making your own waffle cones is fun and tasty. You only need a few simple ingredients.
These ingredients help create crispy, sweet cones to hold your ice cream.
Essential Dry Ingredients
Dry ingredients give structure and flavor to waffle cones. Use fresh and measured ingredients for best results.
- All-purpose flour: the base for the batter
- Sugar: adds sweetness and helps browning
- Baking powder: makes cones light and crisp
- Salt: balances the sweetness and enhances flavor
Wet Ingredients You Need
Wet ingredients mix with dry ones to form the batter. They add moisture and richness to the cones.
- Milk: makes the batter smooth and thin
- Eggs: bind ingredients and add texture
- Butter (melted): adds flavor and crispiness
- Vanilla extract: gives a sweet aroma
Credit: honestandtruly.com
Tools And Equipment
Making your own waffle cones at home needs the right tools. Good equipment helps you create tasty, crisp cones easily.
This guide covers the essential tools and equipment you need for waffle cones. It will also help you pick the best waffle maker.
Choosing The Right Waffle Maker
A waffle maker is key to making waffle cones. Choose one that makes thin, crisp waffles for easy rolling.
Look for a waffle maker with a flat, round cooking surface. This shape makes it simple to form cones.
- Non-stick plates prevent batter from sticking
- Adjustable temperature control helps avoid burning
- Compact size fits easily on your countertop
- Easy-to-clean surfaces save time
Other Helpful Kitchen Tools
You will need a few extra tools to make perfect waffle cones. These tools help with shaping and cooling the cones.
- Spatula:Helps lift waffles gently from the maker without breaking.
- Cone Roller:A wooden or metal tool to shape hot waffles into cones.
- Cooling Rack:Lets cones cool evenly and stay crisp.
- Mixing Bowls:For preparing your batter smoothly.
- Measuring Cups and Spoons:Ensure correct ingredient amounts.
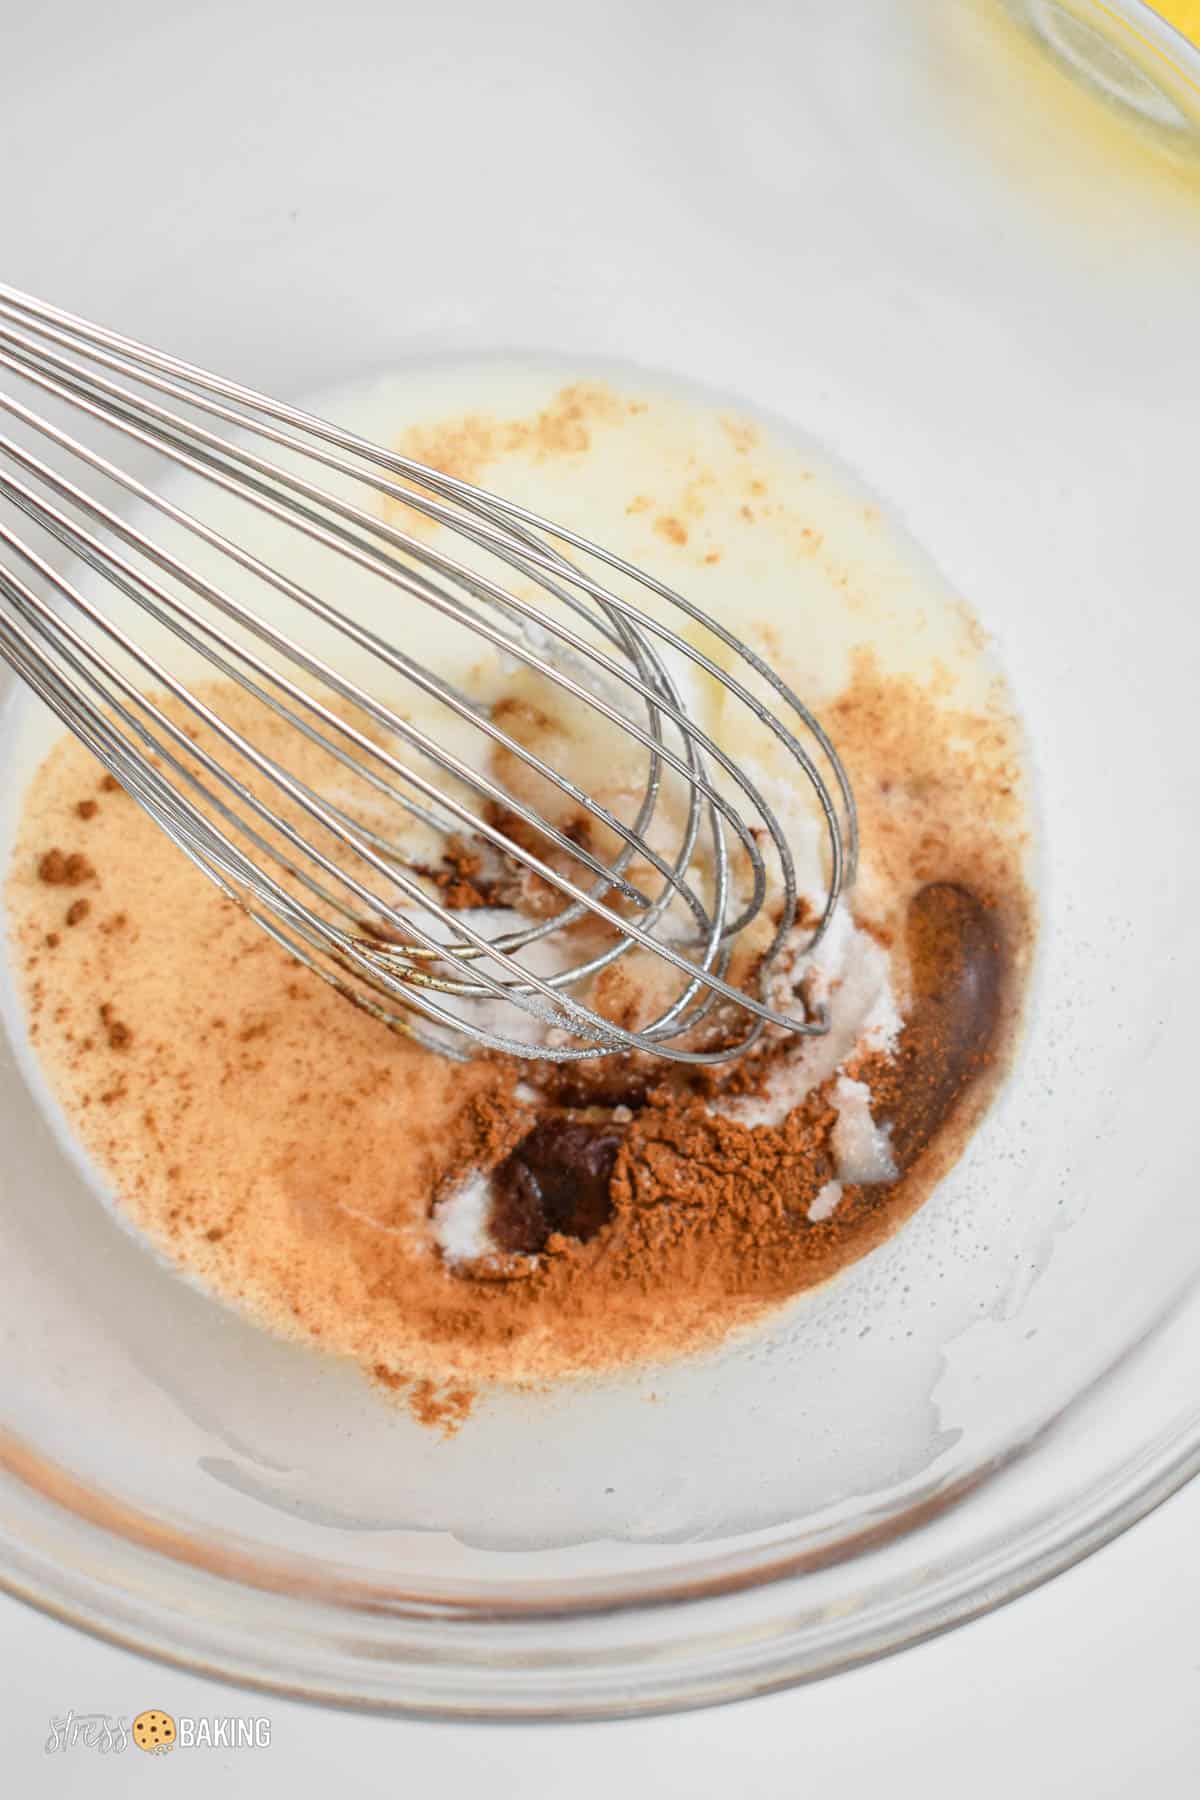
Preparing The Batter
Making your own waffle cone batter is the first step to tasty homemade cones. A good batter helps create crisp and golden cones.
It is important to mix the ingredients well and let the batter rest. This will improve the texture and flavor of your cones.
Mixing Tips For Smooth Batter
Use a whisk to combine dry and wet ingredients gently. Avoid over-mixing to keep the batter light.
Check for lumps and stir until the batter is smooth. A smooth batter spreads evenly on the waffle iron.
- Sift flour before adding it
- Mix eggs and sugar until creamy
- Add melted butter slowly while stirring
Batter Consistency And Resting Time
The batter should be thin but not runny. It should pour easily but hold some thickness.
Rest the batter for 30 minutes before cooking. This lets the flour absorb the liquid and improves texture.
- Thin batter spreads well on the iron
- Resting prevents tough cones
- Use a spoon or ladle to test consistency
Cooking The Waffle Cones
Cooking waffle cones is a key step to get crispy and tasty cones. You need the right heat and time to cook the batter perfectly.
After cooking, shaping the cones quickly is important. The batter hardens fast, so work fast to get the right cone shape.
Cooking Time And Temperature
Set your waffle iron to medium-high heat. This is usually around 350°F (175°C). Too hot will burn the cones. Too low will make them soft.
Cook each waffle for about 45 to 60 seconds. The edges should turn golden brown. Check the color often to avoid burning.
- Preheat waffle iron to 350°F (175°C)
- Cook each waffle for 45 to 60 seconds
- Look for a golden brown color
- Adjust time if cones burn or stay soft
Shaping The Cones Quickly
Take the hot waffle off the iron carefully. Use a flat spatula to lift it. Work fast before it cools and hardens.
Place the waffle on a cone-shaped mold or roll it around a cone form. Press gently to keep the shape. Let it cool fully to harden.
- Remove waffle immediately after cooking
- Use a cone mold or roll by hand
- Press gently to keep the shape
- Cool the cone fully before use
Cooling And Storing
Making your own waffle cones is fun and tasty. After baking, cooling and storing them right keeps them fresh. This guide explains how to keep your cones crispy and store them properly.
Proper care helps your waffle cones stay crunchy and ready to enjoy. Let’s look at the best ways to cool and store them.
How To Keep Cones Crispy
Cooling waffle cones properly stops them from getting soft. Let them cool on a wire rack so air can flow all around.
Avoid stacking cones while they are hot. This traps steam and makes them soggy. Use these tips to keep them crisp:
- Place cones on a wire rack for at least 10 minutes
- Let cones cool completely before storing
- Do not cover cones while they are warm
- Keep cones away from moisture and humidity
Best Storage Practices
Store waffle cones in an airtight container to keep air and moisture out. This helps cones stay fresh and crunchy for days.
Keep the container in a cool, dry place. Avoid storing cones in the fridge because moisture can make them soft.
- Use airtight containers or sealed plastic bags
- Store cones at room temperature in a dry spot
- Do not stack cones inside the container to avoid breakage
- If cones get soft, warm them slightly in the oven to crisp again
Creative Variations
Making your own waffle cones is fun and allows you to add unique touches. You can try many creative ideas to make cones special.
Two great ways to customize waffle cones are by adding flavors and toppings, and by changing their shapes and sizes.
Adding Flavors And Toppings
You can mix flavors into the waffle batter or decorate the cones after baking. Both ways make your cones taste different and look great.
- Mix cinnamon or cocoa powder into the batter for new flavors.
- Add finely chopped nuts like almonds or pecans to the batter.
- Dip cone edges in melted chocolate and roll in sprinkles or crushed cookies.
- Brush cones with honey or caramel for extra sweetness before serving.
- Use colored sugar crystals on the cone edges to add sparkle.
Using Different Shapes And Sizes
Changing the shape or size of waffle cones can make them more fun and fit different ice cream servings. Small cones are great for kids.
| Shape | Description | Best Use |
| Classic Cone | Standard cone shape with a pointed tip | Most ice cream types |
| Mini Cones | Small, bite-sized cones | Party snacks or samples |
| Wide Bowl | Open and wide to hold more toppings | Ice cream sundaes |
| Twisted Cone | Spiral design for a fun look | Special occasions |
| Flat Cone | Less curved, almost like a waffle cookie | Easy to hold and eat |
Troubleshooting Common Issues
Making your own waffle cones can be fun but sometimes problems happen. Soft or soggy cones and cracks can spoil the experience. This guide helps you fix these issues quickly.
Read the tips below to improve your waffle cones. You will learn how to keep them crisp and strong.
Fixing Soft Or Soggy Cones
Soft or soggy cones happen when cones are not cooked enough or stored poorly. You can fix this by following simple steps.
- Cook cones longer until golden brown and crispy.
- Cool cones on a wire rack to let air circulate.
- Store cones in an airtight container to keep moisture out.
- Avoid stacking cones before they cool to prevent steam buildup.
- If cones get soggy, reheat them in the oven for 3–5 minutes.
Preventing Cracks And Breakage
Cones crack when they are too dry or bent too quickly. Use these tips to make your cones strong and flexible.
| Problem | Cause | Solution |
| Cracks while shaping | Cones cooled too fast | Shape cones immediately after cooking |
| Breakage after cooling | Cones too dry | Store cones in a sealed container |
| Brittle edges | Overbaking | Remove cones from heat when golden |
| Cones tear when rolled | Dough too thin | Make dough slightly thicker |
Credit: stressbaking.com
Frequently Asked Questions
How Do You Make Waffle Cones From Scratch?
To make waffle cones from scratch, mix flour, sugar, eggs, and vanilla. Pour batter onto a waffle cone maker. Shape the warm waffle around a cone mold. Let it cool to harden. Enjoy your homemade waffle cones with your favorite ice cream.
What Ingredients Are Needed For Waffle Cones?
Waffle cones require basic ingredients like flour, sugar, eggs, butter, and vanilla extract. These ingredients create a sweet, crispy cone. Some recipes add a pinch of salt for balance. The ingredients are simple, making it easy to prepare waffle cones at home.
Can I Make Gluten-free Waffle Cones?
Yes, gluten-free waffle cones can be made using gluten-free flour. Substitute all-purpose flour with a gluten-free blend. Ensure all other ingredients are gluten-free. The texture may vary slightly, but they’ll still be delicious. Experiment with different gluten-free flours for the best results.
How Long Do Homemade Waffle Cones Last?
Homemade waffle cones last about 1-2 weeks if stored properly. Keep them in an airtight container at room temperature. This prevents them from becoming stale or soft. Avoid humid environments to maintain their crispiness. For best taste, consume them within a few days.
Conclusion
Making your own waffle cones brings fresh, sweet joy to any dessert. They taste better than store-bought and are fun to create. Just follow the steps carefully and use simple ingredients. You can enjoy warm, crispy cones right from your kitchen.
Try adding your favorite toppings or flavors for a personal touch. Homemade waffle cones make ice cream time even more special. Give it a go and share the delicious results with family or friends!