

Craving a crunchy, sweet waffle cone but don’t have a waffle maker? You’re not alone—and the good news is, you don’t need one to enjoy homemade waffle cones.
Imagine the smell of warm, fresh cones right from your kitchen, ready to hold your favorite ice cream. In this post, you’ll discover simple tricks and easy steps to make delicious waffle cones with just basic tools you already have.
Keep reading, and you’ll be enjoying your perfect cone in no time!
Credit: honestandtruly.com
Ingredients You Need
Making waffle cones without a waffle maker is simple. You only need a few basic ingredients.
These ingredients create a thin, crispy batter that you can shape into cones easily.
All-purpose Flour
All-purpose flour forms the base of the waffle cone batter. It gives structure and texture.
Use sifted flour for a smooth batter and lighter cones.
Sugar
Sugar adds sweetness and helps the cones brown during cooking. It also makes them crisp.
Granulated sugar works best, but you can use brown sugar for a richer flavor.
Eggs
Eggs bind the ingredients together and add moisture to the batter. They help cones hold their shape.
Use large eggs at room temperature for best results.
Butter
Butter adds flavor and richness to the cones. It also helps make the cones crisp and golden.
Use melted butter, and let it cool slightly before mixing into the batter.
Milk
Milk thins the batter to the right consistency. It makes the cones easier to spread and cook evenly.
Use whole milk or any milk you prefer. Adjust amount to get a thin batter.
Vanilla Extract
Vanilla extract adds a sweet aroma and enhances the flavor of the cones.
You only need a small amount to make a big difference.

Credit: honestandtruly.com
Preparing The Batter
Making waffle cones without a waffle maker starts with the right batter. The batter should be smooth and easy to shape.
This batter is different from pancake batter. It needs to be thin and pourable for crisp cones.
Gather Basic Ingredients
You need simple ingredients found in most kitchens. These create the sweet and crispy texture of waffle cones.
- All-purpose flour for structure
- Sugar for sweetness and crispness
- Eggs to bind the batter
- Milk for smoothness
- Butter for flavor and texture
- Vanilla extract for taste
- A pinch of salt to balance flavors
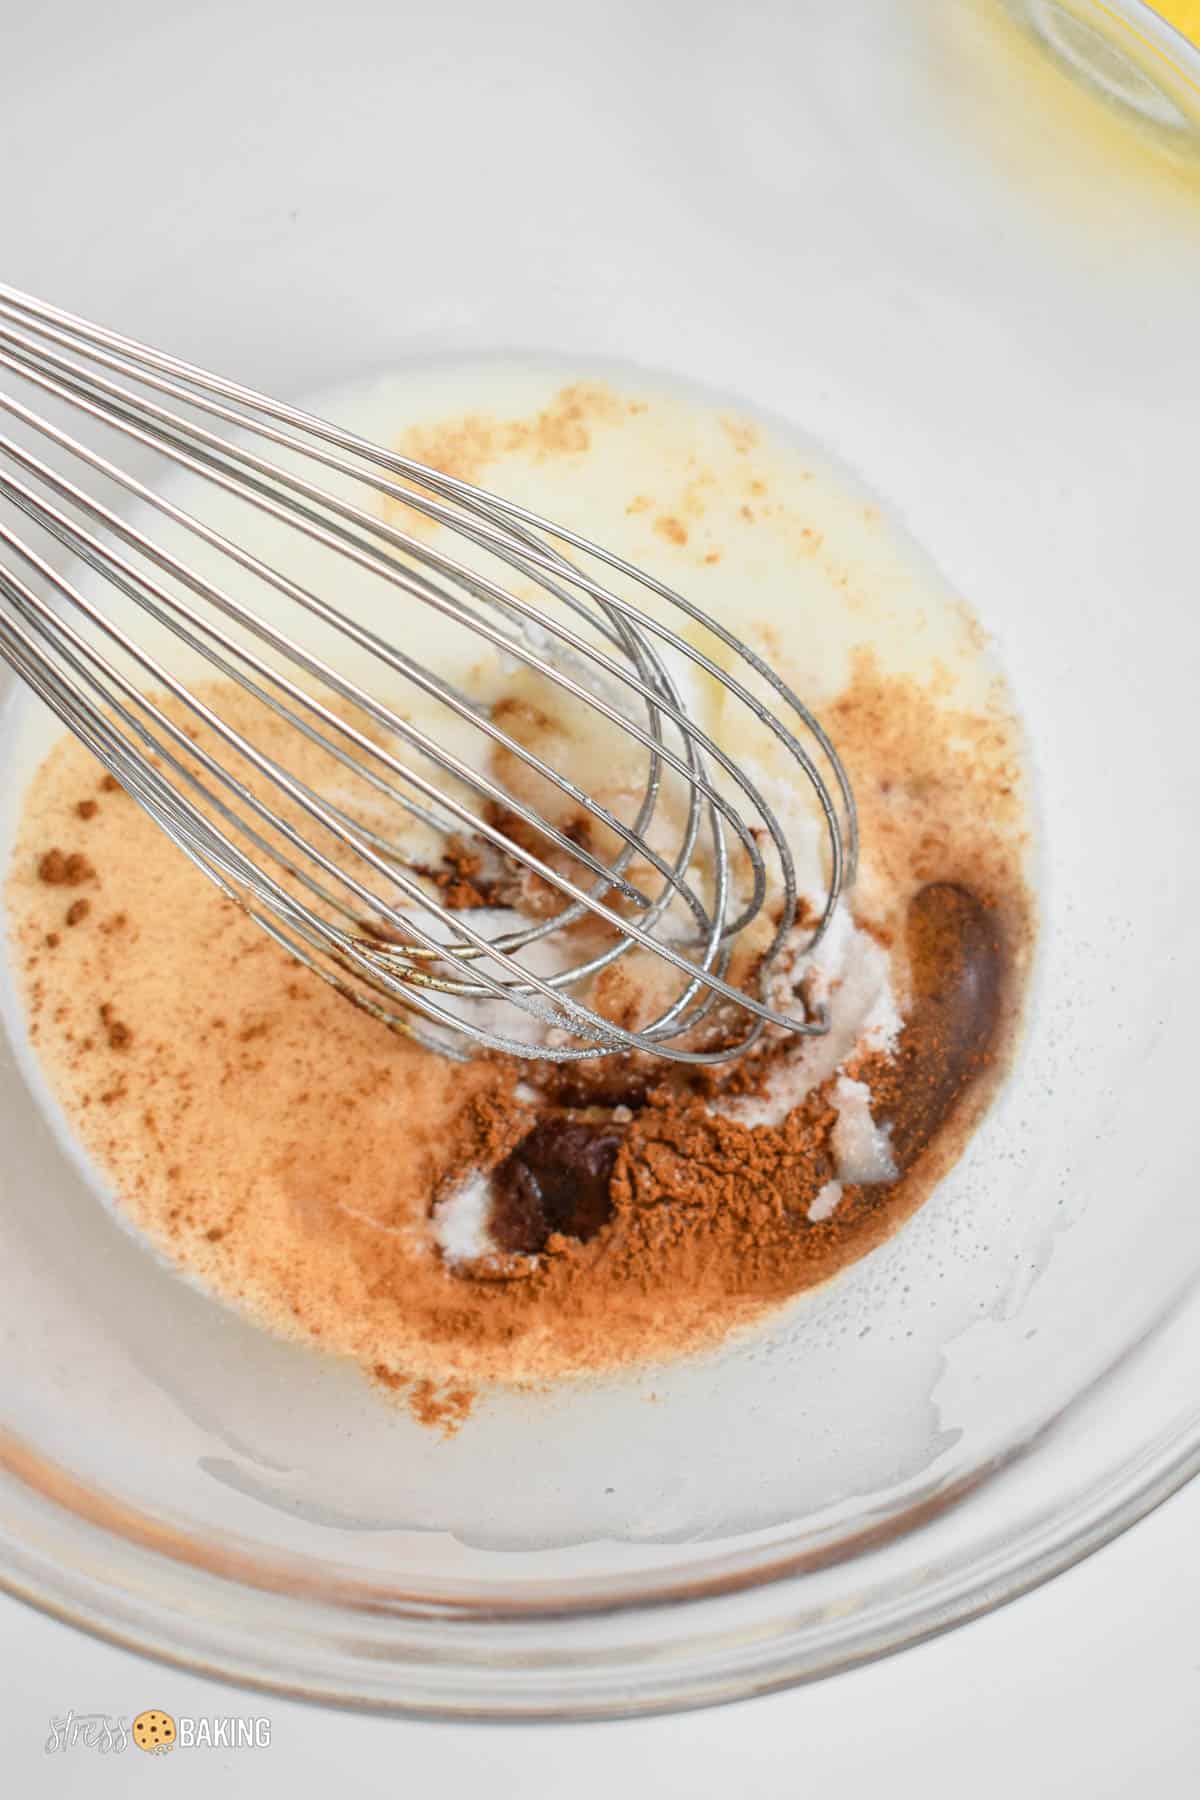
Mix Dry Ingredients First
Start by combining flour, sugar, and salt in a bowl. Mixing dry ingredients first helps even distribution.
Use a whisk to blend them well. This prevents clumps and makes the batter smooth.
Add Wet Ingredients Gradually
Beat the eggs lightly in a separate bowl. Then add milk, melted butter, and vanilla extract to the eggs.
Pour wet ingredients slowly into the dry mix. Stir gently to avoid lumps but do not overmix.
- Use a spatula or wooden spoon to fold ingredients
- Stop mixing as soon as batter is smooth
- Batter should be thin, like heavy cream
Rest The Batter Before Cooking
Let the batter rest for about 10 to 15 minutes. Resting helps the flour absorb the liquids fully.
This step improves the texture and makes cones easier to shape. Stir the batter gently before cooking.
Alternative Cooking Methods
Making waffle cones without a waffle maker is easy with some simple tools. You can use different cooking methods to get crispy, tasty cones.
Here are some ways to make waffle cones using common kitchen items. Each method gives good results and needs little equipment.
Using A Stovetop Pan
You can cook waffle cone batter on a regular stovetop pan. Use a non-stick or cast iron pan for best results.
Heat the pan on medium heat. Pour a small amount of batter and spread it thinly. Cook until edges turn golden brown, then flip briefly.
- Use low to medium heat to avoid burning.
- Cook each side for 1 to 2 minutes.
- Work quickly to shape the cone while warm.
- Let cones cool to harden before serving.
Baking In The Oven
You can bake thin rounds of waffle batter on a baking sheet. This method is good if you want to make many cones at once.
| Temperature | 375°F (190°C) |
| Baking Time | 5 to 7 minutes |
| Thickness | Spread batter thinly, about 1/8 inch |
| Shape | Roll cones immediately after baking |
Remove the baked waffles quickly and roll them into cones. Let them cool to hold their shape and crisp texture.
Using A Griddle Or Skillet
A griddle or skillet works well for cooking waffle cones. It offers a large flat surface to cook several at a time.
Preheat the griddle to medium heat. Pour batter in small circles and cook each side until golden brown. Flip carefully to cook evenly.
- Use a spatula to flip the waffles gently.
- Cook for about 1 to 2 minutes per side.
- Shape cones while still warm and soft.
- Cool cones on a rack to keep crisp.
Shaping The Cones
Making waffle cones without a waffle maker needs careful shaping. The cones should be formed while the batter is still warm and flexible.
Shaping quickly prevents cracks and helps the cones hold their classic cone shape. Let’s look at two easy ways to shape your cones.
Molding While Warm
Once you cook the waffle thin and golden, remove it fast. The waffle cools quickly and becomes hard to shape.
Use a clean kitchen towel or oven mitt to handle the hot waffle. Gently roll it from one edge to the other into a cone shape.
- Place the warm waffle flat on a surface.
- Lift one edge and roll it tightly into a cone.
- Pinch the edge to seal the cone shape.
- Hold for a few seconds until it keeps its shape.
- Let it cool completely before filling.
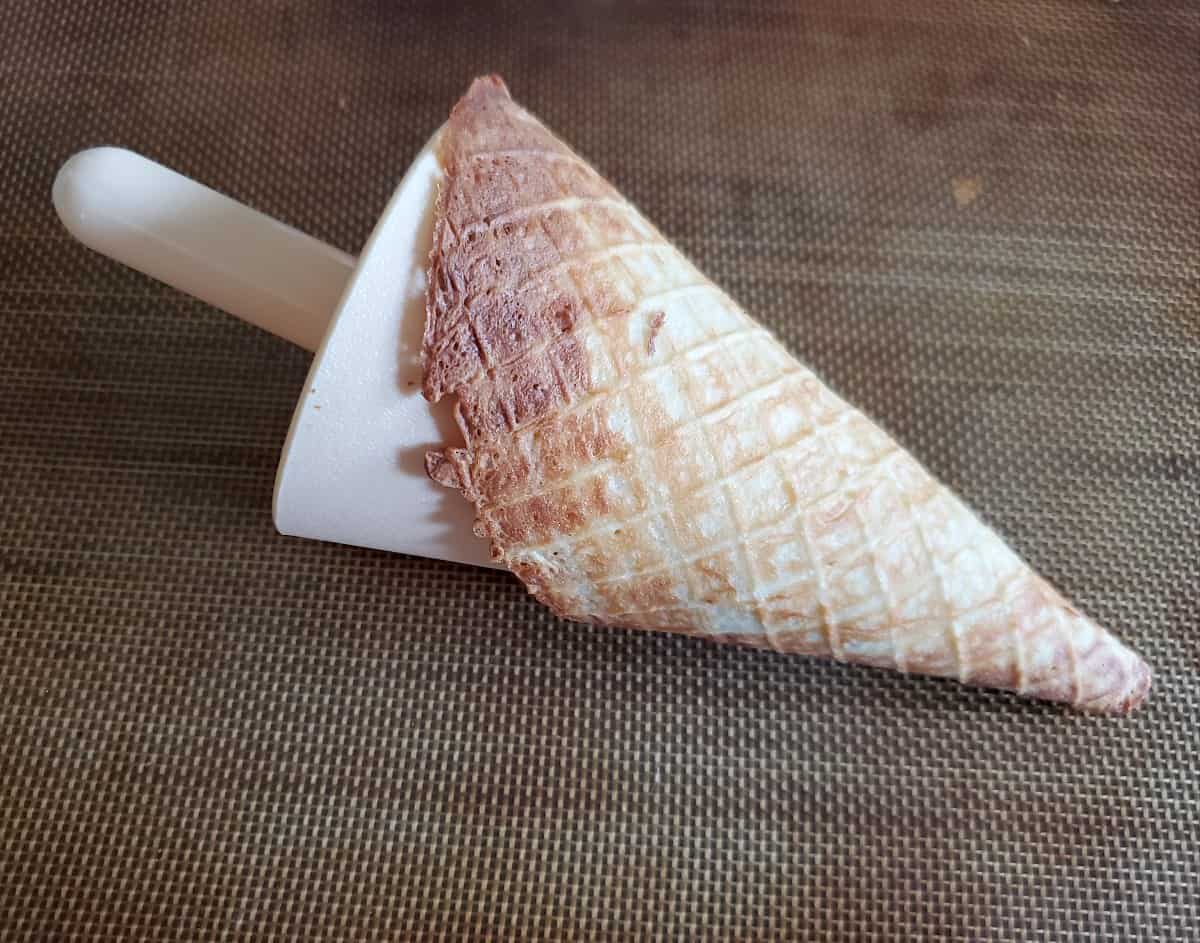
Using A Cone Mold Or Diy Tools
You can use a cone mold to shape your waffle cones perfectly. If you don’t have one, make a simple mold at home.
Use sturdy paper or thin cardboard. Roll it into a cone shape and secure it with tape. Shape the warm waffle over this mold.
- Heat the waffle and place it on the cone mold.
- Wrap the waffle around the mold tightly.
- Hold it firmly for about 10 seconds.
- Let the cone cool while on the mold.
- Remove the mold carefully after cooling.
Cooling And Storing
Making waffle cones without a waffle maker is easy, but cooling and storing them right is important. Proper cooling keeps cones crisp and tasty.
Storing waffle cones carefully helps them stay fresh longer. This guide covers how to cool and store your cones well.
Cooling Waffle Cones
After shaping your waffle cones, let them cool at room temperature. Cooling helps the cones harden and stay crunchy.
Place the cones on a wire rack or a clean surface. Avoid stacking cones while cooling to keep their shape.
- Use a wire rack to cool cones evenly.
- Do not stack cones until fully cool.
- Let cones cool for at least 10 minutes.
Storing Waffle Cones
Store waffle cones in an airtight container to keep moisture out. Moisture makes cones soft and less tasty.
Keep the container in a cool, dry place. Avoid storing cones near heat or humidity.
- Use airtight containers or sealed bags.
- Store cones away from heat and humidity.
- Use cones within one week for best flavor.
Credit: stressbaking.com
Tips For Perfect Waffle Cones
Making waffle cones without a waffle maker is easy and fun. You only need a few simple tools and ingredients.
Follow these tips to create crispy, tasty waffle cones that hold ice cream well.
Use A Non-stick Pan Or Griddle
A non-stick pan or griddle helps cook the waffle batter evenly. It also prevents sticking and burning.
Keep the pan at medium heat for the best results.
Spread The Batter Thinly
Pour a small amount of batter and spread it thin. Thin batter cooks faster and becomes crispier.
- Use the back of a spoon or spatula to spread the batter
- A thin layer makes it easier to shape the cone
Shape The Cone Quickly
After cooking, the waffle is soft and warm. Shape it into a cone fast before it hardens.
Use a cone mold or roll it around a clean kitchen towel or cup.
Cool The Cone Completely
Let the cone cool fully on a wire rack. Cooling makes it crisp and sturdy.
Store cones in an airtight container to keep them fresh longer.
Adjust Sweetness And Flavor
Add sugar or vanilla to the batter for better flavor. You can also try cinnamon or cocoa powder.
- 1 tablespoon sugar for mild sweetness
- 1 teaspoon vanilla extract for aroma
- ½ teaspoon cinnamon or cocoa for variety
Creative Variations
You can make waffle cones without a waffle maker by trying new ideas. These changes make cones fun and tasty.
Simple tweaks to the batter, edges, or toppings create unique waffle cones. Let’s explore some creative options.
Flavored Batters
Adding flavors to your batter changes the taste and look of cones. You can mix in spices, extracts, or powders.
Try vanilla, cocoa, or cinnamon to give cones a new twist. Fruit powders like strawberry or matcha make colorful cones.
- Vanilla or almond extract for sweet aroma
- Cocoa powder for chocolate flavor
- Cinnamon or nutmeg for warm spice
- Matcha or beet powder for color and taste
- Crushed nuts or seeds for texture
Decorative Edges
Changing the cone edges makes your waffle cones look special. You can create scalloped, zigzag, or lace edges.
Use cookie cutters or a knife to shape the batter before cooking. This adds a fun design and makes cones stand out.
- Scalloped edges for a soft, wavy look
- Zigzag edges for a bold style
- Lace edges for a delicate pattern
- Even plain smooth edges for a classic look
Toppings And Coatings
Toppings and coatings add flavor and texture to cones. Dip edges in chocolate or sprinkle nuts for extra taste.
Try colorful sprinkles, crushed cookies, or coconut flakes. These toppings make your cones more exciting to eat.
- Dip edges in melted chocolate or caramel
- Sprinkle crushed nuts or candy pieces
- Use shredded coconut or cookie crumbs
- Add colorful sprinkles or edible glitter
- Coat with crushed freeze-dried fruit
Frequently Asked Questions
How Can I Make Waffle Cones Without A Waffle Maker?
You can use a skillet or griddle to cook thin waffle batter. Shape the warm waffle quickly into a cone before it hardens to get the perfect homemade cone without special equipment.
What Ingredients Are Needed For Waffle Cone Batter?
Basic ingredients include flour, sugar, eggs, butter, vanilla extract, and milk. These create a smooth batter that crisps well when cooked thinly on a pan or skillet.
How Do I Shape Waffle Cones Without A Mold?
Right after cooking, place the warm waffle on a cone-shaped object or roll it around a bottle neck. Hold it until it cools and hardens into the cone shape.
Can I Reuse Homemade Waffle Cones?
No, homemade waffle cones are best fresh. They become soft and lose crispness after exposure to air or moisture, so store them in an airtight container to maintain freshness.
Conclusion
Making waffle cones without a waffle maker is simple and fun. Use a pan or oven to cook your batter. Shape the cones quickly before they cool. Practice helps you get the perfect crispness and shape. Enjoy your homemade cones with ice cream or snacks.
Try different flavors to find your favorite. Homemade waffle cones add a special touch to any treat. Give it a try and enjoy a tasty, crunchy snack at home!