

Craving a crunchy, sweet waffle cone but don’t have a waffle cone maker? You’re not alone, and the good news is—you don’t need one to enjoy homemade waffle cones.
Imagine biting into a warm, crispy cone you made yourself, perfect for your favorite ice cream or dessert. In this guide, you’ll discover simple steps and easy tricks to create delicious waffle cones right in your kitchen. Ready to impress your taste buds and guests without any fancy gadgets?
Keep reading, and let’s get started!
Ingredients For Homemade Waffle Cones
Making waffle cones at home is fun and easy. You only need a few simple ingredients. These ingredients create the perfect texture and flavor for your cones.
Below, we look at the basic ingredients to make the batter and some options to add extra taste.
Basic Batter Components
The batter for waffle cones uses simple ingredients found in most kitchens. Each one has a role in making the cones crisp and tasty.
| Ingredient | Purpose |
| All-purpose flour | Gives structure to the cone |
| Sugar | Adds sweetness and helps browning |
| Eggs | Binds the ingredients and adds richness |
| Milk | Creates smooth batter consistency |
| Butter (melted) | Adds flavor and crispness |
| Vanilla extract | Enhances the aroma |
Optional Flavor Enhancers
You can add flavors to make your waffle cones special. These ingredients blend well and are easy to mix into the batter.
- Cinnamon powder for a warm spice taste
- Ground nuts like almonds or hazelnuts for crunch
- Cocoa powder to make chocolate-flavored cones
- Zest of lemon or orange for a fresh citrus note
- A pinch of salt to balance sweetness
Alternative Tools To A Waffle Cone Maker
You can make waffle cones at home without a special waffle cone maker. Some common kitchen tools work well as alternatives. These tools help you get the right shape and texture.
Below are three useful methods you can try using tools you likely have. Each method gives a slightly different result but all make tasty cones.
Using A Stovetop Pan
A heavy-bottomed stovetop pan can cook your waffle batter evenly. Use a non-stick or cast iron pan for best results.
- Heat the pan over medium heat.
- Pour a small amount of batter and spread it thin.
- Cook until edges turn golden brown.
- Quickly shape the hot waffle into a cone using a cone mold or a rolled paper.
- Let it cool to hold the shape.
Employing A Griddle Or Skillet
A flat griddle or skillet works like a pan but offers a larger cooking surface. You can make bigger waffle circles this way.
| Tool | Heat Level | Cooking Time | Tip |
| Griddle | Medium | 2-3 minutes per side | Use a silicone spatula to flip gently |
| Skillet | Medium-low | 3-4 minutes per side | Keep batter thin for crispiness |
Utilizing An Oven Or Toaster Oven
You can bake thin batter rounds on a baking sheet to make waffle cones. This method takes longer but works well without a stovetop.
Try this simple process:
- Preheat oven to 350°F (175°C).
- Spread a thin layer of batter in small circles on parchment paper.
- Bake for 5-7 minutes until edges are golden.
- Remove quickly and shape the warm waffle into a cone.
- Let it cool to keep the shape.
Step-by-step Waffle Cone Preparation
Making waffle cones at home can be fun and easy. You do not need a special waffle cone maker.
This guide shows how to prepare waffle cones with simple tools. Follow each step carefully for best results.
Mixing The Batter
Start by mixing the batter for your waffle cones. Use common ingredients found in your kitchen.
The batter should be smooth and not too thick. This helps to cook the waffles evenly.
- 1 cup all-purpose flour
- 1/4 cup sugar
- 1/4 teaspoon salt
- 2 large eggs
- 1/4 cup melted butter
- 1/2 cup milk
- 1 teaspoon vanilla extract
Mix the dry ingredients first. Then add eggs, melted butter, milk, and vanilla. Stir until smooth.
Cooking The Waffle Discs
Cook the batter in a hot pan to make thin waffle discs. Use a non-stick skillet or frying pan.
Pour a small amount of batter and spread it thin. Cook until golden brown on both sides.
- Heat pan on medium heat
- Pour 2 tablespoons of batter
- Spread batter into a thin circle
- Cook for 1-2 minutes per side
- Remove when edges are golden
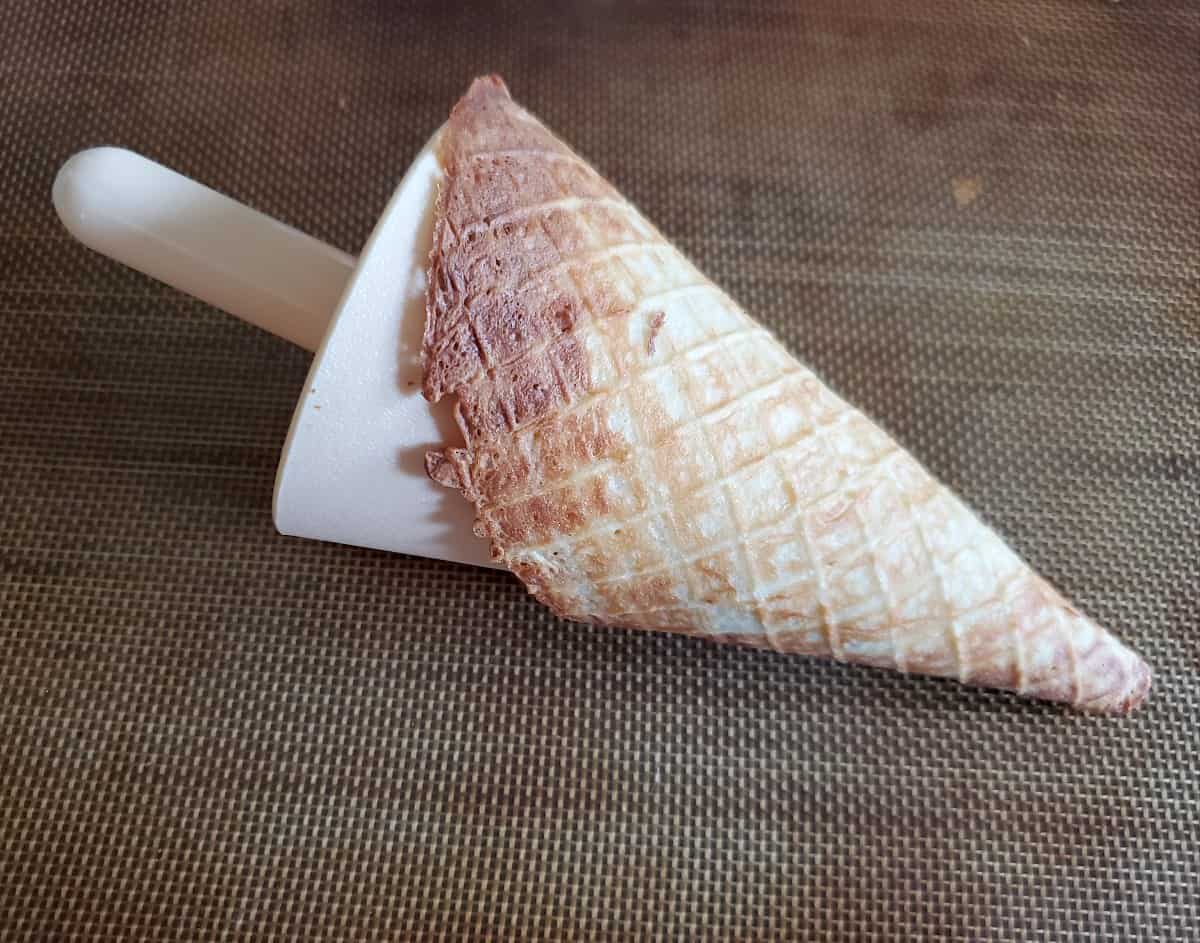
Shaping The Cones Quickly
Shape the waffle discs into cones while they are warm and flexible. Work fast before they harden.
Use a cone-shaped object or roll the disc by hand. Hold the shape until it cools and hardens.
- Place warm disc on a flat surface
- Roll into a cone shape around a cone mold or bottle
- Press edges to seal the cone
- Hold for 10-15 seconds to set shape
- Let cool completely before filling

Credit: www.leeshandlusrecipebox.com
Tips For Perfectly Crispy Cones
Making waffle cones without a special maker is easy with the right tips. Crispy cones depend on how you cook and cool them.
Small changes in thickness, cooking time, and storage can make a big difference. Follow these tips for the best results.
Controlling Thickness
Thin batter spreads cook faster and become crispier. Thick batter makes soft cones that may break easily.
Use a spoon or spatula to spread the batter evenly and thinly on your pan or griddle.
- Spread batter about 1/8 inch thick
- Keep edges thin for easy rolling
- Practice spreading to get even thickness
Adjusting Cooking Time
Cooking time affects crispiness. Cook too little and cones stay soft. Cook too long and they burn.
Watch the color carefully. Golden brown means perfect crispness. Flip cones once during cooking for even heat.
- Cook on medium heat for 1-2 minutes per side
- Flip cones gently to avoid breaking
- Adjust time based on your stove and pan
Cooling And Storing
Cool cones quickly to keep them crisp. Warm cones are soft and bend easily.
Store cooled cones in an airtight container. This stops moisture from making them soggy.
- Cool cones on a wire rack for air circulation
- Roll cones while warm for shape
- Keep cones in a dry place in sealed containers
Creative Variations And Flavors
Making waffle cones without a waffle cone maker is easy and fun. You can add many flavors and twists to make them special.
Try different spices, extracts, chocolates, and nuts to create unique cones. These small changes make a big taste difference.
Adding Spices And Extracts
Adding spices or extracts to your waffle cone batter gives it a fresh flavor. Use small amounts to keep the taste balanced.
Cinnamon, vanilla, and almond extract are popular choices. You can also try nutmeg or ginger for a warm, spicy touch.
- Add ½ teaspoon cinnamon for a sweet, warm flavor
- Use 1 teaspoon vanilla extract for classic taste
- Try ½ teaspoon almond extract for a nutty hint
- Mix in ¼ teaspoon nutmeg or ginger for spice
Incorporating Chocolate Or Nuts
Chocolate and nuts make waffle cones richer and crunchier. You can add chopped nuts or chocolate chips to the batter.
Another option is to dip finished cones in melted chocolate. Sprinkle nuts on top before the chocolate sets for extra texture.
- Stir ¼ cup chopped nuts into the batter
- Add ¼ cup mini chocolate chips for sweet bites
- Dip cones in melted chocolate after baking
- Sprinkle crushed nuts on chocolate-coated cones

Credit: honestandtruly.com
Troubleshooting Common Issues
Making waffle cones without a waffle cone maker can be tricky. Some common problems can happen during the process.
Fixing these issues helps you get crispy, tasty cones every time. Here are some tips to solve common problems.
Batter Too Thick Or Thin
If your batter is too thick, it will be hard to spread and may not cook evenly. Thin batter can make cones that break easily.
Adjust the batter by adding small amounts of milk to thin it or flour to thicken it. The batter should pour easily but not be watery.
- Thick batter: add milk slowly, mix well
- Thin batter: add a little flour at a time
- Batter should flow smoothly but hold shape
Cones Cracking Or Breaking
Cones can crack if they are too dry or cooled too fast. Overcooking also makes them brittle and easy to break.
Roll cones gently while warm and let them cool slowly at room temperature. Avoid overbaking and handle cones with care.
- Roll cones when still warm and soft
- Cool cones on a rack to prevent moisture buildup
- Do not bake too long or at very high heat
Uneven Cooking
Uneven cooking can cause some parts of the cone to burn while others stay soft. This happens if heat is not spread well.
Use a flat pan or griddle and cook over medium heat. Flip the batter carefully to cook both sides evenly.
- Cook on medium heat, not high
- Spread batter thin and even in pan
- Flip cones gently to cook both sides
Credit: honestandtruly.com
Frequently Asked Questions
How Can I Make Waffle Cones Without A Cone Maker?
You can use a hot skillet or griddle to cook waffle batter thinly. Quickly shape the warm waffle into a cone using a rolling tool or your hand.
What Ingredients Do I Need For Homemade Waffle Cones?
Basic ingredients include flour, sugar, eggs, butter, and vanilla extract. These create a crisp, sweet waffle perfect for shaping into cones.
How Do I Shape Waffle Cones Without Specialized Tools?
After cooking, quickly roll the warm waffle around a cone-shaped object like a cup or jar. Hold until it cools and hardens into shape.
Can I Reuse Waffle Cones Made Without A Waffle Cone Maker?
Yes, homemade waffle cones can be reused if stored in an airtight container. Keep them dry to maintain crispness and prevent sogginess.
Conclusion
Making waffle cones without a special maker is simple and fun. Just use a pan or griddle and follow the steps carefully. You can enjoy fresh, crispy cones anytime at home. Experiment with flavors and shapes to add your personal touch.
This method saves money and space in your kitchen. Give it a try and enjoy homemade waffle cones with your favorite ice cream. No fancy tools needed. Just some basic ingredients and a little patience. Sweet treats made easy.