

Imagine the aroma of freshly baked waffle cones wafting through your kitchen. It’s delightful, isn’t it?
You might think that making waffle cones at home is a task best left to professional chefs, but it’s simpler than you think. With just a few ingredients and some basic kitchen tools, you can create crisp, golden cones that are perfect for scooping up your favorite ice cream.
Picture yourself savoring every bite of a homemade treat that’s not just delicious, but also crafted with love and care. You don’t have to settle for store-bought when you can make something extraordinary at home. In this guide, we’re going to show you exactly how to do it. So, let’s roll up our sleeves and dive into the sweet world of homemade waffle cones. Your taste buds will thank you, and so will your family and friends when you share these irresistible treats with them.

Credit: makeitdairyfree.com
Ingredients For Waffle Cones
- Flour:Use all-purpose for the best texture.
- Sugar:Adds sweetness to your cones.
- Eggs:Helps bind the ingredients.
- Milk:Makes the batter smooth and creamy.
- Butter:Adds rich flavor and moisture.
- Vanilla extract:Gives a sweet aroma.
- Salt:Balances the sweetness.
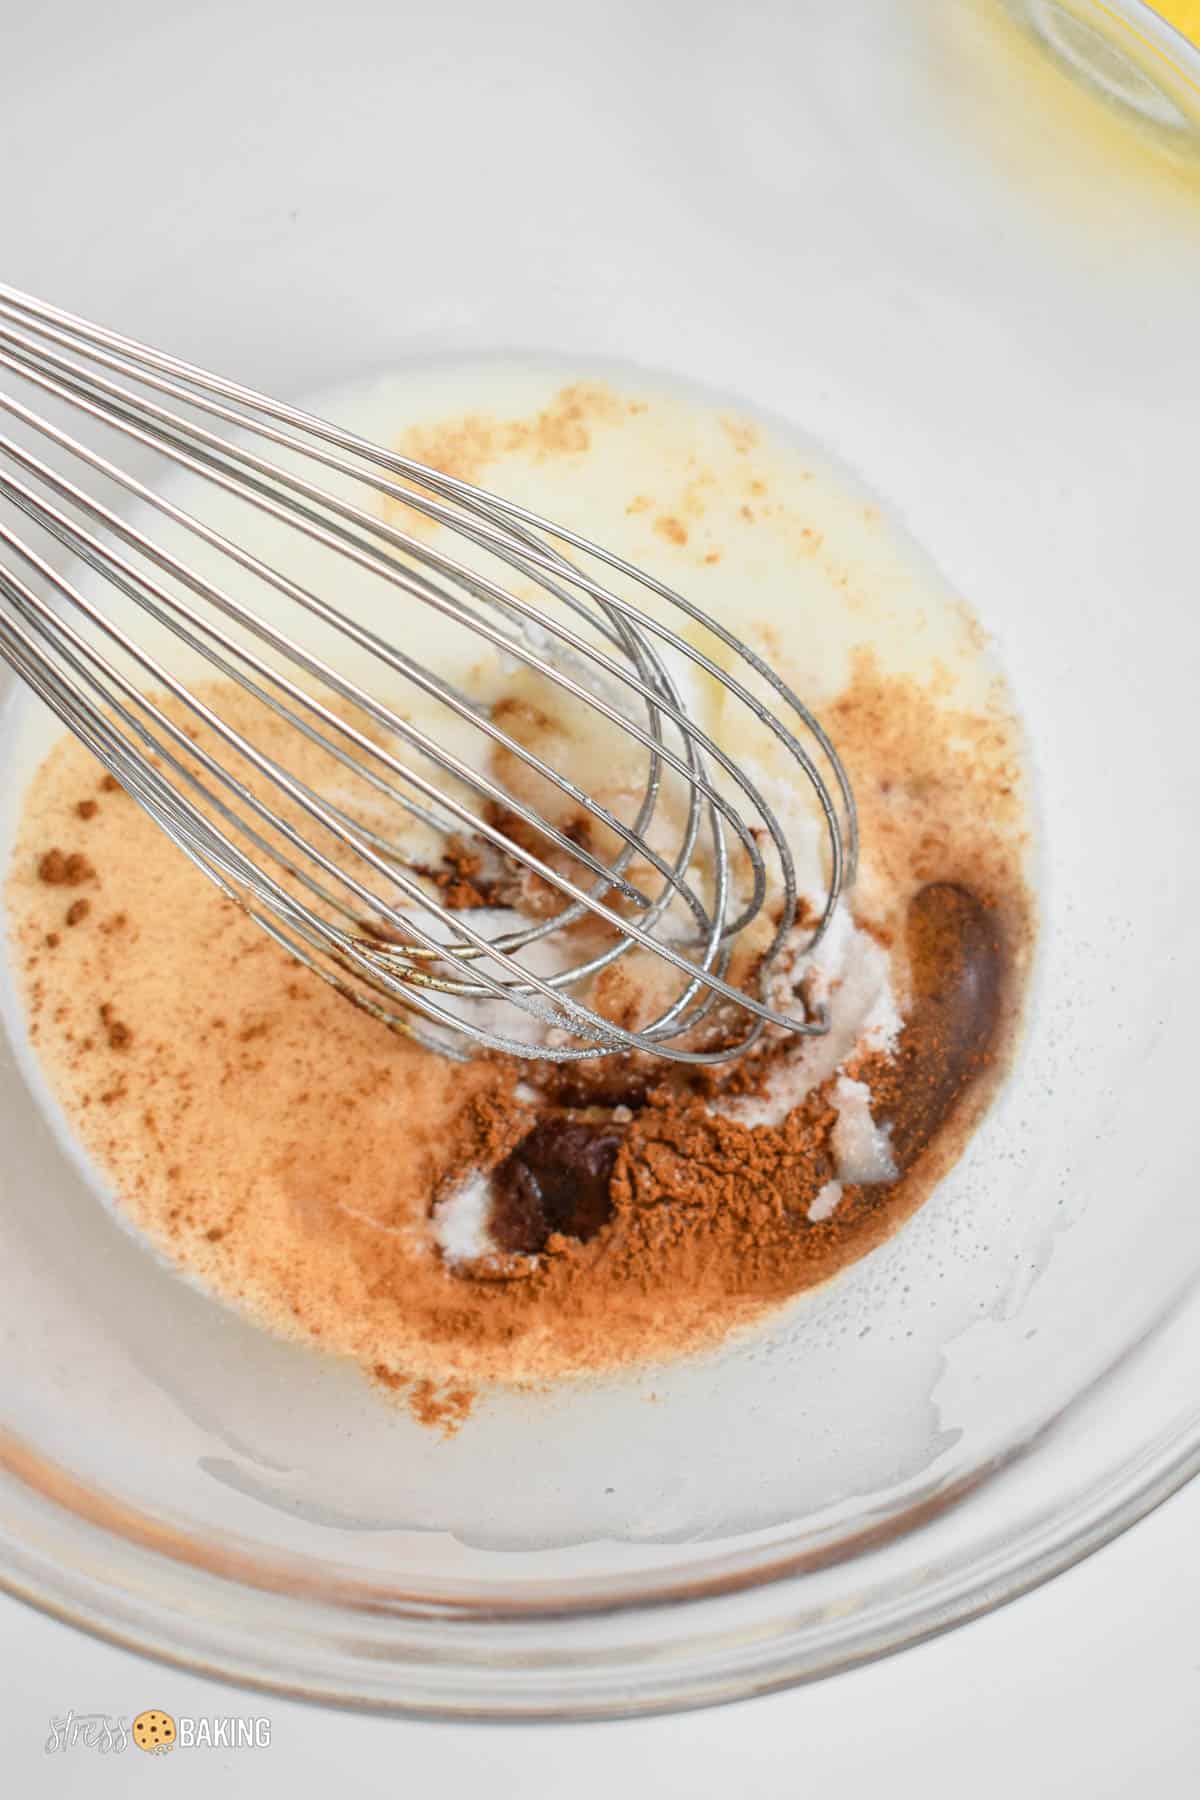
Mix all ingredients in a large bowl. Stir until smooth. Avoid lumps for perfect cones. Use a waffle cone maker or an iron. Cook each cone until golden brown. Shape quickly while still warm. Enjoy homemade waffle cones with your favorite ice cream.
Credit: stressbaking.com
Essential Tools
Making waffle cones at home is easy with the right tools. First, you need a waffle cone maker. It helps cook the batter evenly. A cone rolleris another important tool. It shapes the warm waffle into a cone. You also need a mixing bowlfor the batter. A whiskhelps mix the ingredients well.
Measuring cups are useful too. They ensure the right amounts of ingredients. A cooling rackis needed for the cones. It allows them to cool and harden properly. Lastly, a spatulahelps remove the waffles from the maker. With these tools, you can make delicious waffle cones at home.
Preparing The Batter
Mix flour, sugar, and eggs in a bowl until smooth. Add melted butter and vanilla extract for flavor. Stir gently to create a thick, creamy batter.
Mixing Dry Ingredients
Use a large bowl for mixing. Add flour, sugar, and salt. Stir these with a whisk. Make sure they blend well. Check for lumps and break them up.
Combining Wet Ingredients
Crack eggs into a bowl. Pour in milk and vanilla. Mix with a fork. Make sure the eggs blend with milk. Add melted butter slowly. Stir everything until smooth.
Achieving The Right Consistency
Combine dry and wet mixtures. Stir gently with a spoon. Batter should be smooth, not lumpy. Adjust with milk if too thick. Add flour if too thin. Aim for a pourable texture.

Credit: www.leeshandlusrecipebox.com
Cooking The Waffle Cones
Creating waffle cones at home is simple and fun. Begin by mixing flour, sugar, and eggs into a smooth batter. Cook the batter on a waffle cone maker until golden, then swiftly shape into cones before they cool.
Setting Up The Waffle Cone Maker
Plug in the waffle cone maker. Wait for it to heat up. Make sure it’s on a flat surface. This keeps it stable. Use cooking spray for non-stick coating. Be careful; the surface gets hot.Pouring And Spreading The Batter
Pour a small amount of batter in the center. Use a spatula to spread it evenly. The batter should cover the grid lightly. Don’t pour too much; it might overflow. Close the lid gently. This helps the batter cook evenly.Cooking To Perfection
Cook for around 1-2 minutes. Check the cone’s color. It should be golden brown. Use a cone roller to shape it quickly. Hold the shape until it cools. This makes it crispy. Enjoy your homemade waffle cones! `Shaping The Cones
Roll freshly baked waffle discs into cone shapes using a mold. Hold them until they cool and harden. Enjoy your homemade waffle cones with a scoop of ice cream.
Removing From The Maker
Carefully lift the waffle from the maker. Use a spatula to avoid burns. The waffle is hot and soft. Handle it gently to prevent tears.
Using The Cone Roller
Place the warm waffle on a flat surface. Quickly roll it around a cone roller. This gives the cone its shape. Press the seam gently to seal.
Cooling And Hardening
Let the cone cool on a wire rack. This hardens the cone. A firm cone holds ice cream better. Wait a few minutes before using.
Tips For Flavor Variations
Experiment with different extracts like vanilla, almond, or citrus to add unique flavors to your waffle cones. Try mixing in spices such as cinnamon or nutmeg for a warm, aromatic twist. Adding cocoa powder or matcha can create delightful color and taste variations.
Adding Spices
Spices make waffle cones extra tasty. Try adding cinnamonfor warmth. Add nutmegfor a cozy feel. Gingergives a spicy kick. Each spice creates a unique flavor.
Incorporating Extracts
Extracts change the waffle cone’s taste easily. Use vanilla extractfor a classic flavor. Add almond extractfor a nutty twist. Lemon extractadds a fresh zing. Just a little extract goes a long way.
Experimenting With Colors
Colors make waffle cones look fun. Use food coloringto change the color. Red, blue, or green cones are eye-catching. Mix colors for a rainbow effect. Make cones bright and colorful for a special treat.
Storage And Serving Suggestions
Store waffle cones in an airtight container to maintain freshness. Serve immediately with ice cream or fruit toppings for best taste.
Proper Storage Techniques
Waffle cones need to stay crisp and fresh. Cool them completely before storing. Use airtight containers to keep moisture away. Add a piece of bread to absorb extra moisture. Store at room temperature for up to a week. Freeze for longer storage. Wrap cones individually before freezing.
Creative Serving Ideas
Fill waffle cones with ice cream for a classic treat. Add fruit and whipped cream for a tasty twist. Use cones as edible bowls for dessert. Try filling cones with yogurt and berries. Make a savory cone with cheese and veggies. Perfect for parties or snacks.
Troubleshooting Common Issues
Struggling with uneven cooking in waffle cones? Adjust the heat to avoid burning. Batter sticking to the iron? Ensure it’s well-greased before use.
Avoiding Burnt Cones
Keep an eye on the cooking time. Use a timer to help. Check the cones every few seconds. Adjust the heat if needed. A lower flame helps with even cooking. Don’t leave the cones unattended. Quick actions prevent burnt cones.
Preventing Stickiness
Use a non-stick spray on the waffle iron. Oil the iron before each cone. This stops the batter from sticking. Let the cones cool before stacking. Warm cones stick together. Use wax paper between cones. Store in a dry place. Moisture causes stickiness.
Ensuring Even Cooking
- Spread the batter evenly.
- Close the iron gently.
- Rotate the iron halfway through.
- Check the cone color for doneness.
- Adjust cooking time if needed.
Frequently Asked Questions
Can You Use A Waffle Maker To Make A Waffle Cone?
Yes, you can use a waffle maker to make a waffle cone. Use a thin batter for best results. Roll the cooked waffle into a cone shape while it’s still warm. Let it cool to harden. Enjoy your homemade waffle cone with ice cream!
How Are Waffle Cones Made?
Waffle cones are made by pouring batter into a waffle iron. The cooked waffle is then rolled into a cone shape while hot. Once cooled, the cone retains its shape and becomes crispy, ready to hold delicious scoops of ice cream.
What Gives Waffle Cones Flavor?
Waffle cones get their flavor from ingredients like vanilla extract, sugar, butter, and flour. These create a sweet and crispy taste. Sometimes, spices like cinnamon or nutmeg are added for extra flavor. The cooking process also enhances their unique aroma and texture, making them delicious.
What Is The First Thing To Do When Making Waffle Cones?
Preheat your waffle cone maker. Gather all ingredients, ensuring they are fresh and properly measured for accuracy. Mix the batter thoroughly, achieving a smooth consistency. This sets the foundation for perfect waffle cones.
Conclusion
Making waffle cones at home is simple and fun. With basic ingredients, you create delicious treats. Enjoying homemade cones brings joy to any gathering. Experiment with flavors and textures. Vanilla, chocolate, or cinnamon add delightful twists. Share your creations with friends and family.
Memories made in the kitchen last forever. Try different toppings, sprinkles, or nuts. Your waffle cone journey starts here. Practice brings perfection in every cone. Let creativity flow with each batch. Homemade waffle cones offer a personal touch. Relish each bite, savor the sweet crunch.
Keep practicing, and enjoy your homemade delights!