

Imagine enjoying your favorite ice cream in a crunchy, homemade waffle cone bowl that you made yourself. Sounds delicious, right?
Making waffle cone bowls is easier than you think, and once you learn how, you’ll never want store-bought bowls again. In this guide, you’ll discover simple steps to create perfect, crispy bowls that hold your treats just right. Ready to impress your friends and satisfy your sweet tooth?
Keep reading to find out how you can make these tasty waffle cone bowls at home.
Ingredients Needed
Making waffle cone bowls at home is fun and easy. You only need a few simple ingredients.
These ingredients create a sweet and crunchy base for your ice cream or desserts.
All-purpose Flour
All-purpose flour is the main dry ingredient. It gives structure to the waffle cone batter.
Use sifted flour to avoid lumps and get a smooth batter.
Sugar
Sugar adds sweetness and helps the waffle cones brown nicely.
Granulated white sugar is commonly used for a light, crisp texture.
Eggs
Eggs bind the ingredients together and add richness to the batter.
Use fresh eggs at room temperature for the best results.
Butter
Butter adds flavor and makes the waffle cones crisp when cooked.
Use melted butter and let it cool slightly before mixing it in.
Vanilla Extract
Vanilla extract gives a sweet aroma and enhances the flavor of the waffle cones.
A teaspoon is enough for a pleasant vanilla taste.
Salt
A pinch of salt balances the sweetness and improves the overall taste.
It also helps to bring out the vanilla flavor.
Essential Tools
Making waffle cone bowls is fun and easy with the right tools. These tools help shape and cook the waffle cones perfectly.
Using proper equipment makes the process smooth and gives great results every time. Here are the essential tools you need.
Waffle Cone Maker
A waffle cone maker is a special machine that cooks thin waffle batter. It presses the batter into a flat circle and cooks it evenly.
This tool is important because it gives the waffle cones their classic pattern and crisp texture.
Cone Bowl Mold
A cone bowl mold shapes the hot waffle into a bowl while it cools. It helps create a sturdy bowl to hold ice cream or other treats.
You can use metal or silicone molds depending on your preference. Silicone molds are flexible and easy to clean.
Heat-resistant Gloves
Heat-resistant gloves protect your hands when handling hot waffle cones. They help avoid burns while shaping the cones.
Choose gloves that fit well and allow good finger movement for better control.
Mixing Bowls And Whisk
You need a mixing bowl and whisk to prepare the waffle batter. A large bowl helps mix ingredients without spilling.
A whisk blends the batter smoothly, removing lumps for even cooking.
Measuring Cups And Spoons
Measuring cups and spoons ensure you add the right amount of ingredients. Accurate measurements improve the batter’s taste and texture.
Use these tools to follow your waffle cone recipe precisely for consistent results.
Preparing The Batter
Making waffle cone bowls starts with a good batter. The batter must be smooth and light.
Careful preparation gives your waffle bowls a crispy texture and sweet flavor.
Gather Ingredients
Use fresh and simple ingredients for the best batter. Measure everything carefully.
- All-purpose flour
- Sugar
- Eggs
- Milk
- Butter (melted)
- Vanilla extract
- A pinch of salt
Mix Dry Ingredients
Start by mixing the dry ingredients in a large bowl. This helps even flavor and texture.
- Sift the flour to avoid lumps.
- Add sugar and salt to the flour.
- Stir the dry mix well.
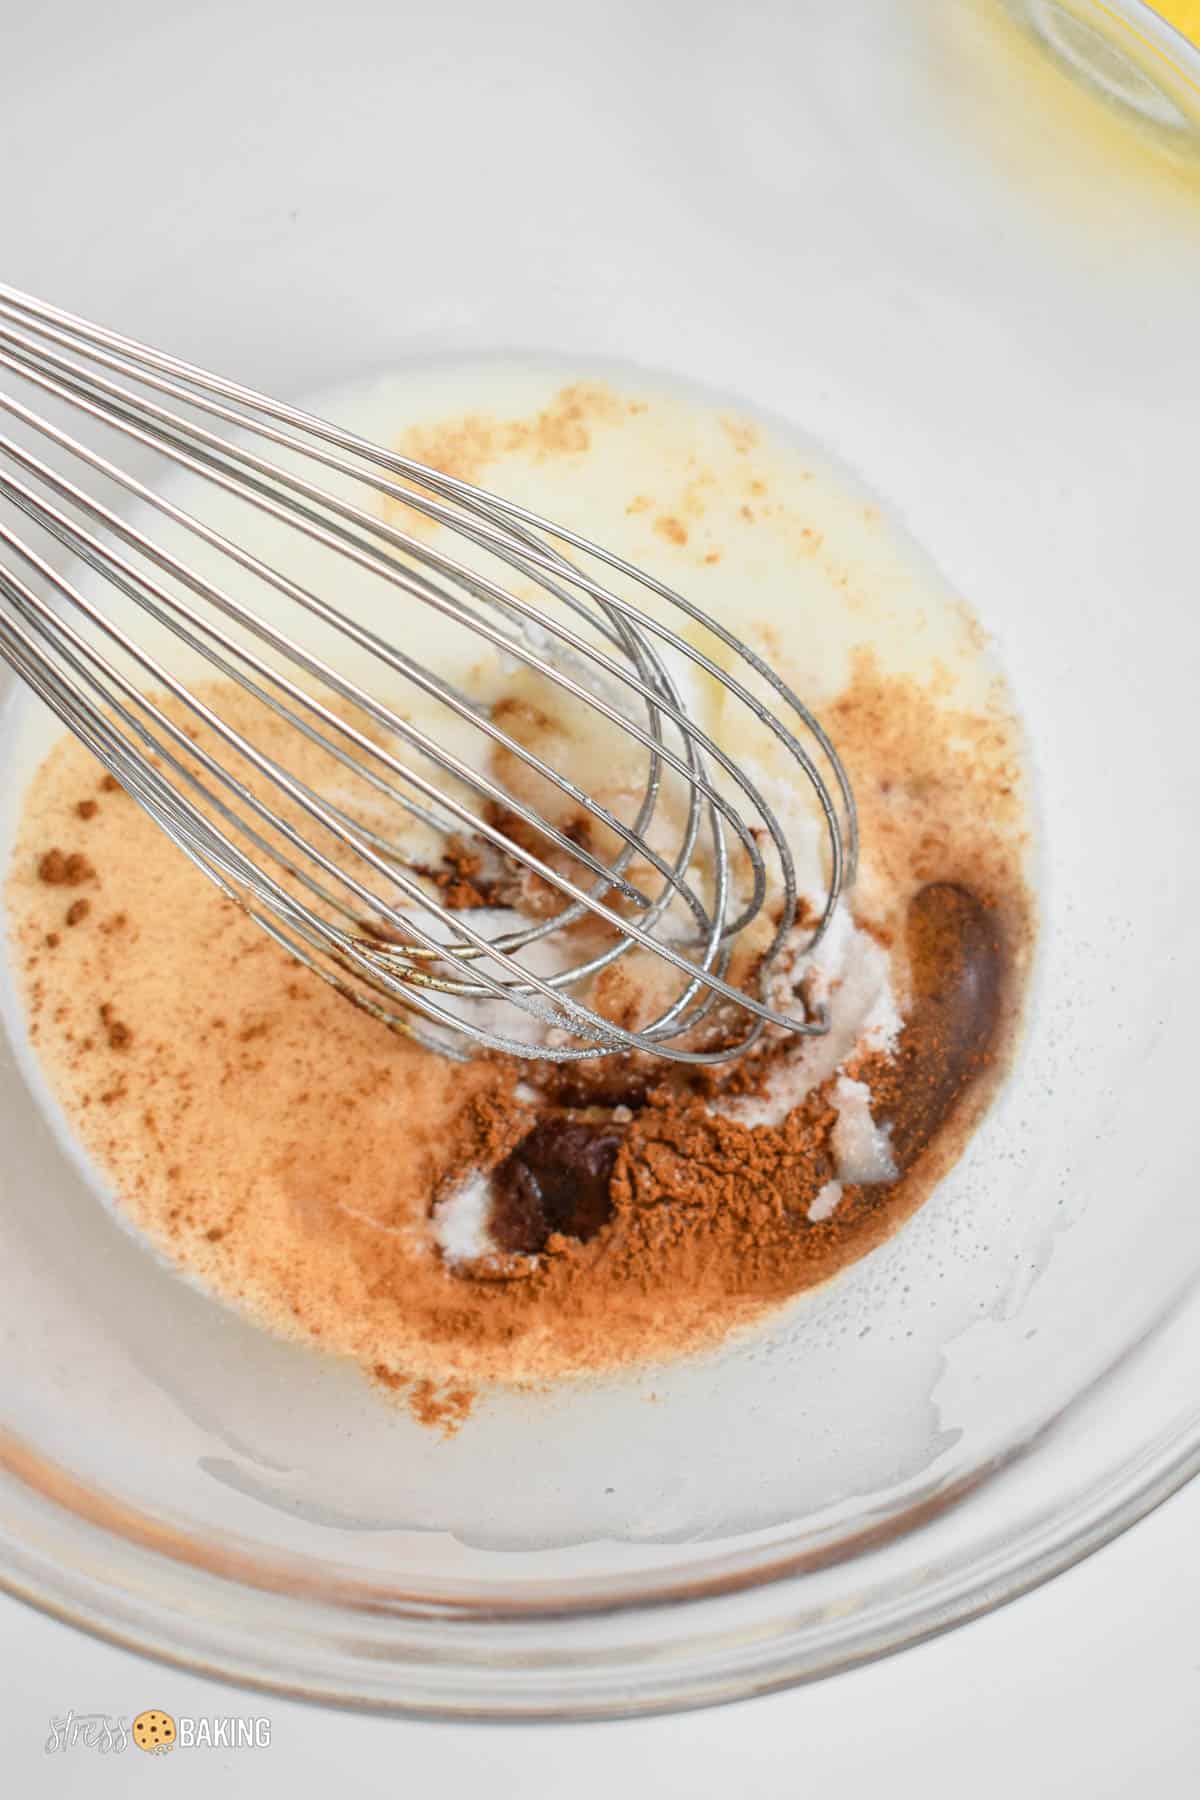
Combine Wet Ingredients
Beat the eggs in a separate bowl. Add milk, melted butter, and vanilla extract.
Whisk the wet ingredients until they blend smoothly.
Mix Wet And Dry Ingredients
Pour the wet mix into the dry ingredients slowly. Stir gently to combine.
Do not overmix; a few lumps are fine. Overmixing makes the batter tough.
- Use a spatula or spoon to fold the batter.
- Stop mixing once ingredients are blended.
Cooking The Waffle Cones
Making waffle cone bowls starts with cooking the waffle cones properly. The batter needs to be cooked until it is golden and crispy. This makes the cone bowl hold its shape and taste great.
There are different ways to cook waffle cones. You can use a waffle cone maker or try other cooking methods. Each method gives a slightly different texture and shape.
Using A Waffle Cone Maker
A waffle cone maker is a tool designed to cook thin waffle batter quickly. It heats evenly and creates the perfect texture. The cones come out soft enough to shape but crisp when cooled.
Pour a small amount of batter on the hot waffle cone maker. Close the lid and cook for about 1 to 2 minutes. The waffle should be golden brown. Then, quickly shape the waffle into a bowl before it cools.
- Preheat the waffle cone maker fully before use
- Use a thin layer of batter for even cooking
- Cook until golden but not burnt
- Shape immediately while warm
Alternative Cooking Methods
You can cook waffle cones without a waffle cone maker. A hot skillet or a griddle works well. Use a non-stick surface for best results. Cook the batter until it forms a thin, golden circle.
Once cooked, shape the waffle into a bowl while it is warm. It cools and hardens quickly. You may need to work fast to get the right shape. These methods take more practice but work if you don’t have a waffle cone maker.
- Heat a non-stick skillet on medium heat
- Pour a small amount of batter and spread thin
- Cook for 1-2 minutes until golden
- Remove and shape immediately
Shaping The Bowls
Making waffle cone bowls is fun and easy. Shaping them right keeps the bowl firm and perfect for holding treats.
This guide explains how to shape your waffle cones into bowls using simple steps and timing.
Molding Techniques
Use a clean bowl or cup to mold the waffle cone while it is still warm. Gently press the waffle onto the mold to shape it.
Hold the cone carefully to avoid cracks. Let the edges hang slightly over the mold to form a nice bowl shape.
- Warm waffle cones are soft and easy to shape.
- Use oven mitts or a towel to hold hot cones safely.
- Press gently but firmly for a smooth shape.
- Use silicone molds or small bowls for even shapes.
Timing For Perfect Shape
Shape the cone right after baking or warming. The waffle cools quickly and becomes hard to bend.
Let the shaped waffle cone bowl cool on the mold for at least five minutes. This helps it hold the shape well.
- Shape while warm, ideally under 1 minute after baking.
- Cool on mold for 5 to 10 minutes.
- Remove carefully to keep the bowl intact.
- Store in an airtight container to keep crisp.
Cooling And Setting
After shaping waffle cone bowls, cooling and setting are key steps. They help the bowls keep their shape and stay crisp.
This guide explains how to cool and set your waffle cone bowls properly.
Cool In The Mold
Keep the waffle cones in the mold while cooling. The mold holds the shape as the bowl cools down.
Remove the bowls from heat and place the mold on a flat surface. Let it cool for about 5 minutes.
- Cooling in the mold prevents warping
- It helps the bowl keep its round shape
- Wait until the bowl feels firm but not hot
Set At Room Temperature
After cooling in the mold, remove the waffle cone bowls carefully. Place them on a wire rack at room temperature.
Setting at room temperature lets the bowls dry fully. This step makes them crisp and sturdy.
- Do not stack bowls while setting
- Keep bowls away from moisture
- Let them set for 10 to 15 minutes
Avoid Moisture During Setting
Moisture softens waffle cone bowls and ruins their crispness. Keep the setting area dry and clean.
If you live in a humid place, use a fan to help dry the bowls faster. Avoid covering them until fully set.
- Store bowls in a dry place
- Use fans for air circulation if needed
- Do not cover with cloth or plastic
Creative Toppings And Fillings
Waffle cone bowls are a fun and tasty way to enjoy desserts. You can fill them with many creative toppings and fillings. This guide shares ideas to make your bowls extra special.
Try mixing flavors and textures. Use fresh fruits, nuts, drizzles, and sprinkles to create colorful and delicious treats. Let’s explore some ideas.
Ice Cream Suggestions
Choose ice cream flavors that match your taste and mood. Classic vanilla or chocolate works well. You can also try fruity or nutty flavors for variety.
- Vanilla bean
- Chocolate fudge
- Strawberry swirl
- Mint chocolate chip
- Salted caramel
- Pistachio
Fruit And Nut Combinations
Fresh fruits and crunchy nuts add color and texture to your waffle cone bowls. Pick fruits that are juicy and nuts that are toasted or raw.
| Fruit | Nut | Flavor Pairing |
| Blueberries | Almonds | Sweet and crunchy |
| Banana slices | Walnuts | Soft and nutty |
| Mango chunks | Cashews | Tropical and creamy |
| Raspberries | Pecans | Tart and buttery |
| Chopped apples | Hazelnuts | Fresh and rich |
Drizzles And Sprinkles
Top your waffle cone bowls with colorful drizzles and sprinkles. They add shine and extra flavor. Use sauces and toppings that melt slowly or stay crunchy.
Try these delicious drizzles and sprinkles:
- Chocolate syrup
- Caramel sauce
- Honey drizzle
- Rainbow sprinkles
- Crushed Oreo bits
- Toasted coconut flakes

Credit: gemmaandcompany.com
Storage Tips
Keeping waffle cone bowls fresh is key to enjoying their crisp texture. Proper storage prevents them from going stale or soggy.
Learn how to store waffle cone bowls to keep them crunchy and ready for your next dessert.
Keep Them Dry
Moisture makes waffle cone bowls soft and chewy. Store them in a dry place away from humidity to keep their crispness.
Use Airtight Containers
Airtight containers block air and moisture, preserving the crunch of waffle cone bowls for longer periods.
- Choose containers with tight seals
- Store at room temperature
- Avoid plastic bags that are not sealed well
Avoid Refrigerator Storage
Refrigerators add moisture, which can ruin waffle cone bowls. Keep them out of the fridge to maintain their texture.
Shelf Life And Freezing Tips
| Storage Method | Recommended Duration | Notes |
| Room Temperature in Airtight Container | Up to 1 week | Keep away from heat and sunlight |
| Freezing in Airtight Bag | Up to 1 month | Thaw at room temperature before use |
| Open Air | Less than 1 day | Will become stale quickly |
Troubleshooting Common Issues
Making waffle cone bowls can be fun but sometimes problems happen. Knowing how to fix common issues helps you get perfect bowls every time.
This guide covers three common problems: brittle or cracked bowls, uneven cooking, and batter consistency problems. Follow tips to improve your results.
Brittle Or Cracked Bowls
Brittle or cracked waffle bowls break easily. This happens when the bowls dry out too much or cool too fast.
To avoid this, remove bowls carefully while still warm. Let them cool slowly at room temperature. Store in an airtight container to keep moisture.
- Do not overbake the waffle cones
- Use gentle hands when shaping the bowls
- Cool bowls on a flat surface, not in the fridge
- Keep bowls sealed to prevent drying out
Uneven Cooking
Uneven cooking causes some parts of the waffle bowl to burn or stay undercooked. This happens if the waffle iron is too hot or not hot enough.
Make sure your waffle iron heats evenly. Preheat it well before cooking. Check the temperature and adjust if needed.
- Preheat waffle iron fully before use
- Cook at medium heat for even browning
- Flip or rotate waffle if your iron allows
- Clean the iron to avoid hot spots
Batter Consistency Problems
The batter consistency affects how the waffle bowls turn out. If the batter is too thick, bowls become dense and hard.
If the batter is too thin, bowls may be too soft or break easily. Use the right amount of liquid and flour for smooth batter.
- Mix batter until smooth but not runny
- Add small amounts of liquid to fix thickness
- Let batter rest for 5 minutes before cooking
- Use fresh ingredients for best texture

Credit: makeitdairyfree.com
Credit: stressbaking.com
Frequently Asked Questions
What Ingredients Are Needed For Waffle Cone Bowls?
To make waffle cone bowls, you’ll need flour, sugar, eggs, butter, vanilla extract, and milk. These ingredients create a sweet and crispy batter. You can also add a pinch of salt to enhance the flavor. Use quality ingredients for the best results.
How Do You Shape Waffle Cone Bowls?
After cooking the batter, quickly drape it over a bowl to shape. Press gently to form the bowl shape. Allow it to cool and harden. You can use any heat-resistant bowl as a mold. This step is crucial for achieving the perfect bowl shape.
Can You Make Waffle Cone Bowls Without A Waffle Maker?
Yes, you can use a skillet or griddle instead. Pour batter onto the heated surface and cook until golden. Flip for even cooking. Afterward, shape the cooked batter over a bowl. This method is a great alternative when a waffle maker isn’t available.
How To Store Homemade Waffle Cone Bowls?
Store them in an airtight container at room temperature. Keep them away from moisture to maintain crispness. They stay fresh for up to a week. Avoid refrigeration, as it can make them soggy. Proper storage ensures they remain delicious and crunchy.
Conclusion
Making waffle cone bowls is fun and easy to do at home. You only need a few ingredients and simple tools. These bowls add a nice crunch to your favorite ice cream. They also look great for parties or family treats.
Practice a few times to get the perfect shape and texture. Soon, you will enjoy fresh, homemade waffle cone bowls anytime. Give it a try and enjoy a tasty, creative dessert experience.