
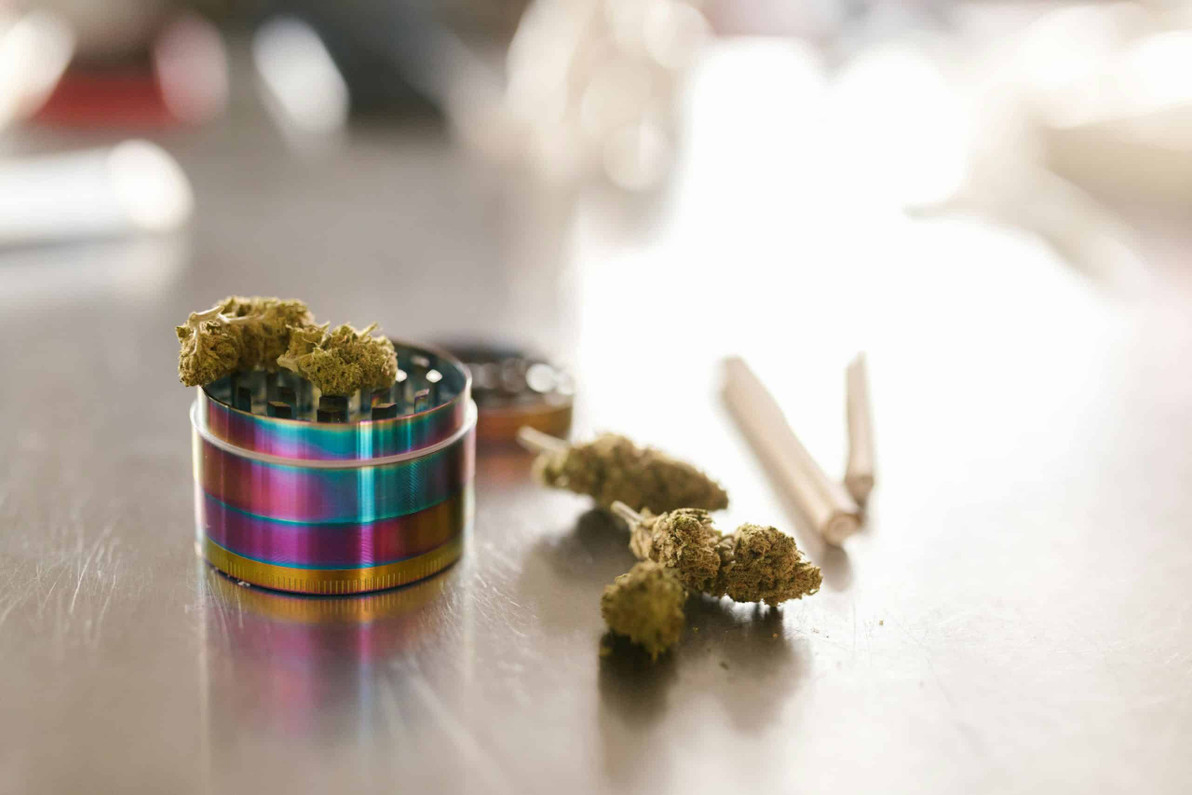
If you’re looking to grind your herbs quickly and efficiently, making your own weed grinder might be easier than you think. Imagine having a tool that fits perfectly in your hand, works just the way you like it, and saves you money.
In this guide, you’ll discover simple steps to create a grinder tailored to your needs. Keep reading, and by the end, you’ll have everything you need to get started grinding like a pro. Ready to make your own grinder? Let’s dive in!
Materials Needed
To make a weed grinder, gather the right tools and materials. Essential tools include a small drill, screwdriver, and strong glue. You will also need a metal or plastic containerto build the grinder body. Small magnetshelp hold parts together securely.
Choosing the right materials is key. Use durable metallike aluminum or stainless steel for long-lasting grinders. Plastic can work but may wear out faster. Avoid soft materials that break easily.
- Metal or plastic container for the body
- Small drill for making holes
- Screwdriver for assembly
- Strong glue for fixing parts
- Small magnets for secure lids
- Sharp blades or metal pieces for grinding
Credit: munchmakers.com
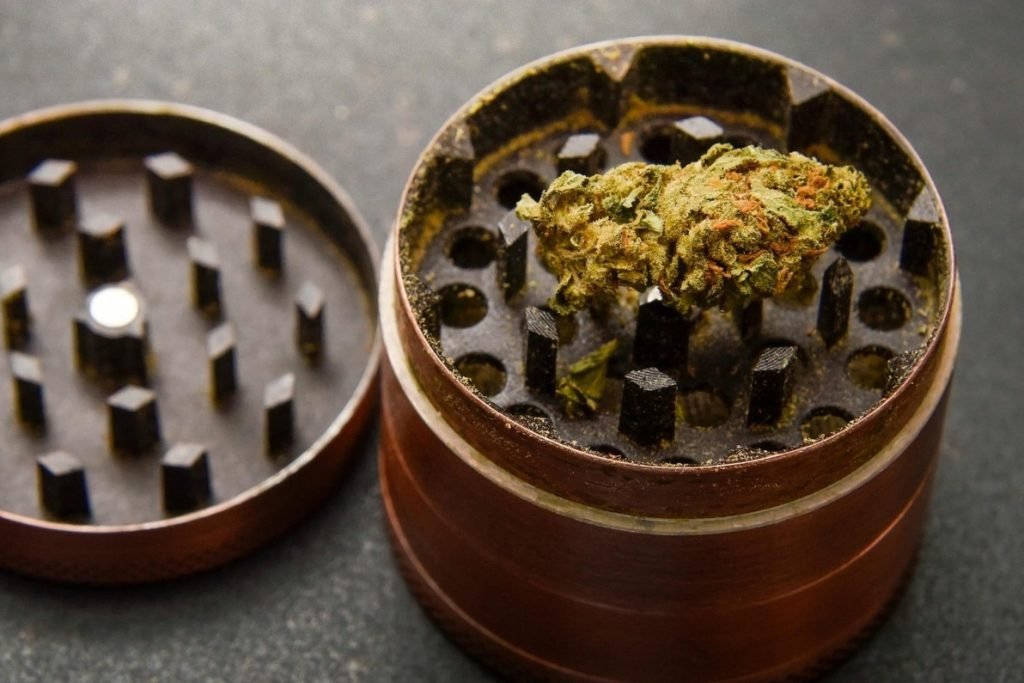
Designing Your Grinder
Choosing the right size and shapeis key to a good grinder. Small grinders are easy to carry but hold less weed. Large grinders can hold more but might be heavy. Round shapes fit comfortably in your hand. Square or hex shapes can offer a unique grip.
Plan the teeth layoutcarefully. Teeth help break weed into small pieces. Sharp, diamond-shaped teeth work best for even grinding. Space teeth evenly to avoid clumping. Too close, and weed won’t break well. Too far apart, and grinding takes longer.
Cutting And Shaping Parts
Start by choosing a sturdy material like wood or plastic for the base and lid. Cut two circles of the same size. The base needs a shallow cavity to hold the ground weed. The lid should fit tightly on top.
Next, create the grinding teeth. Use small, sharp pieces shaped like cones or pyramids. Attach them evenly inside both the base and lid. The teeth help break the weed into small pieces.
Ensure the teeth are not too close to avoid clogging. Leave some space for smooth rotation between the base and lid. Sand the edges to remove any rough spots for safety and comfort.
Credit: daysavers.com
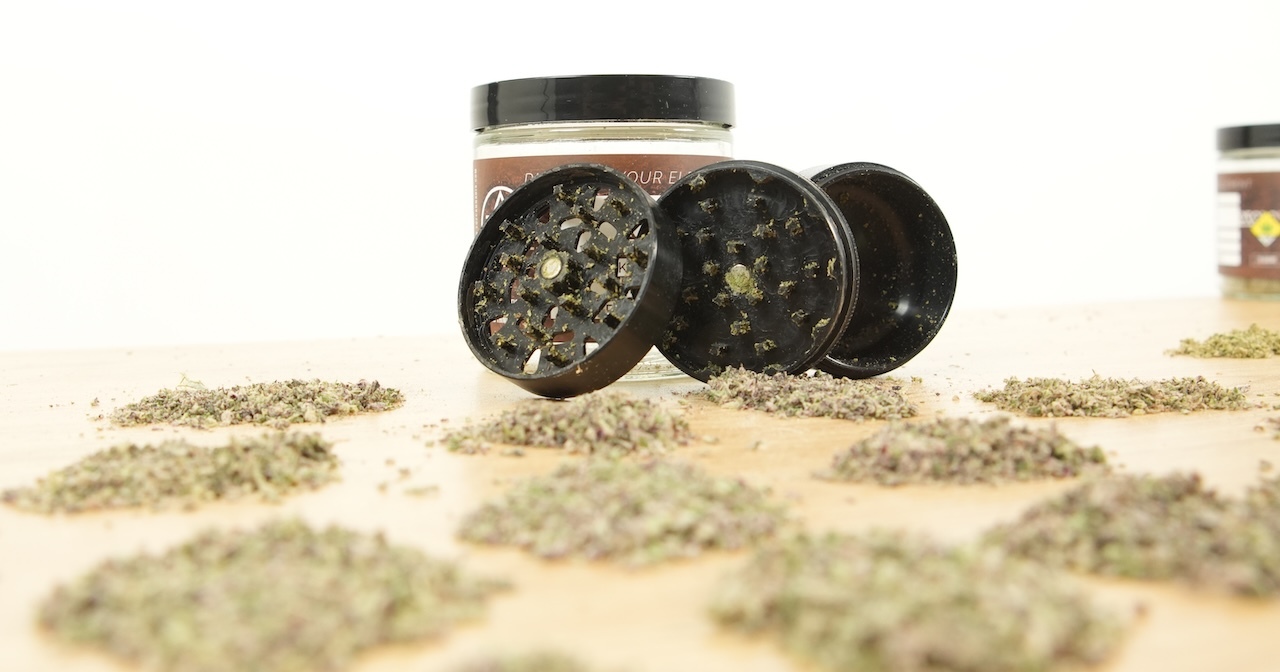
Assembling The Grinder
Start by placing all the grinder parts on a clean surface. The main parts include the lid, grinding chamber, collection chamber, and pollen catcher. Align the teeth of the grinding chamber with the lid. This helps the grinder crush the herb effectively.
Check the threading on the chambers. Screw them together gently to avoid cross-threading. The fit should be firm but not too tight.
To ensure smooth rotation, apply a tiny bit of food-safe lubricant to the threads if needed. This stops the grinder from sticking. Rotate the lid back and forth a few times. It should move easily without wobbling.
- Make sure all parts are clean before assembling.
- Align teeth carefully for effective grinding.
- Use gentle pressure when screwing parts together.
- Lubricate threads slightly for smooth movement.
- Test rotation to check for smoothness.
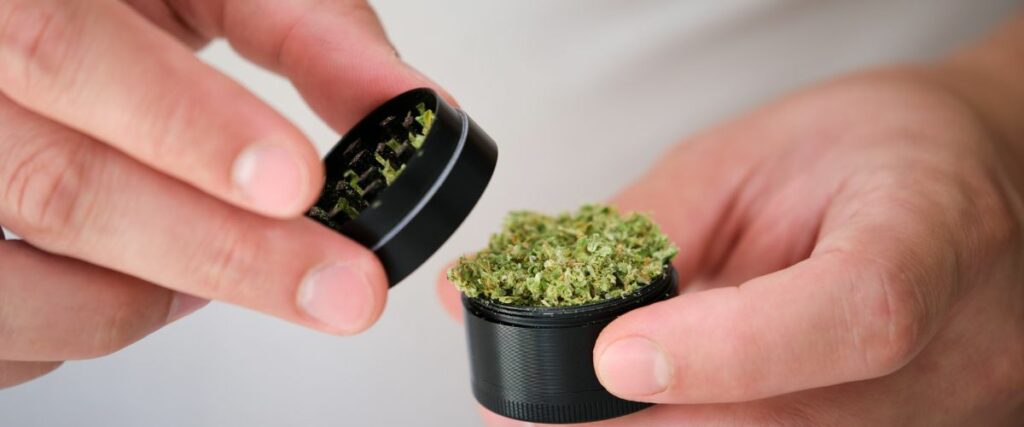
Testing And Adjustments
Test the grinder with a small amount of weed first. Check if the pieces are ground evenly and to the right size. If the pieces are too big, the grinder may need sharper teeth or better spacing.
Look for any stuck parts or uneven grinding. These can slow down the process or cause damage. Make sure the grinder spins smoothly without too much effort.
- Sharpen or reshape the teeth for better cutting.
- Adjust the distance between the teeth to control the grind size.
- Tighten or loosen screws to improve spinning ease.
- Clean any debris to avoid clogging.
Repeat testing after changes until the grinder works well. Smooth grinding means less effort and better results.
Credit: blimburnseeds.com
Maintenance Tips
Cleaning your weed grinder keeps it working well and tasting fresh. Use a small brush to remove leftover bits after each use. For a deep clean, soak the parts in warm, soapy water for 10-15 minutes. Rinse and dry completely before putting it back together. Avoid using harsh chemicals that can damage the grinder.
Extending grinder lifespan needs simple care steps. Store the grinder in a dry place to stop rust or mold. Regularly check the teeth to make sure they are sharp and not bent. Tighten screws if they get loose. Avoid forcing the grinder to crush hard materials to prevent damage.
Frequently Asked Questions
What Materials Are Needed To Make A Weed Grinder?
You need strong plastic or wood, metal pins, a fine mesh screen, and a small container. These materials ensure durability and effective grinding.
How Do I Assemble A Homemade Weed Grinder?
Attach the grinding teeth to two circular bases. Add a mesh screen between them and secure with screws. This allows efficient grinding and pollen collection.
Can I Use Everyday Items To Make A Grinder?
Yes, items like bottle caps, coins, and small nails can work. Creativity helps, but ensure safety and effective grinding.
How To Maintain A Diy Weed Grinder For Longevity?
Clean regularly with a brush and isopropyl alcohol. Avoid moisture to prevent rust or mold. Proper care extends your grinder’s life.
Conclusion
Making a weed grinder at home can save money and time. It lets you control the size and quality of the grind. Using simple tools and materials makes the process easy and fun. Plus, it gives a sense of pride to use something you built yourself.
Keep your grinder clean to ensure the best performance. Trying this project can deepen your understanding of how grinders work. Give it a shot and enjoy the benefits of your own creation.