

Craving a crunchy, golden waffle cone but don’t have a waffle iron at home? You’re not alone—and the good news is, you don’t need one to make your own delicious cones.
Imagine enjoying fresh, warm waffle cones that hold your favorite ice cream perfectly, made right in your kitchen with simple tools you already have. In this guide, you’ll discover easy, step-by-step methods to create waffle cones without special gadgets. Keep reading, and you’ll be surprising yourself with how simple and fun it is to make these tasty treats from scratch!

Credit: www.yahoo.com
Ingredients Needed
Making a waffle cone without a waffle iron is easy with the right ingredients. You only need a few simple items to start.
These ingredients create a thin, crispy batter that you can shape into a cone by hand.
All-purpose Flour
All-purpose flour is the main base of your waffle cone batter. It gives structure and texture to the cone.
Use sifted flour to avoid lumps and make your batter smooth.
Sugar
Sugar adds sweetness and helps the cone brown nicely while cooking. White granulated sugar works best.
You can adjust the sugar amount based on how sweet you want your cone.
Eggs
Eggs bind the ingredients together and add richness to the batter. Use large eggs for best results.
Mix the eggs well before adding them to the dry ingredients.
Butter
Butter gives flavor and helps make the cone crisp when cooked. Melted butter mixes easily into the batter.
Use unsalted butter to control the salt level in your cones.
Vanilla Extract
Vanilla extract adds a nice aroma and enhances the flavor of the waffle cone. Use pure vanilla for best taste.
A small amount goes a long way in making your cones smell delicious.
Milk Or Water
Milk or water thins the batter to the right consistency. Milk adds extra flavor and richness.
Choose whichever liquid you prefer or have on hand to get a smooth batter.
Credit: honestandtruly.com
Preparing The Batter
Making a waffle cone batter without a waffle iron is easy. You only need a few simple ingredients.
The batter should be smooth and thin to shape the cone well. Let’s see how to prepare it.
Gather Ingredients
Start by collecting all ingredients. Using fresh and measured items helps the batter come out perfect.
- 1 cup all-purpose flour
- 2 tablespoons sugar
- 1/4 teaspoon salt
- 2 large eggs
- 1/4 cup melted butter
- 1/2 cup milk
- 1 teaspoon vanilla extract
Mix Dry Ingredients
Combine flour, sugar, and salt in a large bowl. Stir well to mix evenly.
Blend Wet Ingredients
In a separate bowl, beat eggs. Add melted butter, milk, and vanilla. Mix until smooth.
Combine And Rest Batter
Pour the wet mix into dry ingredients. Stir gently until smooth. Avoid overmixing to keep batter light.
Cover the bowl and let the batter rest for 10 to 15 minutes. This helps bubbles disappear and improves texture.
Alternative Cooking Methods
You can make a waffle cone without a waffle iron by using other cooking tools. These methods are easy and work well in most kitchens.
Here are some ways to cook waffle cones using a skillet, oven, or microwave. Each method has simple steps to follow.
Using A Skillet Or Pan
Heat a non-stick skillet or frying pan on medium heat. Pour a small amount of batter in the center and spread thinly. Cook until the edges turn golden brown.
Remove the cooked batter and quickly shape it into a cone while it is still warm. Let it cool to harden.
- Use low to medium heat to avoid burning.
- Cook each side for about 1 to 2 minutes.
- Work fast when shaping the cone.
- If the batter sticks, lightly grease the pan.
Using An Oven
Preheat your oven to 350°F (175°C). Spread thin circles of batter on a baking sheet lined with parchment paper. Bake for 5 to 7 minutes until golden.
After baking, quickly lift the warm circles and shape them into cones. Use a small cup or cone mold to help shape. Let them cool to harden.
| Oven Temperature | Baking Time | Notes |
|---|---|---|
| 350°F (175°C) | 5-7 minutes | Watch closely to prevent burning |
Using A Microwave
Place a thin layer of batter on a microwave-safe plate or silicone mat. Microwave on high for 30 to 45 seconds. The batter should be soft but cooked.
- Check after 30 seconds to avoid overcooking.
- Remove carefully as the plate may be hot.
- Shape the warm batter into a cone immediately.
- Let it cool to harden before filling.
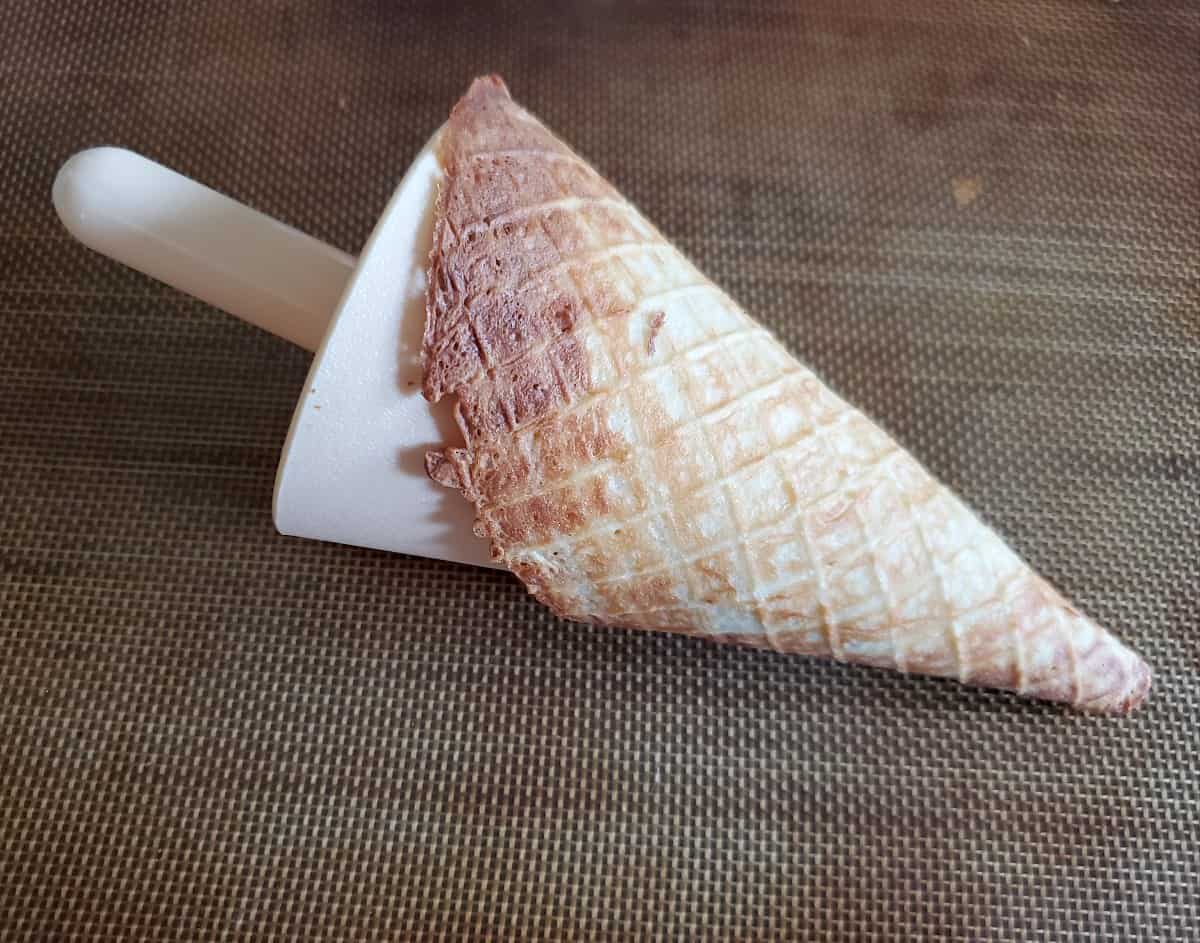
Shaping The Cone
Making a waffle cone without a waffle iron is easy if you know how to shape it right. The key is to work quickly while the batter is warm and flexible.
This guide will help you roll and cool your cones perfectly for a crisp, tasty treat.
Rolling Techniques
After cooking your waffle batter on a hot pan, you need to roll it into a cone shape fast. The waffle cools and hardens quickly, so speed is important.
- Place the warm waffle on a flat surface immediately after cooking.
- Use a spatula or your hands to gently lift one edge.
- Roll the edge tightly to form a cone shape.
- Press the seam gently to keep the cone closed.
- Trim any uneven edges with scissors if needed.
Cooling Tips
Cooling the cone properly helps it keep its shape and stay crisp. Let the cone rest in an upright position while it cools.
| Cooling Method | Description |
|---|---|
| Upright Stand | Place cones in a jar or cone holder to stay upright. |
| Room Temperature | Let cones cool at room temperature for 10 minutes. |
| Avoid Moisture | Keep cones away from steam or humid areas to stay crisp. |
Troubleshooting Common Issues
Making a waffle cone without a waffle iron can be tricky. Small mistakes can cause big problems.
This guide helps you fix common issues so you get crisp, tasty cones every time.
Cone Is Too Soft Or Soggy
A soft or soggy cone usually means it did not cook long enough or cooled in a humid place. Make sure to cook the batter until it is golden brown.
After shaping, let the cone cool on a dry surface away from steam or moisture.
Cone Breaks When You Roll It
Breaking cones often happen if the batter is too thick or the cone is too hot when rolled.
- Use a batter that is thin enough to spread easily.
- Cook until edges are lightly brown but still flexible.
- Roll cones immediately after cooking while still warm.
- If the cone cools too much, warm it briefly before shaping.
Uneven Cooking Or Burned Spots
Uneven cooking can come from uneven heat or spreading the batter unevenly.
| Problem | Cause | Fix |
| Burned edges | High heat | Lower the cooking temperature |
| Raw middle | Too low heat or thick batter | Cook longer or spread batter thinner |
| Uneven browning | Uneven batter spread | Use a spoon or spatula to spread batter evenly |
Cone Does Not Hold Shape
If your cone flattens or loses shape, the batter may be too runny or the cone was not shaped quickly enough.
Tips for shaping cones:
- Use a firm, dry cone mold or a clean, sturdy object like a rolling pin.
- Roll the cone immediately after cooking, while it is hot and pliable.
- Hold the shape until the cone cools and hardens.
Serving Suggestions
Waffle cones made without a waffle iron are a fun treat. You can enjoy them with many toppings and fillings. This guide offers ideas to serve your homemade cones.
Try different flavors and textures to make your waffle cones special. You can use fruits, creams, and even nuts to add variety.
Classic Ice Cream
Fill your waffle cone with your favorite ice cream flavors. Vanilla, chocolate, and strawberry are simple and tasty choices.
- Add a scoop of ice cream to the cone
- Top with sprinkles or chocolate chips
- Drizzle with syrup or honey
- Serve immediately to keep cone crisp
Fruit And Yogurt Treat
Use fresh fruits and yogurt for a healthy option. This combo is light and refreshing.
| Fruit | Yogurt Flavor | Extra Toppings |
| Blueberries | Vanilla | Granola |
| Strawberries | Strawberry | Chopped Nuts |
| Mango | Plain | Honey |
Sweet Dessert Cones
Create a dessert cone by adding sweet fillings. Use chocolate, caramel, or whipped cream for extra flavor.
- Spread a thin layer of chocolate spread inside the cone
- Fill with whipped cream or mousse
- Sprinkle crushed cookies or nuts on top
Savory Snack Cones
Use your waffle cone for savory snacks. Fill with cheese cubes, olives, or small veggie sticks for a unique treat.
- Cut cheese into small pieces
- Add cherry tomatoes or cucumber sticks
- Use a light dip on the side
- Serve as finger food at parties

Credit: honestandtruly.com
Frequently Asked Questions
How To Make A Waffle Cone Without A Waffle Iron?
You can use a skillet or frying pan to cook the batter. Pour a thin layer, cook until golden, then quickly shape it into a cone while warm. Let it cool to harden before adding ice cream.
What Ingredients Are Needed For Homemade Waffle Cones?
Basic ingredients include flour, sugar, eggs, butter, and vanilla extract. These create a sweet, crisp batter perfect for shaping into cones. Adjust sweetness or add spices for flavor variations.
Can I Use A Microwave To Cook Waffle Cones?
Microwaving isn’t ideal as it won’t crisp the batter properly. Cooking on a skillet or pan ensures even browning and the right texture for cone shaping.
How To Shape Waffle Cones Without Special Tools?
Use a clean, heat-safe cup or cone mold to shape warm waffles. Gently wrap the hot waffle around the mold, hold briefly, then cool for a firm cone shape.
Conclusion
Making a waffle cone without a waffle iron is simple and fun. You only need a few kitchen tools and some basic ingredients. This method lets you enjoy fresh, crispy cones anytime. Try different shapes and flavors to suit your taste.
Homemade cones add a special touch to your ice cream treats. Give it a try and enjoy your delicious creation. No fancy gadgets, just easy steps and great results. Enjoy every bite!