

Imagine enjoying your favorite ice cream in a crispy, warm waffle cone made right at home. You don’t need special tools or baking skills—just a simple waffle maker and a few easy steps.
If you’ve ever wondered how to turn your waffle maker into a cone-making machine, you’re in the right place. This guide will show you how to create perfect waffle cones that are fresh, delicious, and sure to impress. Ready to treat yourself and your loved ones?
Let’s get started!
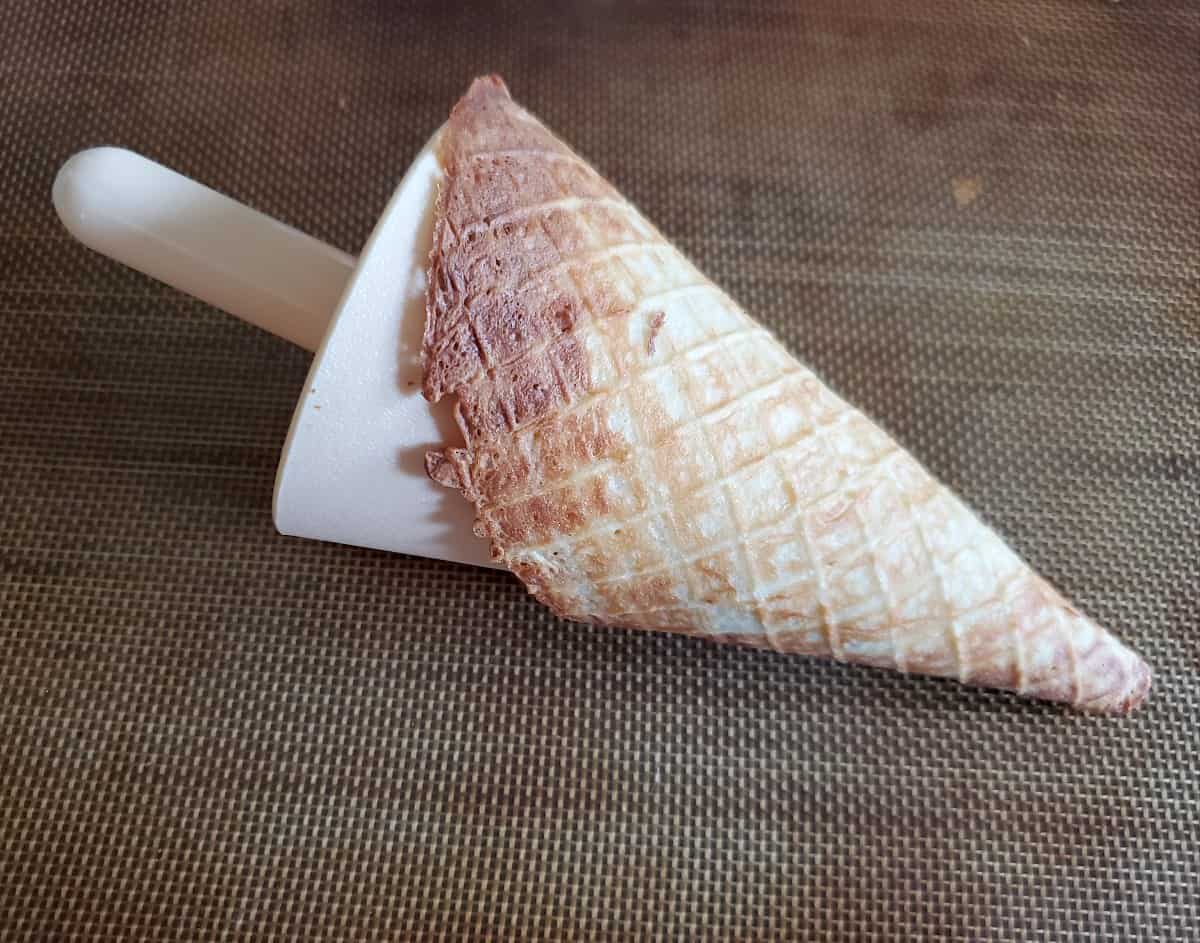
Credit: honestandtruly.com
Choosing The Right Ingredients
Making a waffle cone with a waffle maker starts with picking the right ingredients. Good ingredients make the cone crispy and tasty.
Use fresh and simple items for the best results. Avoid complicated mixes that may affect the texture.
Essential Ingredients
These ingredients form the base of your waffle cone batter. Each one plays a key role in taste and structure.
- All-purpose flour: Provides structure and crispiness
- Sugar: Adds sweetness and helps browning
- Eggs: Bind the ingredients and add richness
- Milk: Creates a smooth batter and moisture
- Butter: Adds flavor and crisp texture
- Vanilla extract: Enhances the taste
- Salt: Balances sweetness and improves flavor
Optional Flavor Additions
You can add flavors to make your waffle cones unique. Use small amounts to keep the batter balanced.
| Flavor | Effect |
| Cinnamon | Adds warm spice and aroma |
| Lemon zest | Gives fresh citrus notes |
| Chocolate chips | Creates sweet chocolate pockets |
| Almond extract | Offers a nutty flavor |
| Ground ginger | Adds a mild spicy kick |
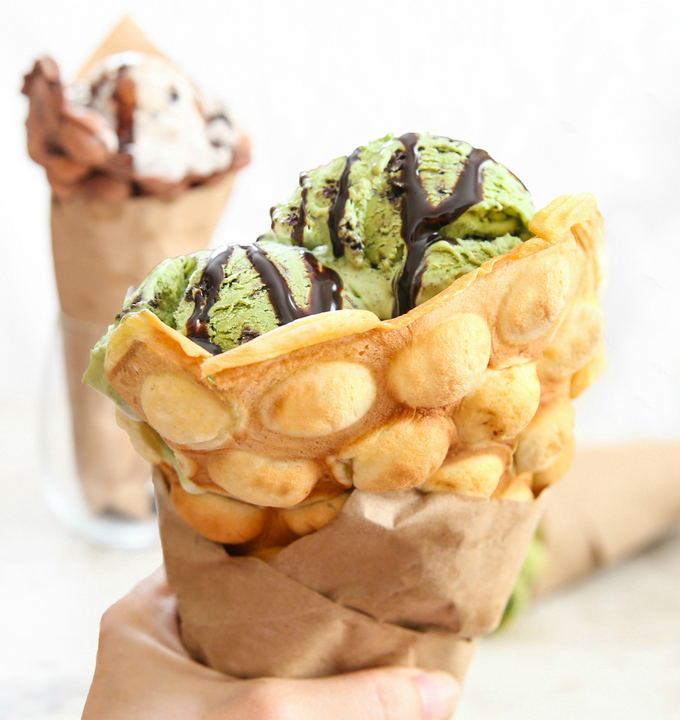
Credit: kirbiecravings.com
Preparing The Batter
Making waffle cones starts with preparing the right batter. The batter should be smooth and easy to cook in a waffle maker.
This guide will help you mix the batter perfectly for crispy and tasty waffle cones.
Mixing Tips
Use fresh ingredients for the best taste and texture. Measure flour, sugar, and eggs carefully.
Mix the wet and dry ingredients separately before combining them. Stir gently to avoid lumps but do not overmix.
- Use room temperature eggs and butter
- Sift flour to prevent clumps
- Add sugar for sweetness
- Mix until smooth, not too runny
Consistency Check
The batter should be thick but pourable. It should spread easily on the waffle maker without dripping too much.
Test the batter by pouring a small amount onto the hot waffle maker. Adjust by adding a little milk if too thick, or flour if too thin.
- Too thick batter makes hard cones
- Too thin batter causes holes in cones
- Perfect batter spreads evenly
- Check batter before cooking each batch
Using The Waffle Maker
Making a waffle cone with a waffle maker is easy and fun. You can create a crispy, warm cone to hold your ice cream.
This guide will help you use your waffle maker correctly for the best cone results.
Preheating Instructions
Preheating your waffle maker ensures even cooking and a crispy texture. Start by plugging in the machine and closing the lid.
- Turn on the waffle maker and set it to medium heat.
- Wait for the indicator light to show that it is ready.
- Do not open the lid too early to keep the heat consistent.
- Preheat for about 5 minutes before cooking the batter.
Cooking Time And Temperature
Cooking time and temperature affect the crispness and color of your waffle cone. Use medium heat for a balanced result.
| Temperature Setting | Cooking Time | Result |
|---|---|---|
| Low | 2-3 minutes | Soft and pale cone |
| Medium | 3-4 minutes | Crispy and golden cone |
| High | 4-5 minutes | Dark and crunchy cone |
Shaping The Cone
Making a waffle cone with a waffle maker is easy and fun. The key is shaping the cone while the waffle is warm.
Follow the steps below to remove and shape your waffle into a perfect cone for holding ice cream.
Removing The Waffle
Remove the waffle quickly but carefully to avoid breaking it. The waffle should still be warm and soft for shaping.
- Use a spatula to gently lift the waffle from the maker.
- Place the waffle on a flat surface or a heatproof board.
- Work fast before the waffle cools and hardens.
- If the waffle sticks, wait a few seconds longer to loosen it.
Molding Techniques
Shape the waffle into a cone by rolling it around a cone-shaped object. This helps the waffle hold its shape as it cools.
| Tool | Purpose | Tip |
| Cone roller or mold | Shape the waffle into a cone | Wrap the waffle around it gently |
| Oiled hands | Prevent sticking when molding | Lightly oil your fingers before rolling |
| Cooling rack | Let the cone cool and harden | Place the shaped cone upright to keep its form |
Cooling And Setting
After cooking your waffle cone in the waffle maker, it is important to cool it properly. Cooling helps the cone keep its shape and become crisp.
Setting the cone correctly ensures it stays firm and ready for serving your favorite ice cream.
Allowing The Cone To Harden
Once you shape the cone, let it cool on a flat surface or a cone holder. This prevents it from bending or breaking.
Leave the cone to harden for about 10 minutes. This time helps the waffle crisp up and hold its form.
- Place the cone away from heat or moisture.
- Do not stack cones until they cool completely.
- Handle the cone gently to avoid cracks.
Storing Tips
Store cooled waffle cones in an airtight container. This keeps them fresh and crunchy for longer.
Keep the container in a cool, dry place away from sunlight. Avoid storing cones in the fridge or freezer.
- Use wax paper between cones to prevent sticking.
- Check cones for moisture before storing.
- Consume cones within a few days for best taste.
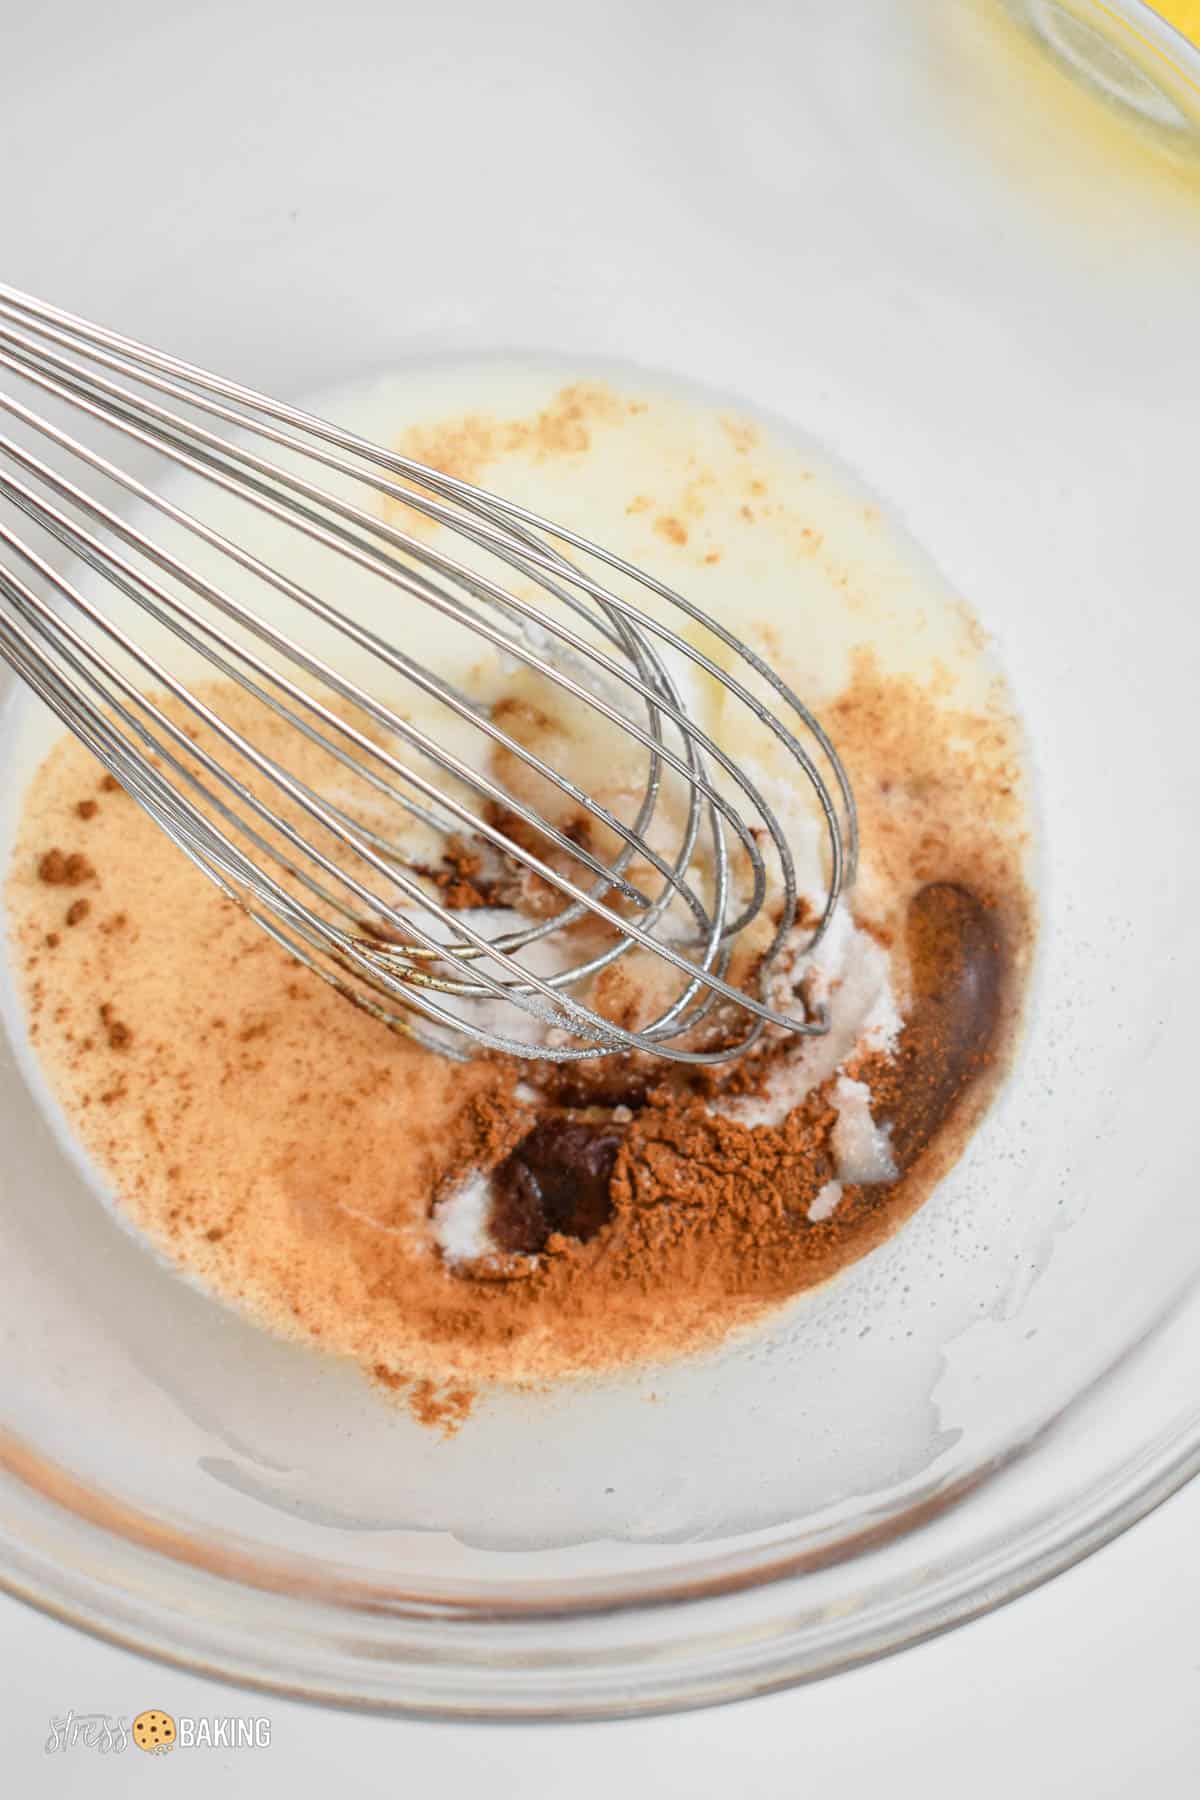
Credit: stressbaking.com
Serving Suggestions
Making a waffle cone with a waffle maker is fun and tasty. You can enjoy it with many ice cream flavors and toppings.
Try different ideas to make your waffle cones look and taste great. Here are some serving tips to inspire you.
Ice Cream Pairings
Choose ice cream flavors that match the sweet and crunchy waffle cone. Classic and fruity flavors work very well.
Vanilla and chocolate are simple but delicious. Fruit flavors like strawberry or mango add a fresh touch.
- Vanilla bean
- Chocolate fudge
- Strawberry
- Mango sorbet
- Cookies and cream
Creative Toppings
Toppings add texture and flavor to your waffle cones. Use nuts, sprinkles, or sauces for a fun finish.
Try dipping the cone edges in chocolate or caramel before adding toppings. It keeps the toppings in place and adds taste.
- Chopped almonds or peanuts
- Rainbow or chocolate sprinkles
- Mini chocolate chips
- Caramel or chocolate drizzle
- Fresh fruit pieces
Troubleshooting Common Issues
Making a waffle cone with a waffle maker can be fun but tricky. Sometimes, things don’t turn out right. This guide helps fix common problems.
Knowing how to avoid breakage and fix texture issues makes better cones. Let’s look at these problems and easy solutions.
Avoiding Breakage
Waffle cones can break if they are too thin or dry. Handle cones gently and let them cool properly before shaping.
Use these tips to keep your cones from cracking or snapping:
- Cook waffles until they are golden, not burnt or too soft.
- Roll cones immediately while warm and flexible.
- Let cones cool completely on a cone mold or cup.
- Store cones in an airtight container to keep them crisp.
- Avoid making cones too thin; thicker cones hold shape better.
Fixing Texture Problems
Texture is important for a good waffle cone. If cones are too hard, soft, or chewy, try adjusting the batter or cooking time.
Try these ideas to improve texture:
- Add a little more sugar to help crisp the cones.
- Reduce cooking time if cones feel too hard or burnt.
- Mix in a small amount of butter for a softer texture.
- Do not overmix the batter to avoid tough cones.
- Use fresh ingredients to keep the batter smooth and light.
Frequently Asked Questions
How Do You Make Waffle Cones At Home?
To make waffle cones at home, prepare a waffle batter. Pour it into a preheated waffle maker. Cook until golden brown. Quickly shape the warm waffle around a cone mold. Let it cool to harden. Enjoy your homemade waffle cone with your favorite ice cream.
What Ingredients Are Needed For Waffle Cones?
You’ll need flour, sugar, eggs, butter, and vanilla extract. These basic ingredients create a sweet and flavorful waffle cone. You can also add a pinch of salt for balance. Ensure all ingredients are fresh for the best taste and texture.
Can You Use A Regular Waffle Maker For Cones?
Yes, you can use a regular waffle maker for cones. Just ensure it produces thin waffles. Thicker waffles are harder to shape. Adjust your batter consistency and cooking time for best results. Use a cone mold to shape the waffles quickly.
How Long Does It Take To Make Waffle Cones?
Making waffle cones takes about 10 minutes. This includes preparing the batter and cooking the waffle. Shaping the cone should be done quickly while it’s warm. Cooling time may vary, but cones usually harden within minutes. Enjoy your delicious cones shortly after.
Conclusion
Making waffle cones with a waffle maker is simple and fun. You only need a few ingredients and a bit of practice. Fresh, warm cones taste better than store-bought ones. Try shaping the cones quickly while they are hot. Enjoy your homemade cones with any ice cream or dessert.
This easy recipe brings a tasty treat to your kitchen. Give it a try and enjoy the crisp, sweet results!