
If you’re someone who enjoys a smooth and even burn, you know how important a good tobacco grinder is. But what if you could make one yourself?
Imagine having a tool tailored just for you, saving money, and adding a personal touch to your experience. In this guide, you’ll discover simple steps to create your own tobacco grinder with everyday materials. By the end, you’ll have the skills to grind your tobacco like a pro, enhancing every puff.
Ready to take control and craft something useful? Let’s get started!

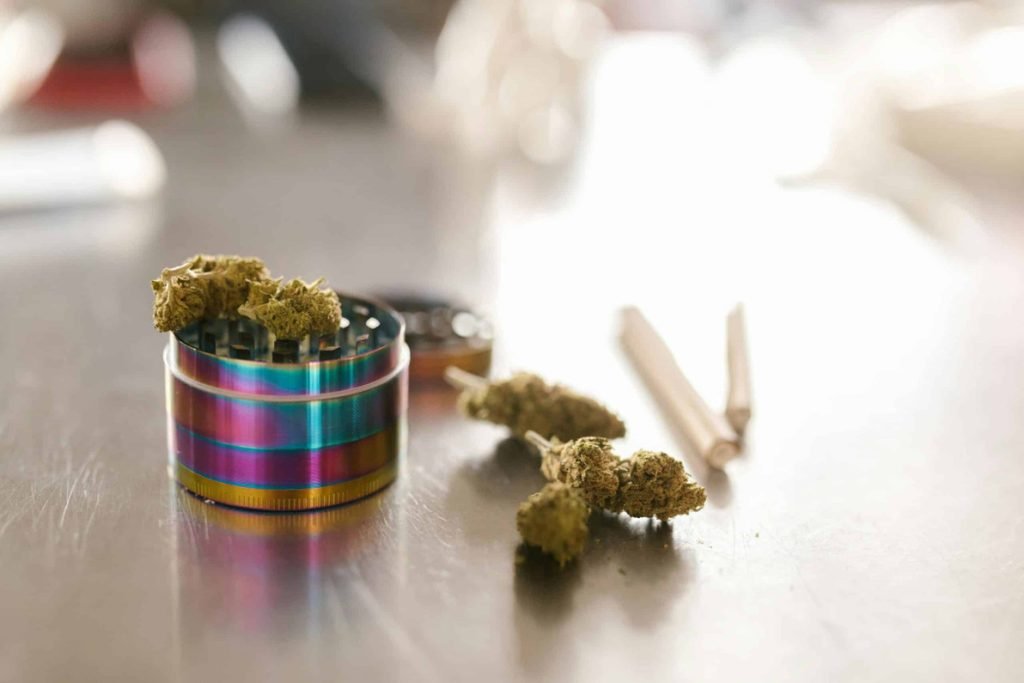
Credit: munchmakers.com
Materials Needed
Gather these essential toolsto make a tobacco grinder:
- Metal or plastic sheets:for the grinder body
- Drill and drill bits:to create holes for grinding
- Screwdriver and screws:to assemble parts
- Sandpaper:for smoothing rough edges
- Strong glue or epoxy:to fix parts securely
- Fine mesh screen:to separate ground tobacco
- Measuring tools:ruler or tape for accuracy
Choosing the right materials helps make a durable and efficientgrinder. Metal parts are long-lasting, while plastic is light and easy to handle. Use a fine screen for better tobacco separation. Smooth all edges to avoid injury. Keep all tools ready before starting your project.
Selecting The Design
Tobacco grinderscome in different styles to suit various needs. The most common types include:
- Manual grinders:Small and easy to carry. Use hand power to grind tobacco.
- Electric grinders:Fast and require less effort. Good for frequent use.
- Two-piece grinders:Simple design with one grinding chamber.
- Three-piece grinders:Have a chamber to catch ground tobacco.
- Four-piece grinders:Include a screen to separate fine tobacco bits.
Size and portabilitymatter a lot. Smaller grinders are easy to carry but hold less tobacco. Larger grinders can grind more but are less portable. Choose a size that fits your daily needs and travel habits.
Crafting The Grinder Body
Start by selecting a sturdy material like wood or metal for the grinder body. Use a saw or cutting tool to cut the materialinto the desired shape and size. Keep the shape simple, such as a cylinder or a box, for easy handling.
After cutting, use sandpaper or a file to smooth the edges. This step is very important to avoid sharp parts that can cause injury. Smooth edges also help the grinder parts fit together better and work smoothly.
- Cut the shape carefully along marked lines.
- Use medium grit sandpaper first to remove rough parts.
- Switch to fine grit sandpaper for a smooth finish.
- Check all edges to ensure no sharp points remain.
Creating The Grinding Mechanism
Teeth design is key to a good grinding mechanism. Sharp, sturdy teeth break tobacco into small pieces. Use metal or hard plastic for durability. Shape teeth like small pyramids or cones for better grip. Space teeth evenly to allow smooth rotation and efficient grinding.
Keep the teeth height consistent. Too tall teeth may jam the grinder. Too short teeth might not break tobacco well. Test the teeth size on sample tobacco before final assembly.
- Align teeth properly on both sides of the grinder.
- Use screws or strong glue to fix teeth firmly.
- Ensure the teeth mesh without too much gap.
- Check for smooth rotation after assembly.
- Lubricate the moving parts lightly to reduce friction.
Adding A Storage Compartment
Measure the space inside your grinder carefully. Use a ruler to check the depth and width. This helps to find the perfect size for the storage compartment. Make sure the compartment fits without blocking the grinder parts. Leave some extra room for easy access.
Secure attachment is key for a good storage compartment. Use strong glue or small screws to fix the compartment in place. Check that it does not move when you shake the grinder. Tighten any loose parts to avoid spills or damage. A well-attached compartment keeps everything neat and safe.
Finishing Touches
Seal the grinder with a strong, clear coat to protect it. Use non-toxic sealantto keep it safe for use. Apply thin layers and let each dry completely. This step helps stop rust and wear.
Test the grinder by turning the top and checking for smooth motion. It should crush tobacco evenly without sticking. If it feels rough, adjust the pieces or add more coating.
- Check that teeth line up well for proper grinding.
- Clean any leftover dust or debris before use.
- Make sure the grinder closes tightly but moves freely.
Maintenance Tips
Regular cleaning keeps your tobacco grinderworking well.
Use a small brush or toothpick to remove stuck bits.
Warm water and mild soap can clean metal parts. Dry them fully before use.
Avoid harsh chemicals as they can damage the grinder.
- Store the grinder in a dry place to stop rust.
- Do not overfill; it causes strain on the grinder parts.
- Turn the grinder gently to avoid breaking the blades.
- Check screws and tighten them if loose.

Credit: munchmakers.com
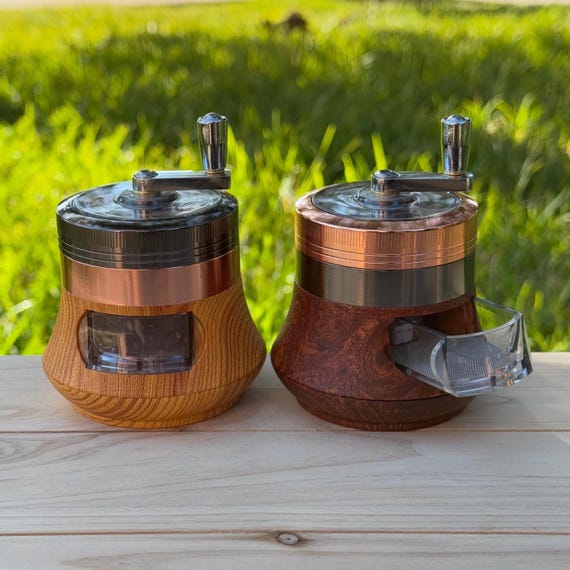
Credit: www.etsy.com
Frequently Asked Questions
What Materials Are Needed To Make A Tobacco Grinder?
To make a tobacco grinder, you need metal or wooden pieces, small screws, and a grinding mechanism. You may also require sandpaper, glue, and a screwdriver. These materials ensure a functional, durable, and smooth grinding experience.
How Do You Assemble A Homemade Tobacco Grinder?
First, cut the materials into the desired shape. Attach the grinding mechanism with screws. Smooth the edges with sandpaper. Ensure the parts fit tightly for efficient grinding. Test the grinder before regular use to confirm it works properly.
Can I Customize The Size Of My Tobacco Grinder?
Yes, you can customize the size based on your preference. Choose materials that fit your hand comfortably. Adjust the grinding chamber size for different tobacco quantities. Customizing improves usability and suits your personal needs.
How Often Should A Homemade Tobacco Grinder Be Cleaned?
Clean your grinder after every few uses to maintain performance. Use a small brush to remove residue. Avoid water if using wooden parts; instead, use dry cleaning methods. Regular cleaning prevents clogging and extends the grinder’s lifespan.
Conclusion
Making a tobacco grinder at home is simple and fun. You only need a few tools and materials. This guide helps you save money and customize your grinder. Try different designs to find what works best. Grinding tobacco this way gives you control over the size.
Enjoy the process and your homemade grinder’s performance. Keep practicing to improve your skills. Making your own grinder adds a personal touch to your tobacco use. Give it a try and see how easy it can be.