

Imagine enjoying your favorite ice cream, perfectly nestled in a warm, crispy waffle cone you made yourself. There’s something special about the fresh, sweet crunch of a homemade cone that store-bought ones just can’t match.
If you’ve ever wanted to impress your friends or simply treat yourself to a delicious, DIY dessert, you’re in the right place. In this guide, you’ll learn exactly how to make a homemade waffle cone with simple ingredients and easy steps.
Ready to turn your ice cream experience up a notch? Let’s get started!
Ingredients For Waffle Cones
Making homemade waffle cones starts with simple ingredients. These basics create a crispy and sweet cone.
You can add flavors to make your cones unique and tasty. Let’s look at the essentials first.
Basic Ingredients Needed
The main ingredients for waffle cones are easy to find. You need a few basics from your kitchen.
- All-purpose flour
- Sugar
- Eggs
- Butter
- Milk
- Vanilla extract
- Salt
These ingredients mix into a smooth batter. The batter cooks quickly into thin waffle sheets.
Optional Flavor Additions
You can add flavors to make your waffle cones special. These extras change the taste and smell.
- Cinnamon for a warm, spicy note
- Cocoa powder for chocolate flavor
- Almond extract for a nutty hint
- Orange zest for a fresh citrus twist
- Ground ginger for a spicy kick
Add these in small amounts to the batter. They make your cones taste different and fun.
Tools And Equipment
Making a homemade waffle cone needs the right tools. Using proper equipment helps you shape and cook the cone perfectly.
This guide explains two main tools used for making waffle cones: waffle cone makers and irons. It also covers rolling tools for shaping cones.
Waffle Cone Maker Vs. Iron
A waffle cone maker is a small machine that cooks waffle batter into thin, round shapes. It heats evenly and cooks the batter fast.
An iron is a handheld tool. You place it on a stove or heat source. It also presses the batter thin and cooks it. Both tools shape waffles for cones.
- Waffle cone maker has built-in heat and timer.
- Iron requires manual heating and timing.
- Waffle cone maker is easy for beginners.
- Iron is more affordable and simple.
Rolling Tools For Shaping
After cooking, the waffle needs to be shaped into a cone while warm. Rolling tools help form the cone shape quickly.
Common rolling tools include wooden cones and metal forms. You wrap the warm waffle around these tools to make a perfect cone.
- Wooden cones are easy to use and inexpensive.
- Metal forms keep shape firm and last longer.
- Use a towel or glove to hold hot waffle during rolling.
- Shape cones soon after cooking for best results.
Preparing The Batter
Making the batter is the first step to creating a tasty waffle cone. The batter should be smooth and easy to work with.
Good batter helps the cones bake evenly and hold their shape. Let’s look at how to mix and rest the batter well.
Mixing Tips For Smooth Batter
Use a whisk or mixer to blend ingredients. Stir until the batter is free of lumps. Do not overmix; this can make the batter tough.
Add wet ingredients slowly to dry ones. This helps create a smooth texture. Stop mixing as soon as the batter looks even.
- Use room temperature eggs and butter
- Sift dry ingredients before mixing
- Mix gently to avoid tough batter
Resting The Batter
Let the batter rest for at least 20 minutes. Resting lets the flour absorb liquids fully. This makes the batter smoother and easier to shape.
Cover the bowl to keep the batter fresh. Avoid resting for too long, or the batter may become too thick.
- Cover batter with plastic wrap
- Rest at room temperature
- Stir lightly before using
Cooking The Waffle Cones
Cooking waffle cones at home is fun and easy. It needs a little practice to get the perfect shape and crunch.
Using the right heat and cooking time helps make crisp, golden cones every time.
Heating The Waffle Maker
Preheat your waffle maker before cooking the batter. This stops the batter from sticking and cooks it evenly.
Wait until the waffle maker’s indicator light shows it is ready. This usually takes a few minutes.
- Plug in the waffle maker and close the lid.
- Set it to medium heat if it has settings.
- Wait for the ready signal or light.
Cooking Time And Temperature
Cook the waffle cones at a medium heat setting for the best results. Too hot will burn them quickly.
Each waffle cone takes about 1 to 2 minutes to cook. Watch for a golden brown color before removing.
- Set the temperature to around 350°F (175°C) if your waffle maker shows numbers.
- Cook each cone for 60 to 90 seconds.
- Check the color and texture before taking them out.
- Cool the cones quickly by shaping them right after cooking.
Shaping The Cones
Shaping the waffle cones correctly is key to a perfect crisp texture. The cones must be rolled while warm to hold their shape.
This guide covers how to roll the cones and how to keep them crisp after shaping.
Rolling While Warm
Roll the waffle immediately after cooking. The warmth makes the batter soft and easy to shape.
- Remove the waffle from the iron carefully.
- Place it quickly on a flat surface.
- Use a cone-shaped mold to roll the waffle.
- Press gently to seal the edge.
- Hold the shape until the cone cools down.
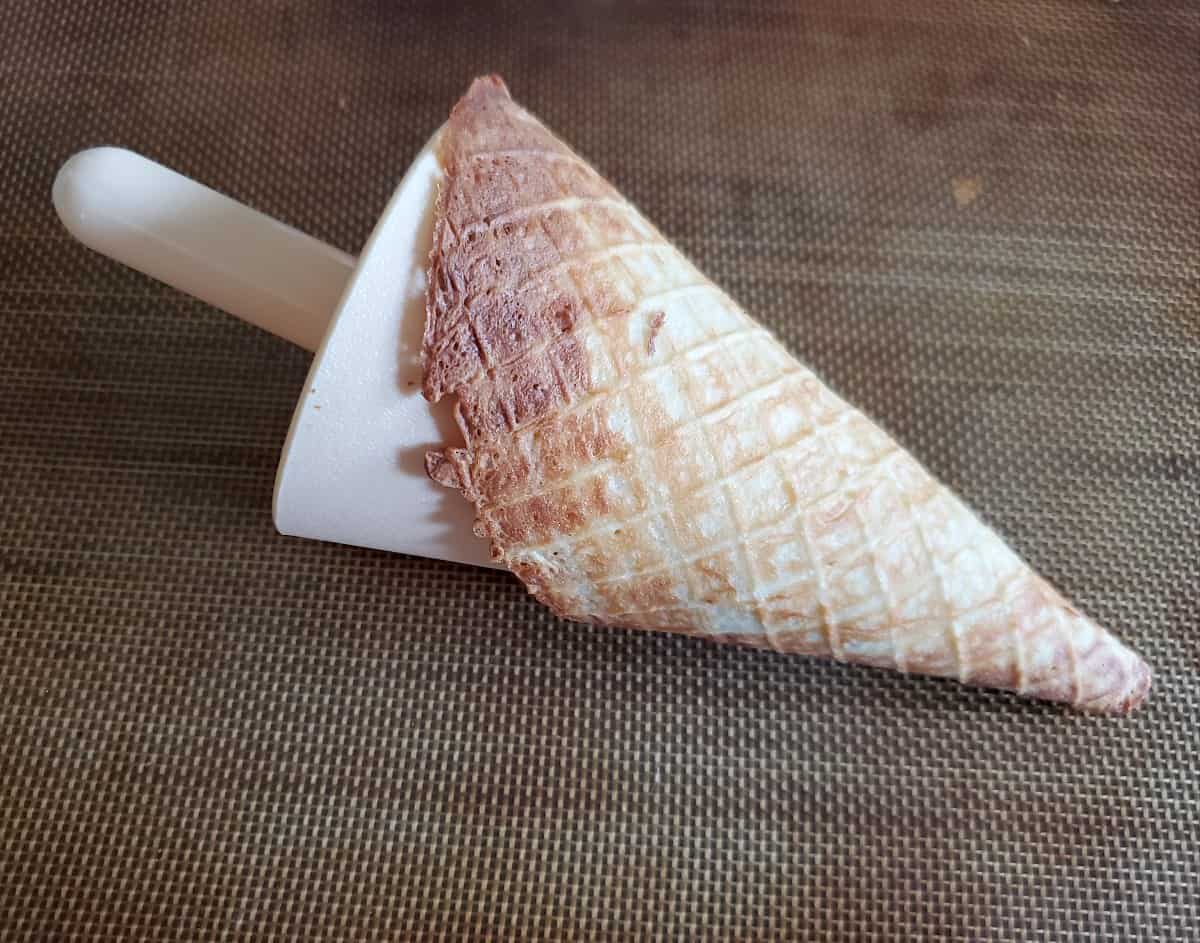
Creating A Crisp Cone Shape
After rolling, the cone must dry to become crisp. Cooling on a rack helps air flow around the cone evenly.
| Action | Effect |
| Cooling on a rack | Prevents sogginess by allowing airflow |
| Storing in an airtight container | Keeps cones crisp longer |
| Avoiding moisture | Maintains cone crunchiness |

Credit: www.leeshandlusrecipebox.com
Cooling And Storing
Making homemade waffle cones is fun, but cooling and storing them properly keeps them crisp. Warm cones can become soggy if stored too soon.
Let’s look at how to cool cones correctly and store them to keep freshness longer.
Proper Cooling Techniques
After shaping your waffle cones, cool them on a wire rack. This helps air flow around the cones and stops moisture buildup.
- Place cones on a wire rack immediately after shaping.
- Keep cones away from direct heat or sunlight while cooling.
- Allow cones to cool completely before handling or storing.
- Do not stack cones while warm to avoid sticking.
Storing For Freshness
Store waffle cones in an airtight container. This stops air and humidity from making them soft.
| Storage Method | Benefit |
| Airtight Container | Keeps cones crisp and dry |
| Cool, Dry Place | Prevents moisture and mold growth |
| Use Within 3 Days | Ensures best texture and taste |
Serving Suggestions
Homemade waffle cones add a special touch to your desserts. Serving them with the right ingredients makes the experience delightful.
Below are ideas for pairing your waffle cones with ice cream and creative toppings to enjoy every bite.
Pairing With Ice Cream
Choose ice cream flavors that complement the sweet crunch of the waffle cone. Classic flavors work best to keep the taste balanced.
- Vanilla bean for a creamy, smooth contrast
- Chocolate fudge for a rich, intense flavor
- Strawberry for a fruity and fresh touch
- Mint chocolate chip to add a cool twist
- Coffee for a bold and warm taste
Creative Toppings And Fillings
Enhance your waffle cone with fun toppings and fillings. These add texture and flavor to your dessert.
| Topping | Description |
| Chopped nuts | Adds crunch and a nutty flavor |
| Sprinkles | Colorful and sweet decoration |
| Chocolate drizzle | Gives a rich and smooth finish |
| Fresh fruit pieces | Provides freshness and natural sweetness |
| Whipped cream | Adds light and airy texture |
Credit: honestandtruly.com
Troubleshooting Common Issues
Making homemade waffle cones can be fun and tasty. Sometimes, problems like soggy cones or cracks happen. These problems can ruin your treat. This guide helps you fix these issues.
Follow the tips below to keep your cones crisp and strong. Learn how to avoid sogginess and repair cracks or breaks.
Avoiding Soggy Cones
Soggy cones happen when moisture seeps into the cone. It makes the cone soft and less tasty. To keep your cone crisp, store and use them correctly.
- Store cones in an airtight container to block moisture.
- Keep cones in a cool, dry place away from steam or humidity.
- Avoid filling cones with ice cream too far in advance.
- Use a paper liner inside the cone to absorb moisture.
- Serve cones immediately after filling for best texture.
Fixing Cracks And Breaks
Cracks and breaks make cones hard to hold or eat. They happen if the cone is too dry or bent too much. You can fix small cracks or prevent big breaks with care.
| Problem | Cause | Fix |
| Small cracks | Dry batter or thin cone | Brush edges with melted butter to seal |
| Large breaks | Overbaking or rough handling | Use cone pieces for toppings or snacks |
| Soft spots | Too much moisture | Toast cones lightly before use |

Credit: honestandtruly.com
Frequently Asked Questions
How Long Does It Take To Make A Homemade Waffle Cone?
Making a homemade waffle cone typically takes about 15 to 20 minutes. This includes mixing the batter, cooking the waffles, and shaping the cones while warm for best results.
What Ingredients Are Needed For A Waffle Cone?
Basic ingredients for a waffle cone include flour, sugar, eggs, butter, and vanilla extract. These create a crispy, sweet cone perfect for holding ice cream.
Can I Store Homemade Waffle Cones?
Yes, store homemade waffle cones in an airtight container. Keep them at room temperature to maintain crispness for up to one week.
How Do I Shape Waffle Cones Perfectly?
Shape waffle cones by rolling the warm waffle around a cone mold immediately after cooking. Hold it until it cools to retain the shape.
Conclusion
Crafting homemade waffle cones is simple and rewarding. You control the ingredients. This means a healthier treat for your family. Plus, the taste beats store-bought options. Your kitchen fills with a delightful aroma. The joy of creating something from scratch is unmatched.
Every bite offers a crunch and sweetness. Enjoy them with your favorite ice cream. Or fill them with fruits for a healthier option. Friends and family will love your creations. So, grab your waffle maker. Start experimenting with flavors today.
Homemade waffle cones make every dessert special.