

If you enjoy fresh herbs, you know how important it is to have a good grinder. But store-bought herb grinders can be expensive and sometimes don’t work the way you want.
What if you could make your own, right at home, using simple materials? Imagine having a grinder that fits your needs perfectly and saves you money. In this guide, you’ll discover easy steps to create a homemade herb grinder that works just as well as any store-bought one.
Keep reading, and you’ll learn how to turn everyday items into a tool that makes your herb preparation faster, cleaner, and more satisfying.
/https://fbi.cults3d.com/uploaders/13872969/illustration-file/214b8208-1101-4249-9af9-604f53a387cc/untitled.364.jpg)
Credit: cults3d.com
Materials Needed
Choosing the right materials is key for a good herb grinder. Use hardwoodlike maple or walnut for durability. Soft woods can wear out fast. You can also use acrylicor metalif you want a different look and feel. Avoid materials that can crack or break easily. The size should fit comfortably in your hand.
Tools required include a small sawfor cutting wood, a drillwith various bit sizes, and sandpaperto smooth edges. You will also need screwsor small magnetsto hold parts together. A filehelps shape the teeth inside the grinder. Keep all tools clean and ready to use.
Designing Your Grinder
Choosing the right size and shapeis key to a good herb grinder. A small grinder fits easily in pockets but holds less. A larger one grinds more herbs but can be bulky.
Round shapes are common and easy to turn. Square or hexagonal shapes offer better grip. Think about comfort and ease of use.
| Size | Pros | Cons |
|---|---|---|
| Small | Portable, easy to carry | Holds less herbs |
| Medium | Balanced capacity and size | Moderate bulk |
| Large | Grinds more herbs quickly | Less portable |
Creating a simple blueprinthelps visualize the design. Draw top, side, and bottom views. Mark where the teeth will go. Show the grinding chamber size.
Keep the design clear and easy to follow. This makes building easier and avoids mistakes.
Building The Grinder Base
Choose a sturdy material like wood, plastic, or metal for the base. Use a saw or craft knife to cut the material into a circle about 3 inches wide. Smooth the edges with sandpaper to avoid rough spots.
Shape the bottom piece to fit snugly inside the base. Drill small holes in a circle pattern for grinding herbs. Make sure the holes are evenly spaced and about 1/4 inch wide.
Attach a small magnet or a screw in the center of the bottom piece. This will help hold the top and bottom together during use. Test fit the pieces to ensure they rotate smoothly.
Crafting The Grinding Mechanism
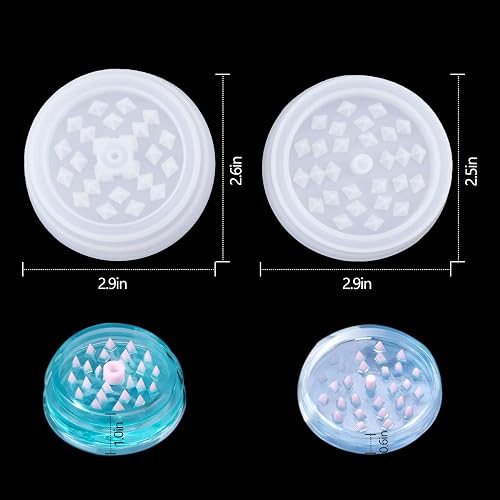
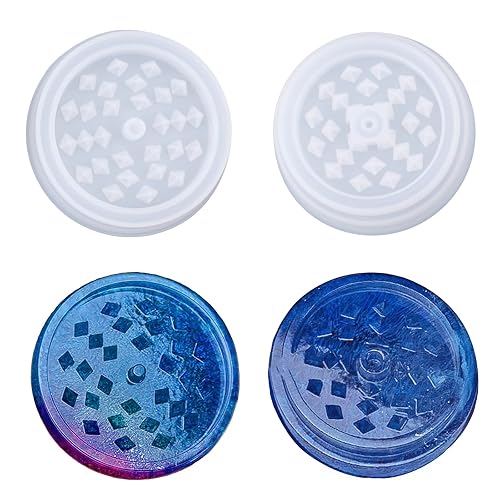
Create the grinding teeth by cutting small, sharp pegs from a hard material like wood or plastic. Make sure the pegs are evenly spaced to help grind herbs well. The teeth should be short but strong to crush the herbs without breaking.
Attach the grinding plate firmly to the base of the grinder. Use strong glue or small screws to hold it in place. The plate must not move during grinding to keep the herbs finely ground. Test the plate by turning it gently to check its stability.
Adding The Top Lid
To create a secure fitfor the top lid, ensure the edges align perfectly with the grinder body. A tight fit prevents herbs from spilling out during use. Sand the edges gently to smooth rough spots and help the lid sit snugly.
Incorporate a handle or knobto make twisting easier. Use a small wooden dowel, bead, or a carved piece of wood glued firmly to the center of the lid. This gives a better grip and control.
- Choose a sturdy material for the knob.
- Attach it in the center of the lid.
- Test the lid’s fit after adding the handle.
Credit: kuwait.whizzcart.com
Finishing Touches
Use fine sandpaper to smooth all sharp edges carefully. This makes the grinder safe and comfortable to hold. Sand in small circles until edges feel soft. Wipe away dust with a dry cloth before testing.
Test the grinder by placing herbs inside and twisting gently. The teeth should crush the herbs evenly without much force. If it feels stiff, sand the edges a bit more. Check if the parts fit tightly but can still turn smoothly.
Maintenance Tips
Cleaning your grinder often keeps it working well. Use a small brush to remove leftover bits inside. Soaking parts in warm water helps loosen stuck pieces. Avoid harsh chemicals that might damage the material. Dry all parts fully before putting them back together.
Ensuring longevity means taking care daily. Keep your grinder away from moisture and dirt. Store it in a cool, dry place. Check for worn or broken parts regularly. Replacing damaged pieces keeps it safe and effective.
Credit: kuwait.whizzcart.com
Frequently Asked Questions
What Materials Do I Need To Make A Homemade Herb Grinder?
To make a homemade herb grinder, gather strong plastic or wood, small nails, sandpaper, and glue. These materials ensure durability and ease of use.
How Do I Assemble A Simple Diy Herb Grinder?
Cut two circular pieces, drill holes, insert nails for teeth, and glue edges. This creates an effective grinding mechanism for herbs.
Can I Use Household Items For An Herb Grinder?
Yes, items like bottle caps, small containers, and screws can work as makeshift herb grinders. They are easy to find and cost-effective.
How To Maintain And Clean A Homemade Herb Grinder?
Regularly brush out residue and wash with warm soapy water. Dry thoroughly to prevent mold and maintain grinder efficiency.
Conclusion
Making a homemade herb grinder can be simple and fun. You only need a few basic tools and materials. This project saves money and lets you customize your grinder. It also helps you understand how grinders work. Try different designs to find what suits you best.
Keep your grinder clean for better results. Enjoy fresh, ground herbs anytime. Give it a try and see how easy it is!