
Lighting your RV oven pilot might seem tricky if you’ve never done it before. But once you know the simple steps, you’ll feel confident and ready to cook wherever the road takes you.
Imagine the comfort of a warm meal after a long day of travel—lighting your oven pilot is the key to making that happen. In this guide, you’ll learn exactly how to get your RV oven pilot going safely and quickly.
Keep reading, and you’ll never have to worry about a cold meal on your trips again.

Credit: www.reddit.com
Safety First
Lighting an RV oven pilot needs care and attention. Safety is the most important step before you start.
Follow safety tips to avoid accidents and keep yourself safe while working with gas appliances.
Check For Gas Leaks
Before lighting the pilot, inspect the gas lines for leaks. A gas leak can cause fires or explosions.
Use a soap and water solution to check for bubbles on the gas connections. Bubbles mean a leak is present.
- Turn off the gas supply before inspecting.
- Apply soap solution to all fittings and joints.
- Watch for bubbles while the gas is on.
- If you find leaks, fix them before lighting.
Ventilate The Area
Make sure the RV is well-ventilated before lighting the oven pilot. Ventilation helps remove gas fumes.
Open windows and doors to allow fresh air to circulate. This lowers the risk of gas buildup.
- Keep windows open near the oven area.
- Use fans if possible to move air around.
- Never light the pilot in a closed, stuffy space.
Wear Protective Gear
Wear safety gloves and eye protection when lighting the pilot. This protects you from burns and sparks.
Wear clothes that cover your arms and avoid loose fabrics that could catch fire.
- Use heat-resistant gloves.
- Wear safety goggles or glasses.
- Avoid loose or flammable clothing.
- Keep a fire extinguisher nearby just in case.
Locate The Pilot Light
The pilot light is a small flame that keeps the oven burner ready to light. Finding it is the first step to lighting your RV oven.
Knowing where the pilot light is helps you check if it is working or needs to be relit.
Access The Oven Compartment
First, open the oven door to see inside the oven. Some ovens have a panel below or behind the door.
Remove any screws or clips holding the panel. This will give you access to the inside of the oven.
- Open the oven door fully
- Look for a bottom panel or cover
- Unscrew or unclip the panel carefully
- Set the panel aside safely
Identify The Pilot Assembly
The pilot assembly includes the pilot light, the gas tube, and the igniter. It is usually near the oven burner.
The pilot light looks like a small metal tube with a tiny opening where the flame burns.
- Find the gas tube leading to the burner
- Look for a small metal nozzle or tube
- Check for a thin wire near the tube (the igniter)
- The small flame at the nozzle is the pilot light
Prepare To Light The Pilot
Lighting your RV oven pilot needs care and safety. Before you start, follow some important steps.
These steps help prevent accidents and make sure the pilot lights correctly.
Turn Off The Gas
First, find the gas valve for your RV oven. Turn it off to stop the gas flow.
Turning off the gas stops leaks and lets old gas clear out before lighting.
- Locate the gas valve near your oven or propane tank
- Turn the valve knob clockwise to close it
- Check that the gas smell fades after turning off
Wait Before Proceeding
After turning off the gas, wait at least five minutes. This lets any gas in the area clear out.
Waiting lowers the risk of fire or explosion when you light the pilot.
- Count to 300 seconds slowly or use a timer
- Keep windows and doors open for fresh air
- Do not try to light the pilot during this time
Lighting The Pilot Light
Lighting the pilot light in your RV oven is important for cooking safely. The pilot light keeps the oven ready to use.
Follow simple steps to light the pilot light correctly and avoid problems.
Turn On The Gas Valve
Find the gas valve near your RV oven. This valve controls the gas flow.
Turn the gas valve to the “on” position. This allows gas to reach the pilot light.
Use A Long Lighter Or Match
Use a long lighter or match to light the pilot. A long tool keeps your hand safe from the flame.
Hold the flame close to the pilot area before turning on the gas.
Hold The Flame To The Pilot
Place the flame right where the pilot gas comes out. This spot is usually small and near the burner.
Keep the flame steady until the pilot lights up and stays lit.
Press The Reset Or Pilot Button
Press and hold the reset or pilot button on your oven control panel. This lets gas flow to the pilot.
Keep holding the button for 30 seconds after the pilot lights. Release the button slowly and check if the pilot stays on.
Confirming The Pilot Is Lit
Before you use your RV oven, make sure the pilot light is on. The pilot light helps the oven ignite and stay warm.
Checking the pilot light is an important safety step. It also ensures your oven works properly.
Observe The Flame
Look inside the oven near the pilot light area. A small blue flame should be visible. This shows the pilot is lit.
If the flame is weak or yellow, it may need cleaning or adjustment. A strong blue flame means good burning.
Listen For The Gas Flow
When you turn the oven control knob to pilot, listen closely. You should hear a soft hissing sound.
This sound means gas is flowing to the pilot light. No sound might mean a gas supply problem.
Test Oven Operation
After the pilot is lit, turn the oven control knob to the bake position. The main burner should ignite.
If the oven heats up, the pilot is working correctly. If not, check the pilot light again or call for service.
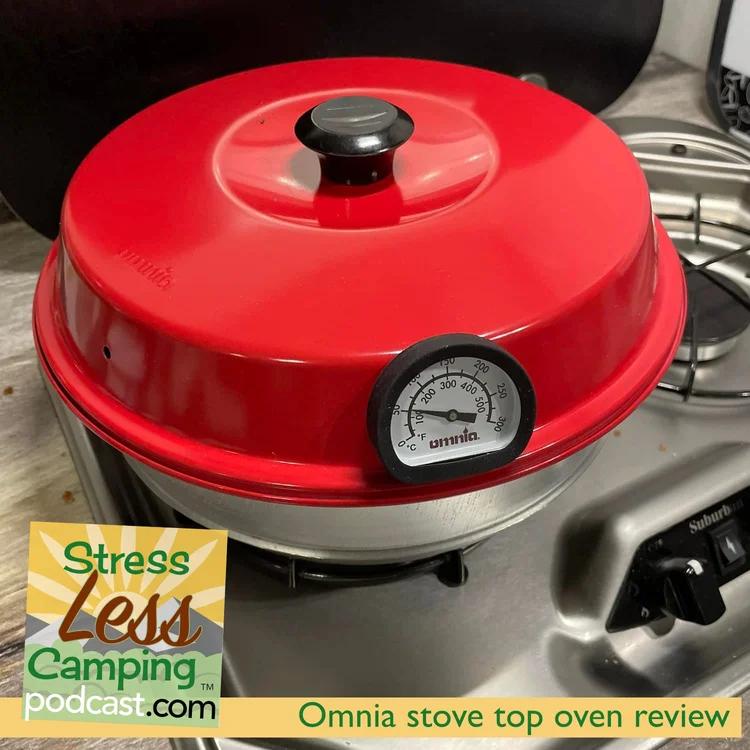
Credit: www.stresslesscamping.com
Troubleshooting Tips
Lighting your RV oven pilot can sometimes be tricky. Knowing common problems helps you fix them fast.
This guide covers issues like the pilot not staying lit, weak flames, and gas valve problems.
Pilot Won’t Stay Lit
If the pilot light goes out soon after lighting, dirt or debris might block the pilot tube.
Check for drafts or wind near the oven. These can blow out the pilot flame.
- Clean the pilot tube with compressed air.
- Make sure the thermocouple is tight and clean.
- Shield the pilot from wind or drafts.
Weak Or Yellow Flame
A healthy pilot flame is blue and steady. A weak or yellow flame shows a problem.
Yellow flames mean there is not enough oxygen or the burner is dirty.
- Clean the burner and pilot area carefully.
- Check for blockages in air vents.
- Ensure the gas pressure is correct.
Gas Valve Issues
If the pilot does not light, the gas valve might be faulty or closed.
Listen for a clicking sound when you try to light the pilot. No click may mean valve trouble.
- Check that the gas valve is fully open.
- Inspect the valve for damage or wear.
- Replace the valve if it does not work properly.
Maintaining Your Rv Oven Pilot
The pilot light in your RV oven helps start the burner safely. Keeping it clean and in good shape ensures your oven works well.
Regular care of the pilot light prevents problems and keeps your cooking smooth on the road.
Regular Cleaning
Dust and food crumbs can block the pilot light. Cleaning it often helps the flame stay strong and steady.
Use a soft brush or compressed air to clear dirt from the pilot area. Avoid using water or harsh chemicals.
- Turn off the oven and let it cool before cleaning
- Remove any debris around the pilot light
- Use gentle tools like a soft brush or air blower
- Check that the flame burns blue and steady after cleaning
Inspecting For Damage
Look at the pilot light and its parts for cracks or wear. Damaged parts can cause the light to go out or burn poorly.
Check the thermocouple and pilot tube for signs of rust or blockage. Replace any broken parts to keep the oven safe.
- Look for cracks in the pilot light cover
- Check the thermocouple for corrosion
- Make sure the pilot tube is free of blockages
- Replace damaged parts promptly
Scheduling Professional Checks
Have a qualified technician inspect your RV oven pilot yearly. They can spot hidden issues and fix them safely.
Regular professional checks help avoid bigger problems and keep your oven working well for a long time.
- Book an annual service for your RV oven
- Ask the technician to check the pilot light and gas lines
- Get repairs done by a certified professional
- Keep records of all inspections and maintenance

Credit: www.youtube.com
Frequently Asked Questions
How Do I Safely Light An Rv Oven Pilot?
First, turn off the gas and wait five minutes. Open the oven door and locate the pilot light. Use a long lighter to ignite it while pressing the gas valve. Hold the flame for 30 seconds, then release the valve slowly.
Why Won’t My Rv Oven Pilot Light Stay Lit?
A dirty pilot orifice or clogged burner often causes this issue. Check and clean the pilot light with compressed air. Also, inspect the thermocouple; replace it if faulty. Proper gas pressure is essential for keeping the pilot lit.
Can I Light My Rv Oven Pilot Without A Match?
Yes, you can use a long-neck butane lighter or an electronic igniter. These tools provide a safer and easier way to reach the pilot light inside the oven. Always follow safety precautions when lighting any gas appliance.
How Often Should I Maintain My Rv Oven Pilot Light?
Clean the pilot light and burner area at least once a year. Regular maintenance prevents clogs and ensures efficient ignition. Check for wear or damage during routine inspections to keep your RV oven running safely.
Conclusion
Lighting your RV oven pilot is simple and safe with these steps. Always check for gas leaks before you start. Keep the flame steady and watch it closely. Regular practice helps you feel confident and ready. Your RV cooking will improve with a working oven.
Enjoy your meals and safe travels ahead.