

Have you ever struggled with sticky, uneven dough that just won’t come together? Knowing how to knead dough efficiently can completely change your baking experience.
When you get this step right, your bread or pizza crust turns out soft, fluffy, and full of flavor. You’ll discover simple techniques that save you time and effort, making your dough smooth and elastic every single time. Ready to master the art of kneading and impress everyone with your baking skills?
Let’s dive in!
Credit: www.prepapizza.com
Benefits Of Proper Kneading
Proper kneadinghelps make dough soft and smooth. It pushes air inside the dough. This makes bread lighter and fluffier.
Gluten developmentis better with good kneading. Gluten is a protein that gives dough stretch and strength. Well-kneaded dough holds shape and rises well.
- Improves texture:dough feels elastic and less sticky.
- Builds gluten:helps dough rise and keeps shape.
- Boosts flavor:kneading spreads yeast evenly for better taste.
Credit: www.stadlermade.com
Essential Tools For Kneading
A sturdy mixing bowl and a clean surface are key for kneading dough easily. A bench scraper helps lift and fold the dough without sticking. Using your hands with these tools improves dough texture and saves time.
Choosing The Right Surface
A flat and clean surface is key for kneading dough. Wood or marble tables work well. These surfaces prevent the dough from sticking. Keep some flour nearby. Sprinkle it lightly on the surface. This helps the dough move smoothly. Always make sure the surface is stable. A wobbly surface can cause problems.Using Dough Scrapers And Hands
Dough scrapers are very helpful. They keep the dough together. Use a scraper to lift sticky dough. It also helps in cutting the dough. Your hands are also important tools. Use your palms to press the dough. This makes it smooth and elastic. Fingers can help fold the dough. Together, they make kneading easy and fun. `Step-by-step Kneading Techniques
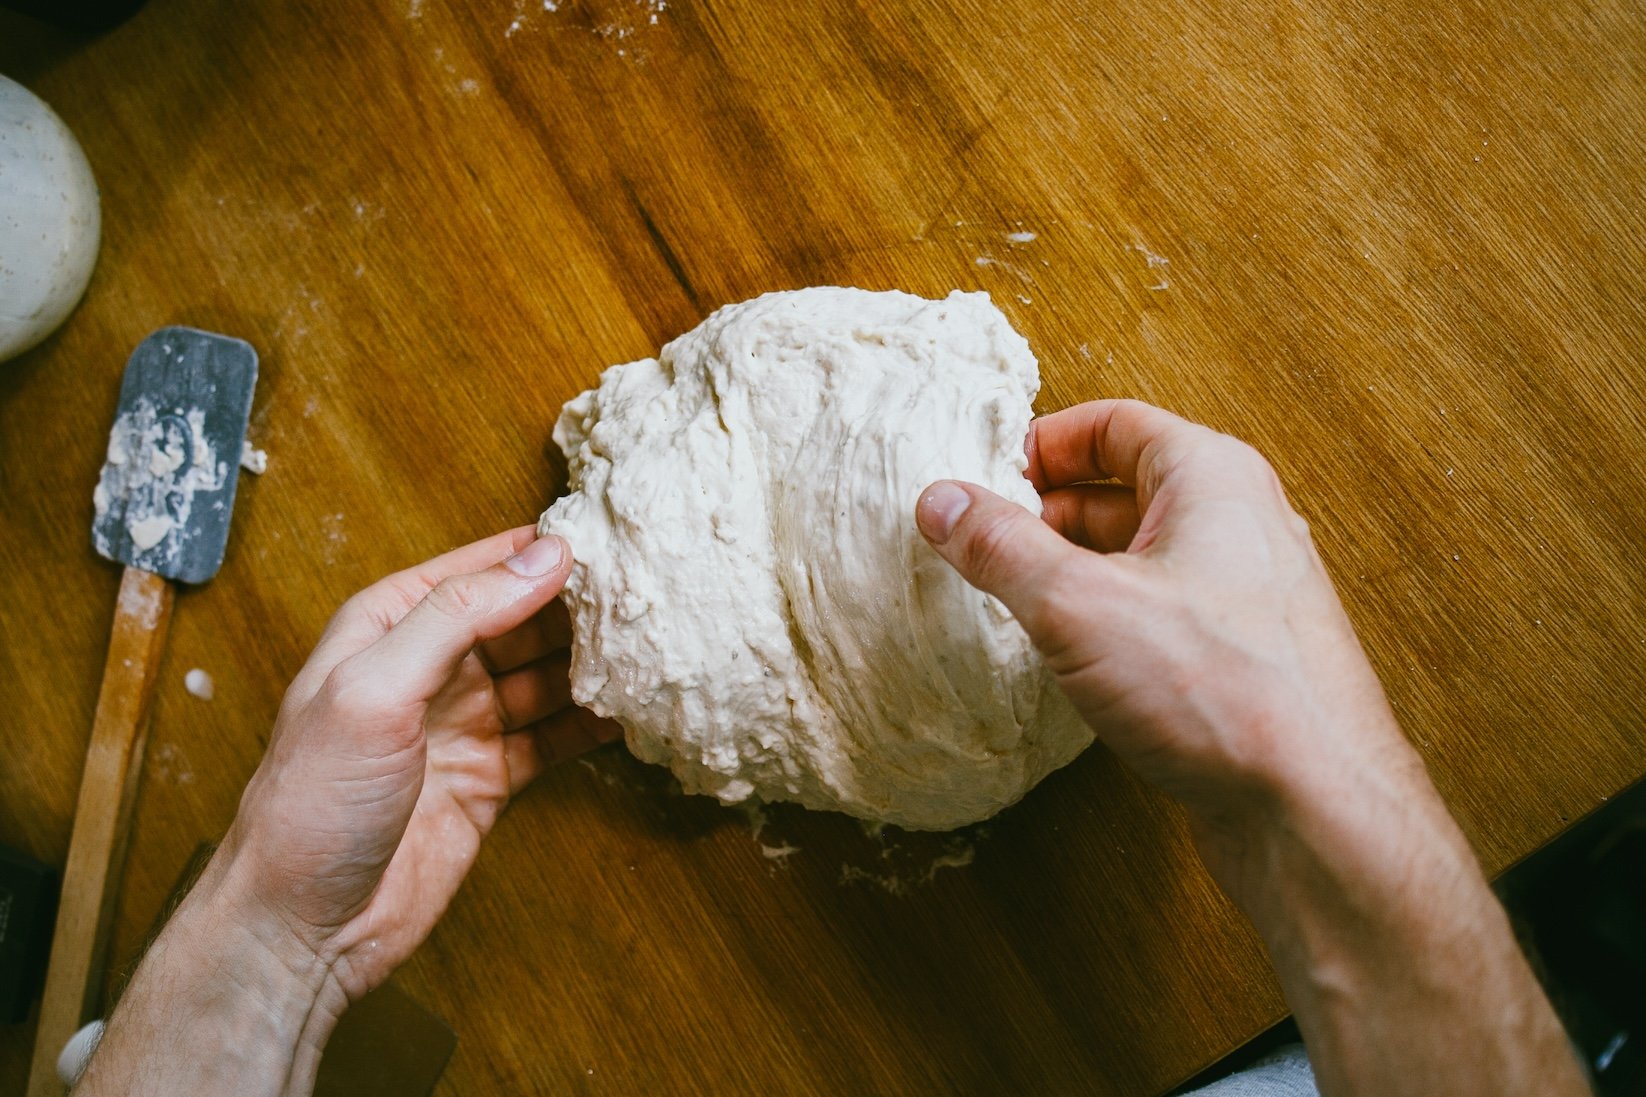
Folding and pressingmotions help develop gluten in the dough. Fold the dough over itself, then press it down with the palm of your hand. Repeat this motion gently but firmly to create elasticity. This process traps air and creates a smooth texture.
Stretching and turning the dough ensures even kneading. After pressing, stretch the dough slightly away from you. Then turn it a quarter turn and repeat the fold and press. This keeps the dough uniform and prevents sticking.
Knowing when to stop kneading is important. The dough should be smooth and elastic. It should spring back when poked gently. Avoid over-kneading, which makes dough tough and hard to work with.
Common Kneading Mistakes
Over-kneading signsinclude dough that feels very stiff and hard. It may tear easily and lose elasticity. The dough can become dry and crumbly.
Under-kneading effectscause dough to be sticky and soft. It may not rise well and has a dense texture after baking. The bread might be flat and heavy.
Dealing with sticky or dry doughrequires small adjustments. For sticky dough, add flour slowly, a little at a time. For dry dough, add water or milk in small drops. Knead gently after each addition. The dough should feel smooth and elastic but not sticky.
Alternative Kneading Methods
Stand mixers save time and effort during kneading. Attach the dough hook to the mixer. Mix on low speed until the dough forms a ball. Then increase speed slightly to develop gluten. Watch closely to avoid over-kneading. The dough should be smooth and elastic.
No-knead bread uses long resting times instead of physical kneading. Mix flour, water, yeast, and salt until combined. Let the dough rest for 12 to 18 hours at room temperature. This slow fermentation creates strong gluten naturally. After resting, shape and bake the dough. It yields a chewy crust and soft inside.
Tips For Consistent Results
Measuring ingredients accuratelyis key for good dough. Use a kitchen scale for best results. Even small changes can affect texture and taste. Too much flour makes dough dry and hard. Too little flour makes it sticky and hard to shape.
Maintaining proper dough temperaturehelps yeast work well. Dough should be warm but not hot. Around 75°F (24°C) is good. Cold dough slows yeast. Hot dough can kill it. Room temperature ingredients help keep dough steady.
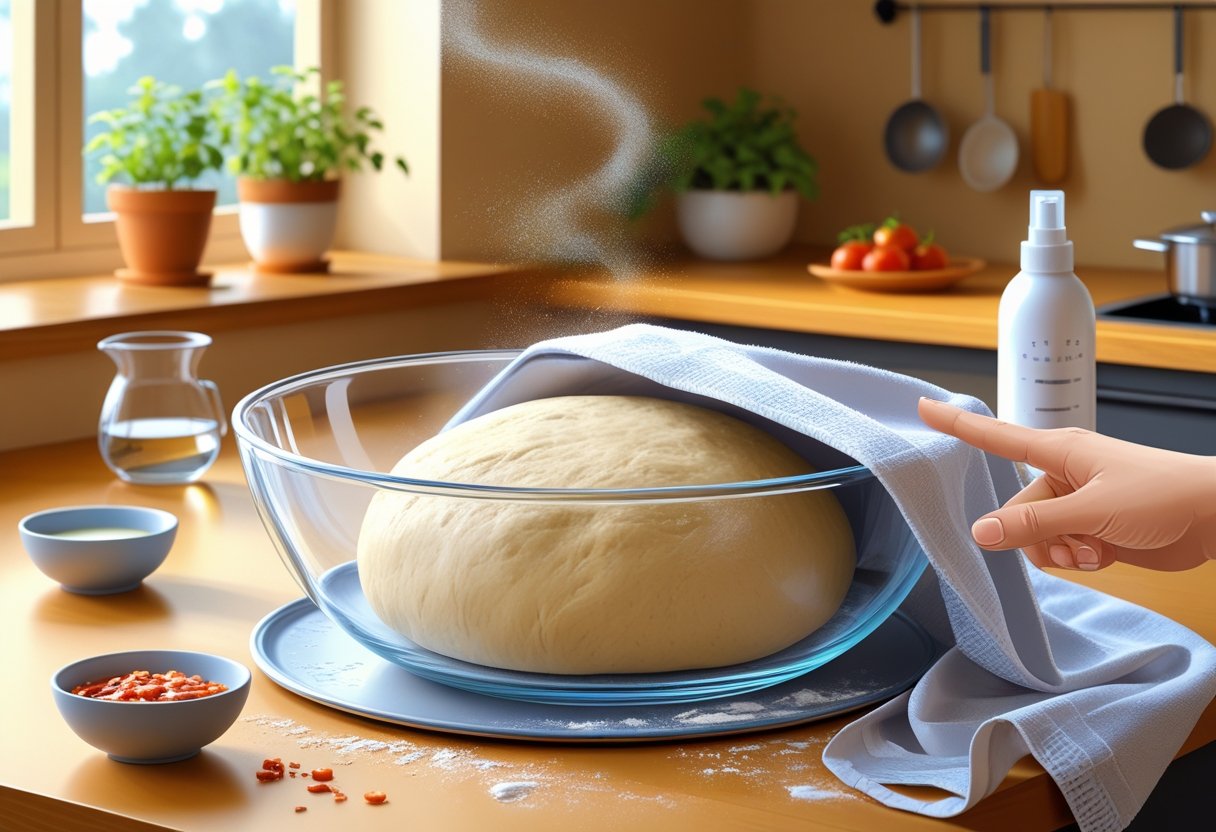
Resting and proofing timeslet dough rise properly. Let dough rest after kneading to relax gluten. Proof dough until it doubles in size. This makes bread soft and airy. Rushing these steps can make bread dense.

Credit: www.stadlermade.com
Frequently Asked Questions
How Long Should I Knead Dough For Best Results?
Knead dough for 8 to 10 minutes by hand or 5 to 7 minutes with a mixer. Proper kneading develops gluten, making dough elastic and smooth. Avoid over-kneading to prevent tough texture. Stop when dough is stretchy and springs back when pressed.
What Techniques Improve Dough Kneading Efficiency?
Use the push-fold-turn method: push dough with the heel of your hand, fold it, then turn. Repeat rhythmically. This technique strengthens gluten quickly. Keep dough lightly floured to prevent sticking. Use a clean surface and consistent pressure for best efficiency.
How Can I Tell When Dough Is Kneaded Enough?
Dough is ready when it is smooth and elastic. Press dough gently; it should bounce back slowly. If dough tears easily, it needs more kneading. The windowpane test can help: stretch a small dough piece thin without tearing to check gluten development.
Should I Rest Dough During Kneading?
Resting dough for 5 to 10 minutes mid-kneading helps gluten relax and hydrate. This makes kneading easier and dough smoother. It also prevents dough from overheating. Incorporate short rests if dough feels tough or resistant to stretching.
Conclusion
Kneading dough well helps create soft, tasty bread every time. Use the right pressure and rhythm for best results. Practice makes your hands quicker and dough smoother. Remember, dough should feel elastic and not sticky. Keep your workspace clean and flour handy to avoid mess.
Enjoy the process—it’s part of baking fun. With patience and care, your bread will rise perfectly. Try these tips in your next baking session. You’ll see the difference in texture and taste. Happy baking!