
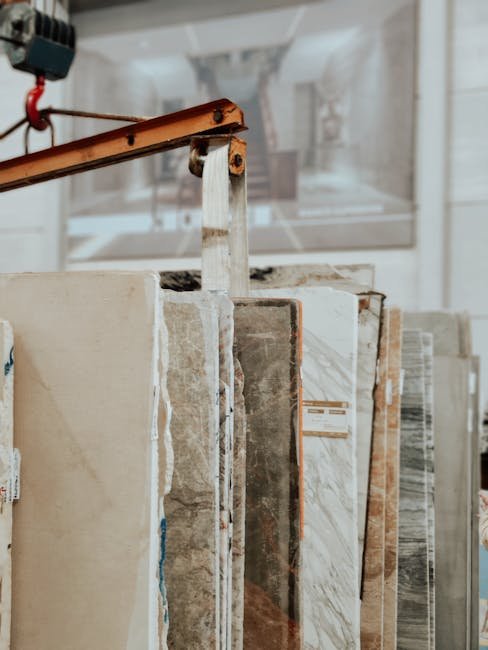
Are you ready to transform your outdoor cooking space with a stylish and durable tile countertop around your grill? Installing tile countertops might sound tricky, but with the right steps, you can create a beautiful surface that stands up to heat and weather.
This guide will walk you through the process in simple, clear terms—helping you avoid common mistakes and get professional-looking results. By the end, you’ll have the confidence and know-how to upgrade your grill area and impress your guests every time you cook outdoors.
Let’s get started!
Preparing The Area
Installing a tile countertop around your grill needs careful preparation. This helps make the project smooth and safe.
Start by getting the space ready. This includes cleaning, measuring, and collecting all materials.
Cleaning And Clearing
Clear the area around the grill. Remove any items that may get in the way or get dirty.
Clean the surface where you will install the tile. Dirt and grease stop tiles from sticking well.
- Take away furniture and decorations near the grill
- Use a brush or cloth to remove dust and debris
- Wash the surface with mild soap and water
- Let the area dry completely before work
Measuring The Space
Measure the countertop area carefully. Accurate measurements help cut tiles to the right size.
Check the length, width, and any edges or corners. Note any spaces for grills or sinks.
- Use a tape measure for length and width
- Write down all measurements clearly
- Measure twice to avoid mistakes
- Mark the edges and cut lines on paper or wood
Gathering Materials
Collect all tools and materials before starting. Having everything ready saves time and effort.
Make sure you have tiles, adhesive, grout, and tools like a tile cutter and trowel.
- Tile pieces that fit your design
- Tile adhesive or thin-set mortar
- Grout for filling gaps between tiles
- Tile cutter or wet saw
- Trowel for spreading adhesive
- Sponges and buckets for cleaning
Choosing The Right Tiles
Installing a tile countertop around your grill can add beauty and function. Choosing the right tiles is important for durability and style.
Outdoor tiles must handle heat, weather, and frequent use. This guide helps you pick the best tiles for your grill area.
Tile Materials For Outdoor Use
Some tile materials work better outside than others. Pick tiles that can handle moisture, heat, and cold without damage.
Popular outdoor tile materials include porcelain, natural stone, and ceramic. Each has strengths for your countertop.
- Porcelain:Very strong and resists water well.
- Natural stone:Looks great but may need sealing.
- Ceramic:Affordable and comes in many styles but less durable.
Size And Style Options
Tile size affects how your countertop looks and feels. Small tiles can create patterns, while large tiles offer a clean look.
Styles range from smooth and modern to rough and rustic. Choose tiles that match your outdoor decor and personal taste.
- Large tiles for fewer grout lines and easier cleaning
- Small tiles for detailed designs and better grip
- Matte finish for less glare and slip resistance
- Glossy finish for a shiny, polished look
Weather Resistance Considerations
Tiles around a grill must resist heat from cooking and changes in weather. Some materials handle this better than others.
Check if tiles can resist frost, rain, and sun without cracking or fading. Proper sealing also helps protect tiles.
- Choose frost-resistant tiles in cold climates
- Pick UV-resistant tiles to avoid color fading
- Use non-porous tiles to prevent water damage
- Seal natural stones to block moisture and stains
Setting Up The Base
Installing a tile countertop around your grill needs a strong and even base. This base supports the tiles and keeps the surface safe to use.
Good preparation makes tiling easier and ensures the countertop lasts a long time.
Installing A Stable Surface
Start by building a firm surface where you will lay the tiles. This surface must hold weight and stay level.
Use strong materials like plywood or concrete board for the base. Make sure it fits well around the grill frame.
- Measure the countertop area carefully.
- Cut plywood or concrete board to size.
- Attach the base securely to the grill frame.
- Check that the surface is flat and stable.
Applying Backer Board
Backer board is a special panel that protects your countertop from moisture and heat. It also helps tiles stick better.
Place the backer board on top of the stable surface. Use screws to hold it firmly in place.
- Cut backer board to match the base size.
- Lay the board flat on the base surface.
- Screw the board every 8 inches along the edges.
- Fill any screw holes with thin-set mortar.
Sealing The Base
Seal the base to prevent water damage and keep it strong. Use a waterproof sealant made for outdoor use.
Apply the sealant on all edges and corners. Let it dry completely before tiling.
- Choose a waterproof sealant for outdoor surfaces.
- Brush sealant on all seams and joints.
- Allow sealant to dry as per instructions.
- Check for any missed spots and seal again.

Credit: dbtile.com
Laying The Tiles
Laying tiles around your grill countertop gives a neat and durable surface. This process needs patience and care. Following the right steps helps the tiles stay strong and look good.
Focus on mixing the thinset, placing the tiles properly, and cutting tiles to fit tight spaces. Each part is important for a smooth finish.
Mixing And Applying Thinset
Thinset is the glue that holds your tiles in place. Mix it well with water until it is smooth and creamy. Avoid lumps for better bonding.
Use a notched trowel to spread thinset evenly on the countertop surface. Hold the trowel at a 45-degree angle. Apply enough thinset but do not overdo it.
Placing And Spacing Tiles
Start placing tiles from one corner and move outward. Press each tile firmly into the thinset. Make sure tiles are level with each other.
- Use tile spacers to keep even gaps between tiles.
- Check spacing regularly to avoid uneven lines.
- Wipe off excess thinset from tile surfaces as you go.
- Keep tiles aligned with the edges of the countertop.
Cutting Tiles To Fit
Cut tiles to fit around the grill edges and corners. Use a tile cutter or wet saw for clean cuts. Measure twice before cutting to avoid mistakes.
| Tool | Use | Tip |
|---|---|---|
| Tile Cutter | Straight cuts | Score and snap carefully |
| Wet Saw | Curved or detailed cuts | Wear safety gear |
| Tile Nippers | Small adjustments | Work slowly to avoid breakage |
Grouting And Sealing
Installing a tile countertop around your grill needs careful grouting and sealing. These steps protect tiles from water and stains. They also keep your countertop looking good for years.
This guide covers how to choose grout, apply and clean it, and seal the tiles and grout properly.
Choosing The Right Grout
Select grout that fits your tile and outdoor use. Outdoor countertops need grout that resists water and heat. Cement-based grout is common but epoxy grout lasts longer.
- Cement grout: Easy to use, good for most tiles.
- Epoxy grout: Strong and waterproof, great for outdoor.
- Sanded grout: Best for wide joints, adds strength.
- Unsanded grout: For narrow joints, smooth finish.
Applying And Cleaning Grout
Mix grout according to instructions. Use a rubber float to press grout into gaps. Hold the float at a 45-degree angle. Work in small sections to keep grout from drying too fast.
- Apply grout evenly into all joints.
- Remove excess grout with the float.
- Wait about 10-15 minutes for grout to set.
- Use a damp sponge to clean tile surfaces gently.
- Rinse sponge often and change water as needed.
- Let grout cure for 24-72 hours before sealing.
Sealing Tiles And Grout
Sealing protects your tile countertop from stains and moisture. Use a high-quality sealer made for outdoor tiles and grout. Apply sealer after grout fully cures.
| Sealer Type | Use |
| Penetrating sealer | Soaks into grout, repels water |
| Surface sealer | Creates a protective layer on tiles |
| Combined sealer | Protects both grout and tile surface |
Apply sealer with a brush or cloth. Cover grout lines well. Wipe off extra sealer from tiles. Let it dry completely before using the grill area.

Credit: www.familyhandyman.com
Finishing Touches
After installing tile around your grill countertop, the finishing touches make it look complete. These details protect the tiles and improve the overall look.
Taking time to add trim, backsplash, and proper care will keep your countertop durable and attractive.
Adding Edge Trim
Edge trim protects the tile edges from chipping and gives a neat finish. Choose trim that matches your tile style and color.
Install the trim after setting and grouting the tiles. Use adhesive made for outdoor use to hold the trim firmly.
- Measure the edges carefully before cutting trim
- Cut trim pieces to fit each edge perfectly
- Apply adhesive evenly for strong attachment
- Press trim firmly and let dry before use
Installing Backsplash
A backsplash protects the wall behind your grill from grease and heat. It also adds style to your cooking area.
Use the same tile or a matching design for the backsplash. Attach tiles with waterproof adhesive to keep them in place.
- Clean the wall surface before installation
- Apply waterproof adhesive on the wall
- Place tiles carefully and use spacers for even gaps
- Grout after tiles set for a smooth finish
Maintaining Your Tile Countertop
Keep your tile countertop looking good by cleaning it regularly and sealing the grout. This prevents stains and damage.
Use mild soap and water for cleaning. Avoid harsh chemicals that can harm the tiles or grout.
- Wipe spills quickly to prevent stains
- Seal grout once a year to keep it waterproof
- Check for cracks or chips and repair them fast
- Cover the countertop when not in use to protect from weather
Safety And Maintenance Tips
Installing a tile countertop around your grill adds style and function. Proper care keeps it safe and looking good. Follow these tips for heat resistance, cleaning, and repairs.
Knowing how to handle heat and clean your tiles prevents damage. Fixing small problems quickly avoids bigger repairs later.
Heat Resistance Precautions
Tiles near a grill face high temperatures. Use materials that withstand heat to avoid cracks or burns. Avoid placing hot pans or tools directly on the tile surface.
- Choose heat-resistant tile materials like porcelain or natural stone
- Use heat-proof mats or trivets under hot items
- Keep flames and sparks away from the countertop
- Check grout for heat damage regularly
Cleaning Best Practices
Clean your tile countertop often to keep it safe and beautiful. Dirt and grease can build up near the grill area. Use gentle cleaners to protect tiles and grout.
| Cleaning Product | Use | Avoid |
| Mild dish soap | Daily cleaning | Abrasive cleaners |
| Baking soda paste | Removing stains | Harsh chemicals |
| Warm water | Rinsing | High-pressure washers |
Repairing Damaged Tiles
Small cracks or chips can worsen if not fixed. Repair damaged tiles quickly to keep your countertop safe and strong. You can replace tiles or fill cracks with grout or epoxy.
- Clean the damaged area before repair
- Use matching grout or epoxy for filling cracks
- Replace broken tiles with similar size and color
- Seal repaired areas to protect from moisture and heat
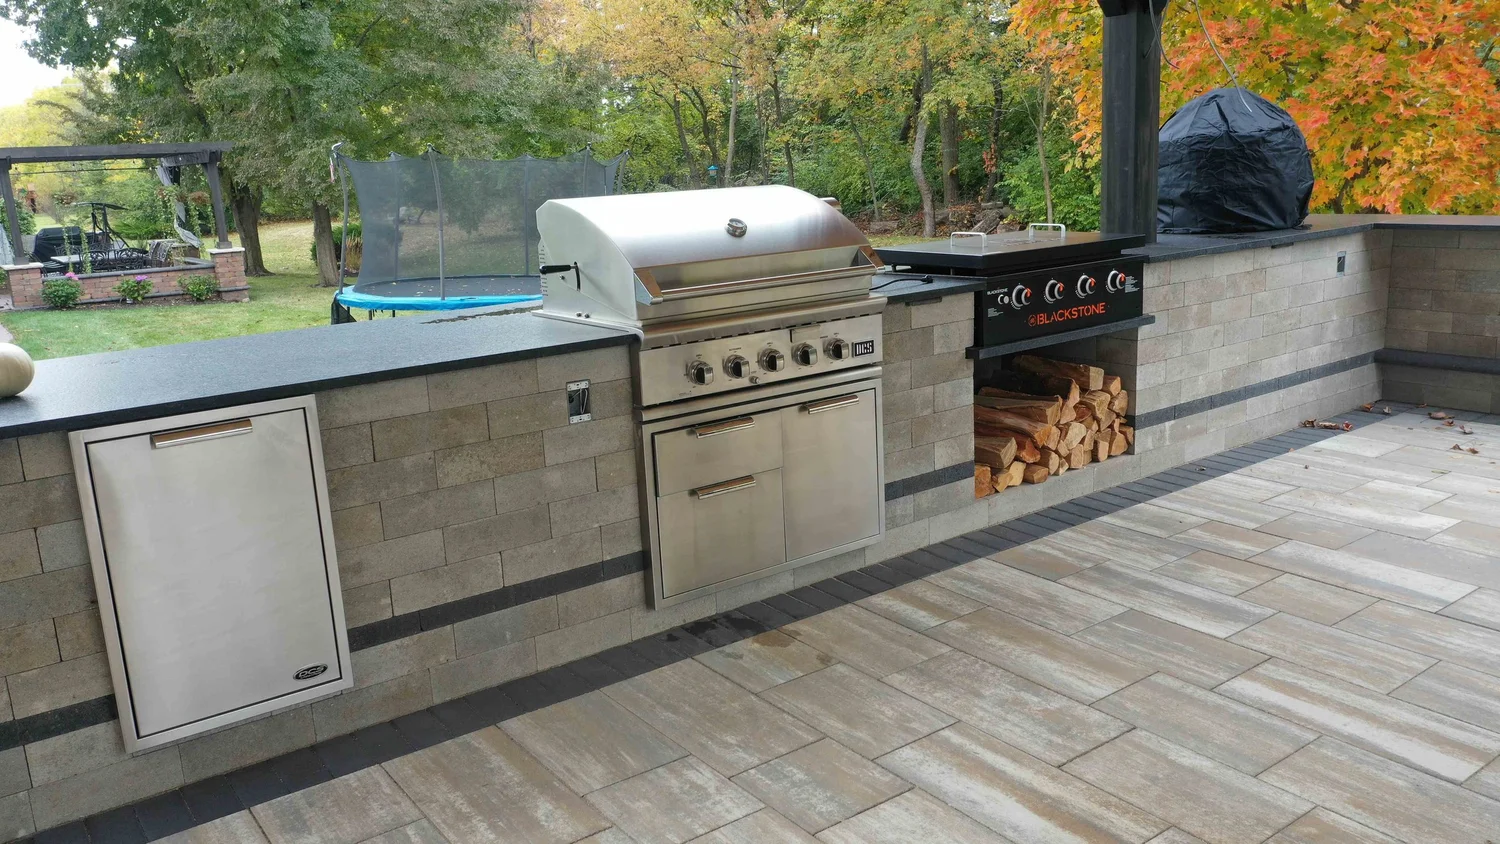
Credit: www.9treeslc.com
Frequently Asked Questions
How Do I Prepare The Surface For Tile Countertop Installation?
Clean the grill countertop thoroughly. Remove dirt, grease, and old materials. Ensure the surface is dry and smooth before tiling. Use a primer if needed for better adhesion.
What Type Of Tile Is Best For Grill Countertops?
Porcelain and natural stone tiles are ideal. They resist heat, stains, and moisture well. Choose slip-resistant tiles for safety around the grill area.
How Do I Secure Tiles Around A Grill Safely?
Use high-quality thin-set mortar for strong adhesion. Apply with a notched trowel evenly. Avoid gaps to prevent water damage and ensure durability.
What Grout Should I Use For Outdoor Tile Countertops?
Use waterproof, sanded grout for outdoor durability. It fills gaps and prevents water infiltration. Seal grout after drying to enhance protection.
Conclusion
Installing a tile countertop around your grill adds style and function. Take your time to measure and cut tiles carefully. Use the right adhesive and grout for strong, lasting results. Clean the surface well before starting. Seal the grout to protect from stains and water.
A tiled countertop makes cooking outdoors easier and more fun. Enjoy your new outdoor space with confidence and pride.