
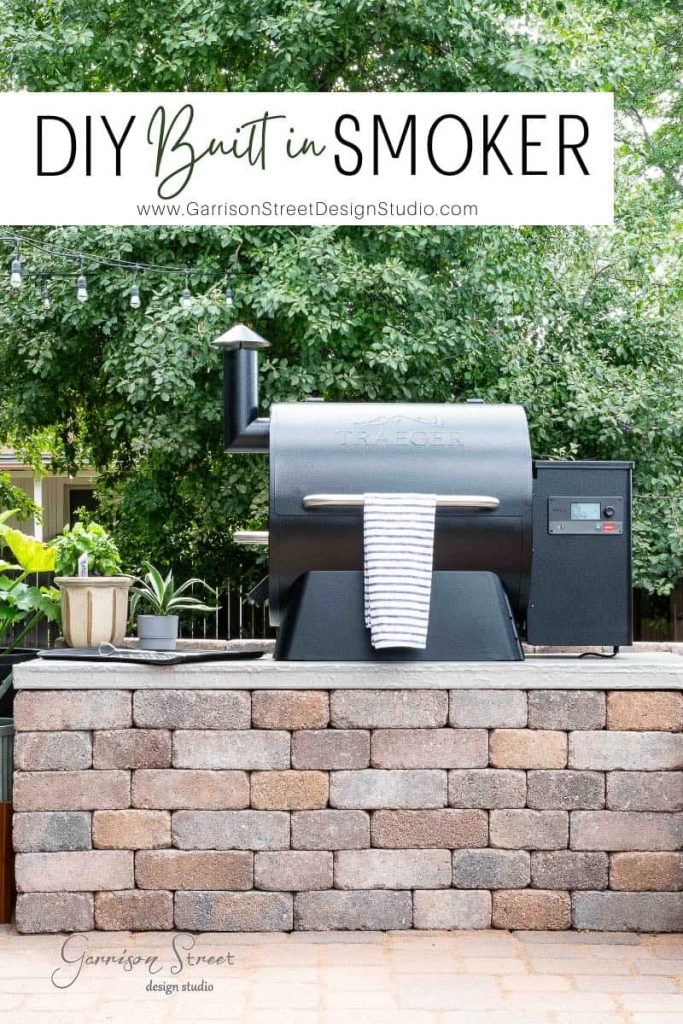
If you love the rich, smoky flavor in your grilled food, adding a smoker box to your built-in grill is a game changer. But how do you install it correctly to get the best results every time?
You might think it’s complicated, but it’s simpler than you expect. In this guide, you’ll discover easy, step-by-step instructions that anyone can follow. By the end, your grill will be ready to deliver mouthwatering, smoky dishes that impress everyone. Keep reading—you’re just minutes away from upgrading your grilling experience.
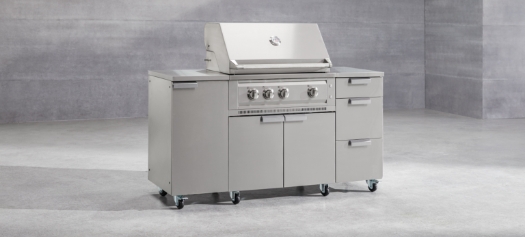
Credit: shopnewage.com
Choosing The Right Smoker Box
Picking the right smoker box is key to adding smoky flavor to your grilled food. The box holds wood chips that create smoke while cooking.
Not all smoker boxes fit every grill. You need to consider materials, sizes, and compatibility with your built-in grill.
Materials And Sizes
Smoker boxes come in different materials like stainless steel, cast iron, and aluminum. Each has pros and cons.
- Stainless Steel:Lasts long and resists rust. Easy to clean.
- Cast Iron:Holds heat well but can rust if not cared for.
- Aluminum:Lightweight but less durable over time.
Sizes vary to fit different grills and cooking needs. A larger box holds more wood chips for longer smoke.
| Size | Wood Chip Capacity | Best For |
| Small | 1/2 cup | Short cooking times |
| Medium | 1 cup | Standard grilling |
| Large | 2 cups or more | Long smoking sessions |
Compatibility With Built-in Grills
Check your grill’s manual for smoker box recommendations. Not all boxes fit every built-in grill model.
- Measure your grill’s heat deflector area or side burner space.
- Ensure the smoker box fits without blocking vents or burners.
- Look for boxes designed for your grill brand or style.
- Consider how easy it is to add wood chips during cooking.
Preparing Your Grill
Installing a smoker box in your built-in grill needs proper preparation. This helps the smoker box work well and last longer.
Start by getting your grill ready. Clean the grill and gather the tools you will need for the job.
Cleaning The Grill Area
Cleaning the grill area removes dirt and old grease. This stops smoke and fire problems later.
Use a grill brush or scraper to clean the grates and inside surfaces. Make sure to clear all ashes and food bits.
- Turn off and cool down the grill before cleaning
- Remove the grates and clean them separately
- Scrape the inside walls of the grill carefully
- Empty the ash catcher or tray
- Wipe surfaces with a damp cloth if needed
Gathering Tools And Supplies
Having all tools ready makes the installation easy. Check your supplies before you start.
You will need a smoker box, wood chips, and basic tools. Make sure everything is clean and in good condition.
- Smoker box that fits your grill model
- Wood chips for smoking
- Grill brush or scraper
- Heat-resistant gloves
- Adjustable wrench or screwdriver if needed
- Paper towels or cleaning cloths
Positioning The Smoker Box
Placing the smoker box correctly in your built-in grill is key. It helps create the right smoky flavor in your food.
Good positioning also keeps the smoker box safe and working well during cooking.
Placement On Gas Grill Burners
Put the smoker box directly over a gas burner. This lets the wood chips inside heat up properly.
A common spot is on the side burner or near the flame shield. Avoid placing it on the cooking grates.
- Place on one burner, not multiple
- Keep away from direct food contact
- Use a drip pan below if needed
Ensuring Proper Heat Distribution
Heat must reach the smoker box evenly to make smoke. Uneven heat can stop wood chips from smoking well.
Check your grill’s burner settings. Medium heat works best to avoid burning the wood chips too fast.
- Turn burners to medium flame
- Close the grill lid to hold heat
- Use a thermometer to monitor temperature
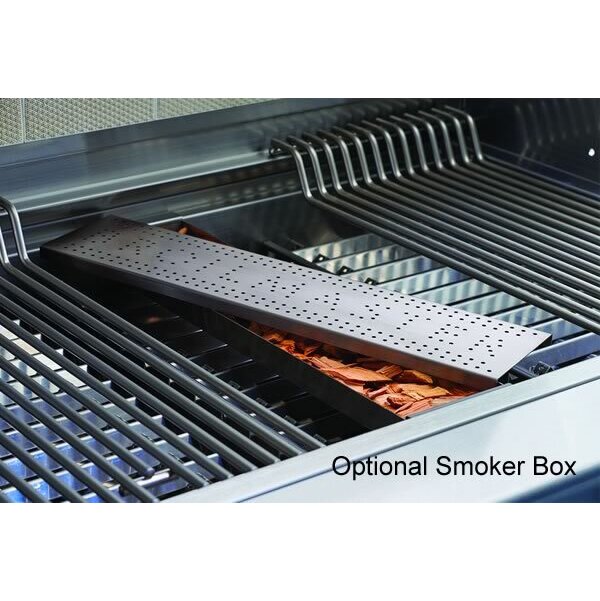
Credit: www.finesgas.com
Filling The Smoker Box
Filling the smoker box correctly adds rich smoke flavor to your food. Using the right wood chips and preparation makes a big difference.
Learn how to select wood chips and the choice between soaking or using dry chips for best results.
Selecting Wood Chips
Choose wood chips that match the food you grill. Different woods give different flavors.
- Hickory adds a strong, smoky taste for beef and pork.
- Apple wood gives a sweet, mild flavor good for chicken and fish.
- Mesquite offers a bold, earthy smoke ideal for red meat.
- Cherry wood creates a fruity, rich aroma for various meats.
Soaking Vs. Dry Wood Chips
Decide if you want to soak the chips before use or keep them dry. Both methods affect smoke and burn time.
| Method | Effect | Best Use |
| Soaked Wood Chips | Slow burn, longer smoke | Long cooking times |
| Dry Wood Chips | Quick smoke, hotter burn | Short grilling sessions |
Installing The Smoker Box
Installing a smoker box in your built-in grill adds a smoky flavor to your food. This guide explains how to place and secure the smoker box properly.
Follow these simple steps to ensure your smoker box works safely and effectively every time you grill.
Placing The Box In The Grill
Start by choosing the right spot inside your grill for the smoker box. Usually, this is near the burners or on the heat deflectors.
- Open your grill lid and remove the cooking grates.
- Identify a flat area near the burners where the box can sit securely.
- Place the smoker box so it will get direct heat from the burner.
- Make sure the box is not touching any flame guards or sensitive parts.
- Replace the cooking grates carefully over the smoker box.
Securing The Box In Place
After placing the smoker box, secure it so it does not move during cooking. A stable box helps keep the smoke consistent and safe.
| Method | Description |
| Using Grill Clips | Attach clips to hold the smoker box firmly on the grill grates. |
| Weighting Down | Place small, heat-safe weights on or around the box to keep it steady. |
| Built-In Slots | Use slots or grooves designed for smoker boxes in your grill model. |
| Heat-Resistant Tape | Apply tape made for high temperatures to secure the box if needed. |
Testing And Adjusting
After installing your smoker box in the built-in grill, testing and adjusting it is key. This ensures you get the right smoke and temperature for your food.
Careful testing helps prevent flare-ups and uneven cooking. Adjustments improve smoke flow and grill safety.
Lighting The Grill Safely
Always light the grill with the smoker box in place to avoid accidents. Use long matches or a grill lighter to keep your hands safe.
- Open the grill lid before lighting to prevent gas buildup.
- Turn on the gas and ignite the burners.
- Allow the smoker box to heat slowly for even burning.
- Keep a fire extinguisher nearby for emergencies.
- Never leave the grill unattended while lighting.
Monitoring Smoke Levels
Watching the smoke levels lets you control flavor and avoid too much smoke. Adjust the vents to change airflow and smoke intensity.
| Action | Effect on Smoke |
| Open vents wide | Increases airflow and smoke intensity |
| Close vents partially | Reduces airflow for lighter smoke |
| Close vents fully | Limits oxygen, lowers smoke production |
| Add more wood chips | Increases smoke duration and flavor |
| Remove wood chips | Stops smoke quickly |
Maintenance Tips
Keeping your smoker box clean and well stored helps it last longer. Good care also keeps your food tasting fresh and smoky.
This guide covers cleaning after use and storing your smoker box properly. Follow these tips to maintain your built-in grill accessory.
Cleaning After Use
Always clean your smoker box soon after use. Remove ashes and leftover wood chips. This prevents rust and buildup.
- Let the smoker box cool completely before cleaning.
- Empty all ashes and wood chips into a trash bin.
- Use a brush to scrub off any stuck debris.
- Wash with warm soapy water to remove grease and residue.
- Dry the smoker box fully to stop rust from forming.
Storing The Smoker Box
Store your smoker box in a dry, cool place. Avoid leaving it in the grill if you do not plan to use it soon.
| Storage Tip | Reason |
| Keep in a dry cabinet or shed | Prevents rust and corrosion |
| Wrap in a cloth or place in a sealed bag | Keeps dust and moisture out |
| Do not store with wet wood chips inside | Stops mold and unpleasant smells |
| Check the smoker box before each use | Ensures it is clean and ready |
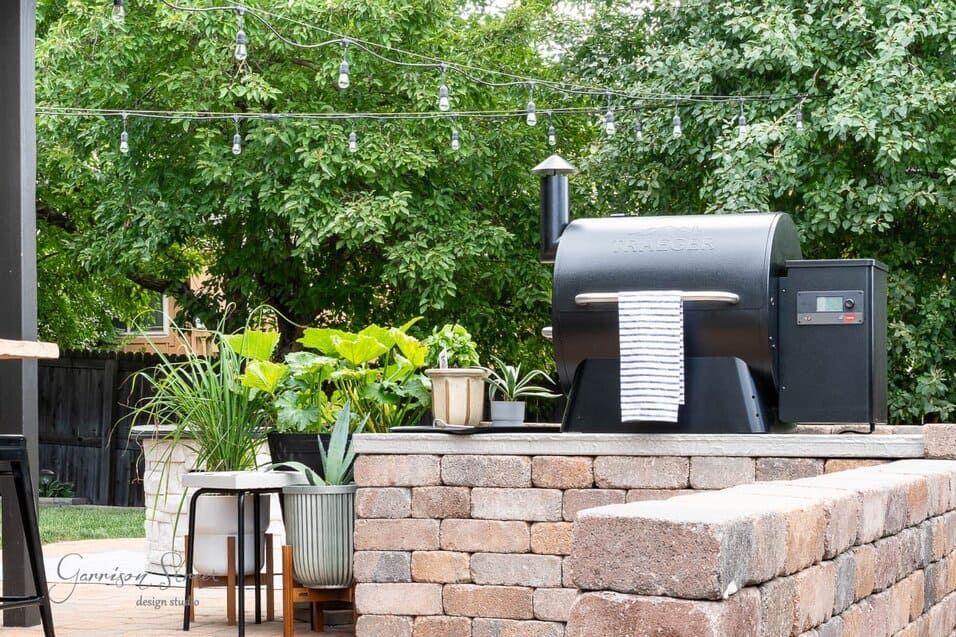
Credit: garrisonstreetdesignstudio.com
Frequently Asked Questions
How Do I Install A Smoker Box In A Grill?
To install a smoker box, place it directly on the grill grates. Position it over the heat source for maximum effect. Fill it with wood chips and close the grill lid. Ensure proper ventilation for optimal smoke flow. This enhances the smoky flavor in your grilled dishes.
Can I Use Any Smoker Box With A Built-in Grill?
Yes, most smoker boxes are compatible with built-in grills. Ensure the smoker box fits well under the grill lid. Check the material and dimensions for compatibility. Stainless steel smoker boxes are durable and efficient for various grill types. Always follow the manufacturer’s guidelines for best results.
What Type Of Wood Chips Should I Use?
Choose wood chips based on the flavor you desire. Mesquite adds a strong, bold flavor, while applewood provides a milder taste. Hickory is great for hearty meats like beef and pork. Soak the chips in water for 30 minutes before use to produce more smoke.
How Long Should I Smoke With A Smoker Box?
Smoking time depends on the food type and desired flavor intensity. Generally, 30 minutes to 2 hours is sufficient. Monitor the smoke levels and adjust as needed. For a more pronounced flavor, extend the smoking time. Always ensure the grill temperature remains consistent for best results.
Conclusion
Installing a smoker box in your built-in grill adds great flavor. The process is simple and only takes a few steps. Place wood chips inside the box and position it near the heat source. This setup helps smoke your food evenly and enhances taste.
Regular cleaning keeps your smoker box working well. Enjoy delicious grilled meals with that smoky touch every time. Try it on your next barbecue for a tasty difference.