
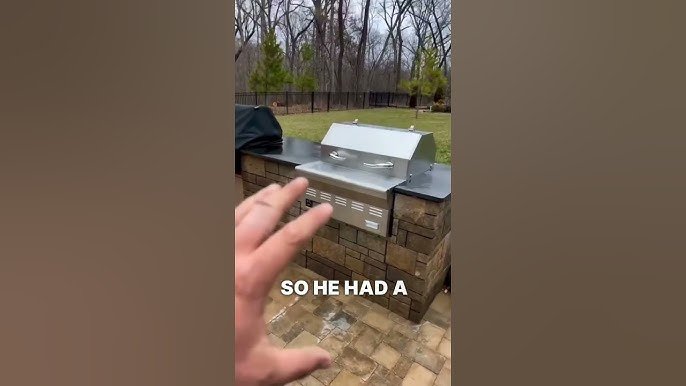
Are you ready to transform your backyard into the ultimate cooking spot? Installing an outdoor kitchen sink with a grill can make your outdoor gatherings easier and more enjoyable.
Imagine having everything you need right outside—no more running back and forth to the house. In this guide, you’ll learn simple, step-by-step instructions to set up your outdoor kitchen sink and grill quickly and correctly. Whether you’re a beginner or have some DIY experience, you’ll find tips that save time, avoid common mistakes, and make your outdoor space shine.
Let’s get started and turn your backyard into the perfect place for cooking and entertaining!
Planning Your Outdoor Kitchen
Building an outdoor kitchen is a great way to enjoy cooking outside. Planning carefully will help you create a space that works well.
Start by thinking about where to place your kitchen, what sink and grill to use, and the tools you need for the job.
Choosing The Right Location
Pick a flat area with good sunlight and shade. Make sure it is close to your home for easy access.
Avoid places near trees or where water can pool. Check for space to move around safely.
- Choose a level surface for easy installation
- Ensure space for cooking and cleaning
- Consider wind direction to avoid smoke
- Keep near water and power sources
Selecting Sink And Grill Models
Choose a sink and grill that fit your cooking style and space. Think about size and features.
Stainless steel is good for outdoor use because it resists rust. Pick models that are easy to clean.
- Sink size should match your cooking needs
- Grill type: gas, charcoal, or electric
- Look for durable, weather-resistant materials
- Check for built-in features like storage or side burners
Gathering Necessary Tools And Materials
Get all tools and materials before you start. This saves time and avoids delays.
Common tools include wrenches, drills, and screwdrivers. Materials depend on your sink and grill models.
- Wrenches and screwdrivers
- Power drill with bits
- Plumbing supplies like pipes and fittings
- Sealant and plumber’s tape
- Concrete or mounting brackets if needed
Credit: www.familyhandyman.com
Preparing The Installation Area
Installing an outdoor kitchen sink with a grill needs a good preparation area. This helps your kitchen last long and work well.
Focus on clearing, building a base, and making sure water drains properly. These steps protect your kitchen from damage.
Clearing And Leveling The Site
Start by removing plants, rocks, or debris from the chosen spot. Make sure the area is flat and even for safety and stability.
- Clear all grass and roots
- Remove stones and trash
- Use a shovel to level the ground
- Check the area with a spirit level
Building A Stable Base Or Countertop
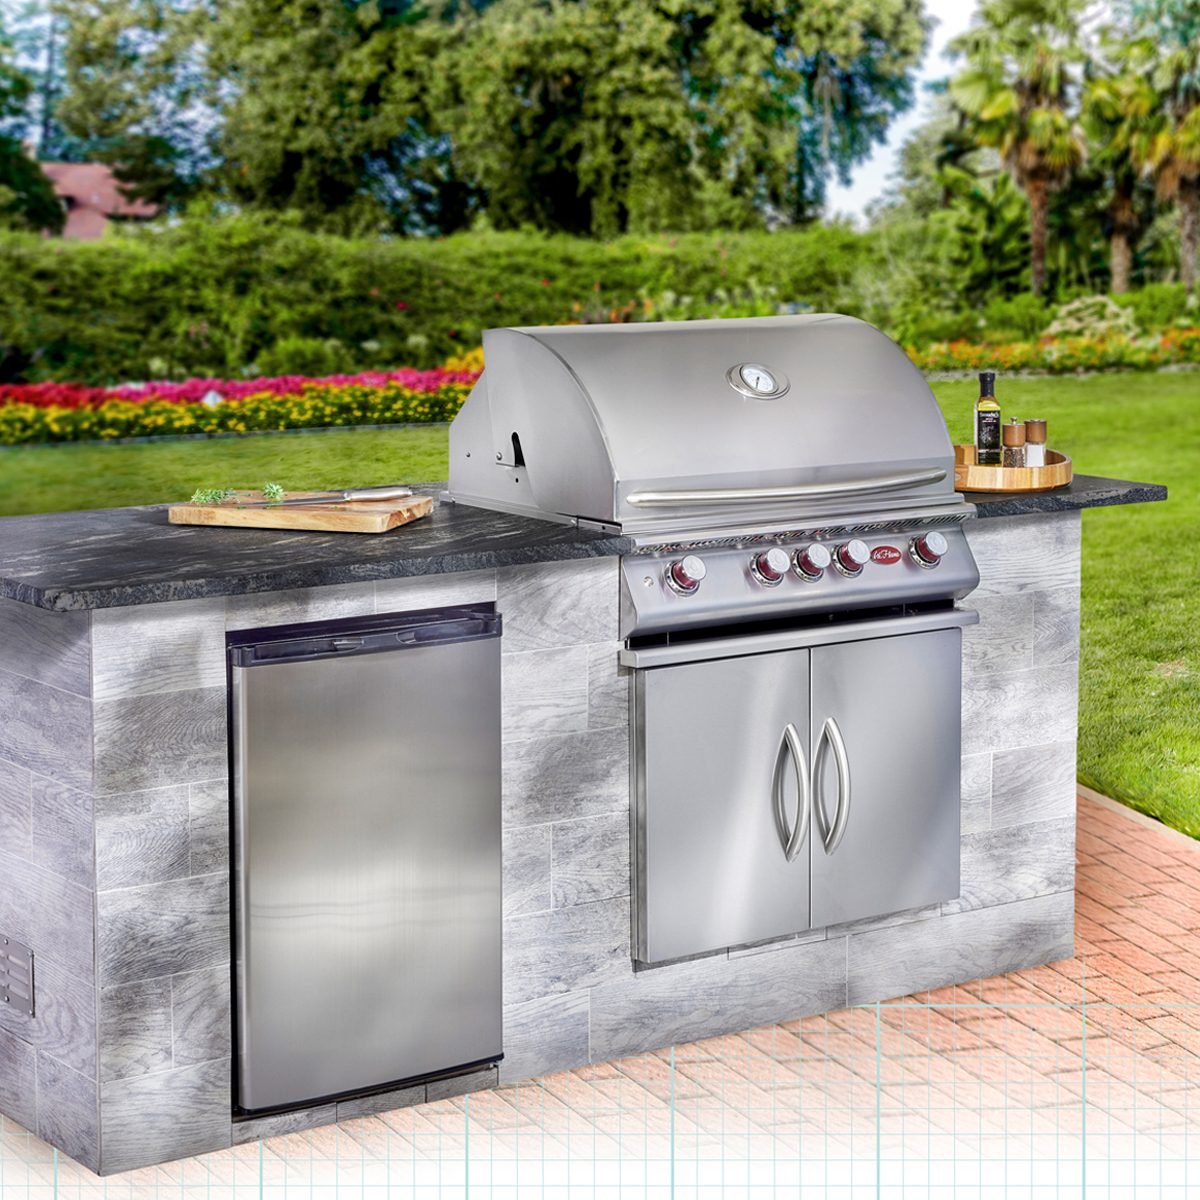
A strong base holds the sink and grill steady. Use materials like concrete, bricks, or stone for durability.
| Material | Advantages | Notes |
| Concrete | Very strong and long-lasting | Needs curing time |
| Bricks | Good support and looks nice | Requires mortar |
| Stone | Natural look and sturdy | Can be heavy and costly |
Ensuring Proper Drainage
Good drainage stops water from pooling around your sink and grill. It protects the base and keeps the area safe.
To ensure proper drainage:
- Install a slight slope away from the kitchen area
- Connect the sink drain to a suitable waste pipe
- Use gravel or drainage pipes under the base
Installing The Outdoor Kitchen Sink
Installing an outdoor kitchen sink is a useful addition to your cooking space. It helps you wash hands, food, and utensils quickly.
This guide will show you how to install the sink step-by-step for a smooth setup.
Cutting The Countertop Opening
First, measure the sink size to mark the countertop. Use the template provided with your sink if available.
Use a pencil to trace the outline on the countertop. Double-check the measurements before cutting.
- Wear safety glasses and gloves.
- Use a jigsaw with a fine blade for cutting.
- Cut slowly to avoid chipping the countertop.
- Clean the edges after cutting.
Mounting The Sink
Place the sink into the opening to check the fit. It should sit flush with the countertop surface.
Apply a bead of silicone sealant around the edge of the cutout. This keeps water from leaking under the sink.
- Lower the sink carefully into the opening.
- Press down firmly to spread the sealant evenly.
- Secure the sink using mounting clips under the countertop.
- Wipe off any excess sealant with a damp cloth.
Connecting Water Supply Lines
Turn off the main water supply before connecting the sink lines. This prevents leaks and water damage.
Attach the hot and cold water lines to the faucet using flexible hoses. Tighten the connections with a wrench but avoid over-tightening.
- Use plumber’s tape on threaded connections.
- Check that hoses are not kinked or bent.
- Open the water supply and check for leaks.
- Tighten fittings if any leaks appear.
Setting Up Drainage System
Install the drain pipe under the sink using the drain kit that comes with it. Make sure all parts fit tightly.
Connect the drain pipe to the outdoor drainage or a safe water disposal system. Use a P-trap to prevent odors from coming back.
- Apply plumber’s putty under the drain flange.
- Tighten the drain assembly securely.
- Attach the P-trap to the drain pipe.
- Test drainage by running water and checking for leaks.

Credit: www.youtube.com
Installing The Outdoor Grill
Installing an outdoor grill is an important part of setting up your outdoor kitchen sink area. A proper installation keeps your grill safe and easy to use.
This guide covers how to position the grill, connect gas or electrical lines, and secure it in place.
Positioning The Grill
Choose a flat and stable surface for your grill. Make sure there is enough space around it for cooking and cleaning.
Keep the grill away from walls or plants to avoid fire hazards. Also, consider wind direction to control smoke.
- Place on a level surface
- Allow space for airflow
- Keep away from flammable materials
- Consider wind and smoke flow
Connecting Gas Or Electrical Lines
Check your grill type before connecting. Use proper hoses for gas grills and certified wiring for electric models.
Turn off the main supply before starting. Follow local codes and use a leak detector for gas connections.
- Turn off gas or power supply
- Use correct hoses or cables
- Secure connections tightly
- Test for leaks or faults
Securing The Grill In Place
Fix the grill firmly to prevent movement during use. Use mounting brackets or screws recommended by the manufacturer.
Check stability after installation. Make sure the grill does not wobble or shift on the surface.
- Use mounting hardware provided
- Tighten all screws and bolts
- Test for stability
- Adjust if grill moves
Testing And Final Adjustments
After installing your outdoor kitchen sink and grill, it is important to test everything. Testing ensures all parts work well and there are no leaks or problems.
Final adjustments help you fix small issues. This makes your outdoor kitchen safe and ready to use.
Checking Water Flow And Drainage
Turn on the water supply to your outdoor sink. Watch how water flows from the faucet. It should be steady and strong.
Next, check the drainage system. Make sure water drains quickly without pooling in the sink or pipes. Look for any leaks under the sink.
- Open the faucet fully to test water pressure
- Check all pipe connections for leaks
- Fill the sink with water and see how fast it drains
- Look under the sink for any dripping water
Testing Grill Operation
Turn on the grill according to the manufacturer’s instructions. Make sure the burners light up properly and the flame is even.
Listen for unusual sounds and smell for gas leaks. If you detect any issues, turn off the grill immediately and fix the problem before using it again.
- Ignite each burner one at a time
- Check flame size and color
- Test the grill controls and knobs
- Smell for gas leaks near connections
Sealing And Weatherproofing
Seal all joints and edges around the sink and grill. Use waterproof sealant to keep water out and prevent damage.
Apply weatherproof covers or coatings to protect your outdoor kitchen from rain and sun. This will help your kitchen last longer.
- Apply silicone sealant around sink edges
- Seal gaps between grill and countertop
- Use weatherproof paint or coating on metal parts
- Cover grill and sink when not in use
Maintenance Tips For Longevity
Keeping your outdoor kitchen sink and grill in good shape helps them last longer. Regular care prevents damage and keeps them working well.
This guide covers simple maintenance tips. Follow these to enjoy your outdoor kitchen for years.
Cleaning The Sink And Grill
Clean the sink and grill after each use. Dirt and grease can build up and cause problems.
- Use mild soap and water to clean surfaces
- Scrub grill grates with a wire brush
- Empty and clean the sink drain regularly
- Rinse all parts with clean water
- Dry the sink and grill to avoid rust
Regular Inspections
Check your outdoor kitchen often for signs of wear or damage. Early fixes stop big problems.
| Inspection Area | What to Check | Frequency |
| Sink Faucets | Leaks and rust | Monthly |
| Grill Burners | Blockages and corrosion | Monthly |
| Drain Pipes | Clogs and cracks | Quarterly |
| Countertops | Cracks and stains | Quarterly |
Protecting Against Weather Damage
Weather can harm your outdoor kitchen. Use covers and take other steps to protect it.
- Cover sink and grill with waterproof covers
- Use sealants on metal parts to stop rust
- Store removable parts indoors during bad weather
- Check covers and seals often for damage
- Clear snow or leaves from the area regularly

Credit: www.angi.com
Frequently Asked Questions
What Tools Are Needed For Installation?
To install an outdoor kitchen sink with a grill, you’ll need a wrench, screwdriver, and measuring tape. You may also require plumbing materials such as pipes and connectors. Ensure all tools are within reach before starting to streamline the process.
Preparation is key to a successful installation.
How To Ensure Proper Drainage?
Proper drainage is crucial for an outdoor kitchen sink. Ensure the sink is connected to the main drainage line. Use a P-trap to prevent odors. Regularly check and clean the drains to avoid blockages. Effective drainage ensures a functional and hygienic kitchen environment.
What Material Is Best For Outdoor Sinks?
Stainless steel is the best material for outdoor sinks. It’s durable, rust-resistant, and easy to clean. Granite and composite materials are also good choices. Consider the local climate and exposure to elements when choosing materials. Choose materials that withstand weather conditions for longevity.
Can I Install The Sink Myself?
Yes, you can install the sink yourself with basic DIY skills. Follow the manufacturer’s instructions carefully. Ensure you have the necessary tools and materials. If you’re unsure, consult a professional. Proper installation ensures safety and functionality of the outdoor kitchen.
Conclusion
Installing an outdoor kitchen sink with a grill can improve your backyard space. Follow the steps carefully to avoid common mistakes. Choose the right materials and tools for best results. Take your time to connect plumbing and electrical parts safely.
Test everything before using to ensure it works well. Enjoy cooking and cleaning outdoors with ease. This setup adds convenience and fun to your gatherings. Simple planning makes the project easier and more satisfying. Start your outdoor kitchen project today for a better cooking experience.