

Are you ready to elevate your grilling game to a whole new level? If you’ve ever wondered how to achieve perfectly cooked ribs every time, you’re in the right place.
Knowing how to insert a probe in ribs can make all the difference, ensuring that your meat is not just cooked, but cooked to perfection. Imagine the satisfaction of pulling off tender, juicy ribs that are a hit at every barbecue.
This guide will walk you through the simple yet crucial steps to ensure your ribs are not only safe to eat but also irresistibly delicious. Stick with us, and soon you’ll be impressing your friends and family with your newfound grilling prowess!
Preparing For Probe Insertion
Gather all necessary equipmentbefore starting. This includes the probe, gloves, antiseptic wipes, and sterile drapes. Check that the probe is clean and working well.
Keep the patient calm and comfortable. Explain the process in simple words. Use pillows or cushions to support the patient’s body. Make sure the room is warm enough.
| Factors for Selecting Insertion Site | Details |
|---|---|
| Location | Choose a spot between the ribs with enough space. |
| Accessibility | Pick an area easy to reach and view. |
| Safety | Avoid places near major blood vessels or organs. |
| Skin Condition | Make sure the skin is clean and free from infection. |
Positioning The Patient
Ensure the patient lies flat on a firm surface for optimal body alignment. The spine should be straight and the chest elevated slightly if possible. Position the arms comfortably to avoid tension in the rib area. This alignment helps in clear access to the ribs and reduces patient discomfort.
Securing the patient safelyis crucial. Use soft straps or supports to keep the patient steady without causing pain. Avoid tight restraints that may limit breathing or cause distress. Confirm the patient feels stable and is able to remain still during the procedure.
Locating The Rib Landmarks
The ribs have spaces between them called intercostal spaces. These spaces help find the right spot for probe insertion. Count ribs from the top, starting at the collarbone.
Use the sternum(breastbone) as a center point. Move your fingers down the ribs to locate the desired space. Each space lies just below a rib.
- Locate the midclavicular line, a vertical line down from the middle of the collarbone.
- Find the anterior axillary line, running down from the front of the armpit.
- Use the midaxillary line, going down from the middle of the armpit.
These lines help guide the probe between ribs safely. Avoid the lower edge of ribs to protect blood vessels and nerves.

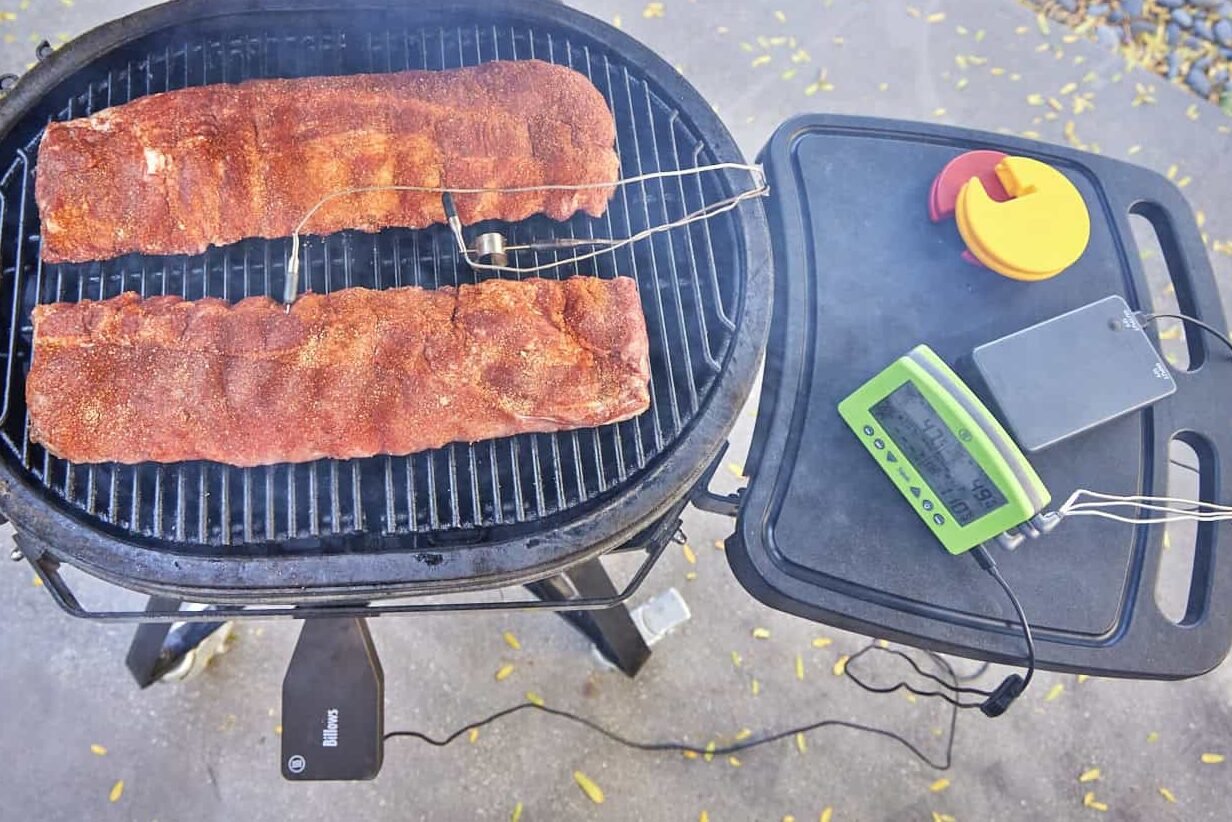
Credit: www.numberanalytics.com
Inserting The Probe
Insert the probe at a 30 to 45-degree anglerelative to the ribs. This angle helps avoid damaging tissues.
Push gently until you feel slight resistance. This usually means the probe is at the correct depth.
Keep your hand steady to ensure a smooth insertion. Avoid sudden movements to prevent injury.
Lubricate the probe before insertion. This reduces friction and helps the probe slide easily.
- Hold the probe firmly but not too tight.
- Use slow, steady pressure during insertion.
- Stop if you feel sharp resistance or pain.
- Adjust the angle slightly if needed.
Confirming Probe Placement
Imaging methodslike X-rays and ultrasound help check if the probe is in the right place. These tools show clear pictures inside the body. It helps doctors see if the probe is near the ribs or other important parts. Sometimes, CT scans give very detailed views for exact placement.
Assessing patient responseis also important. Patients may feel less pain or pressure when the probe is correctly placed. Doctors watch for changes in breathing, heart rate, or discomfort. This helps confirm that the probe is working as expected.
- X-rays: Show bones and probe positions clearly.
- Ultrasound: Real-time images with no radiation.
- CT scan: Very detailed images of ribs and tissues.
- Patient feedback: Checks pain or discomfort changes.
- Vital signs: Watch breathing and heart rate.

Credit: blog.thermoworks.com
Troubleshooting Common Issues
Resistance during probe insertion can happen due to tight tissue or wrong angle. Use gentle pressure and try to adjust the angle slightly. Never force the probe; this can cause damage.
If the probe feels stuck, pull back a little and try again. Sometimes, rotating the probe slightly helps it move more easily.
Misplacement of the probe may cause inaccurate readings or discomfort. Check the probe position carefully before proceeding.
To correct misplacement, gently withdraw the probe and reinsert it in the correct spot. Make sure the probe tip is aligned with the rib space and not pressing against the bone.
- Use imaging guidance if available to confirm correct placement.
- Avoid inserting the probe too deep or too shallow.
- Ensure the patient is relaxed to reduce muscle resistance.
Post-insertion Care
The probe must be secured firmlyto avoid movement. Use medical tape or specialized holders for stability. Check the tape regularly to ensure it is not loose or causing skin irritation.
Watch the insertion site for signs of redness, swelling, or pain. These may indicate infection or irritation. Keep the area clean and dry to prevent complications.
- Monitor for bleedingaround the probe.
- Look for any unusual discharge.
- Check for breathing difficultiesthat may arise.
- Report fever or chills immediately.
Regularly assess the patient’s comfort and probe position. Prompt action can prevent serious problems.
Credit: blog.thermoworks.com
Frequently Asked Questions
How Do I Insert A Probe In Ribs Safely?
To insert a probe in ribs safely, locate the intercostal space carefully. Insert the probe gently between ribs, avoiding bone contact. Use steady pressure and proper angle to prevent tissue damage. Always follow medical guidelines for sterile technique and accurate placement.
What Tools Are Needed To Insert A Probe In Ribs?
You need a sterile probe, antiseptic solution, gloves, and possibly ultrasound guidance. A scalpel or needle may be required for initial access. Proper lighting and patient positioning are also essential. Ensure all tools are clean and ready before starting the procedure.
Why Is Probe Insertion Important For Rib Examination?
Probe insertion helps visualize or access the pleural space for diagnosis or treatment. It detects fluid, air, or abnormalities around ribs and lungs. This technique aids in accurate sampling, drainage, or monitoring of thoracic conditions. It improves patient care and diagnostic precision.
Can I Insert A Probe In Ribs Without Medical Training?
No, inserting a probe in ribs requires medical training and expertise. Incorrect technique can cause injury, infection, or complications. Always seek professional help or supervision when performing this procedure. Proper knowledge ensures patient safety and successful outcomes.
Conclusion
Inserting a probe in ribs is a simple process with the right steps. Take your time and be gentle to avoid any damage. Keep the probe steady and follow the correct angle carefully. Practice helps improve your skill and confidence.
Always check the position to ensure accuracy. This method makes your work easier and safer. Try these tips next time you insert a probe in ribs. You will see better results with less effort.