

Have you ever wanted to add a personal touch to your kitchen or gift something truly special? Learning how to embroider aprons is easier than you think, and it can transform a simple apron into a beautiful, one-of-a-kind piece.
Imagine wearing or giving an apron that reflects your style, creativity, and care. In this guide, you’ll discover simple steps and tips that make embroidery fun and rewarding, even if you’re a complete beginner. Ready to turn ordinary aprons into stunning works of art?
Keep reading to unlock your creative potential.

Credit: www.cosmicaprons.com
Choosing The Right Apron
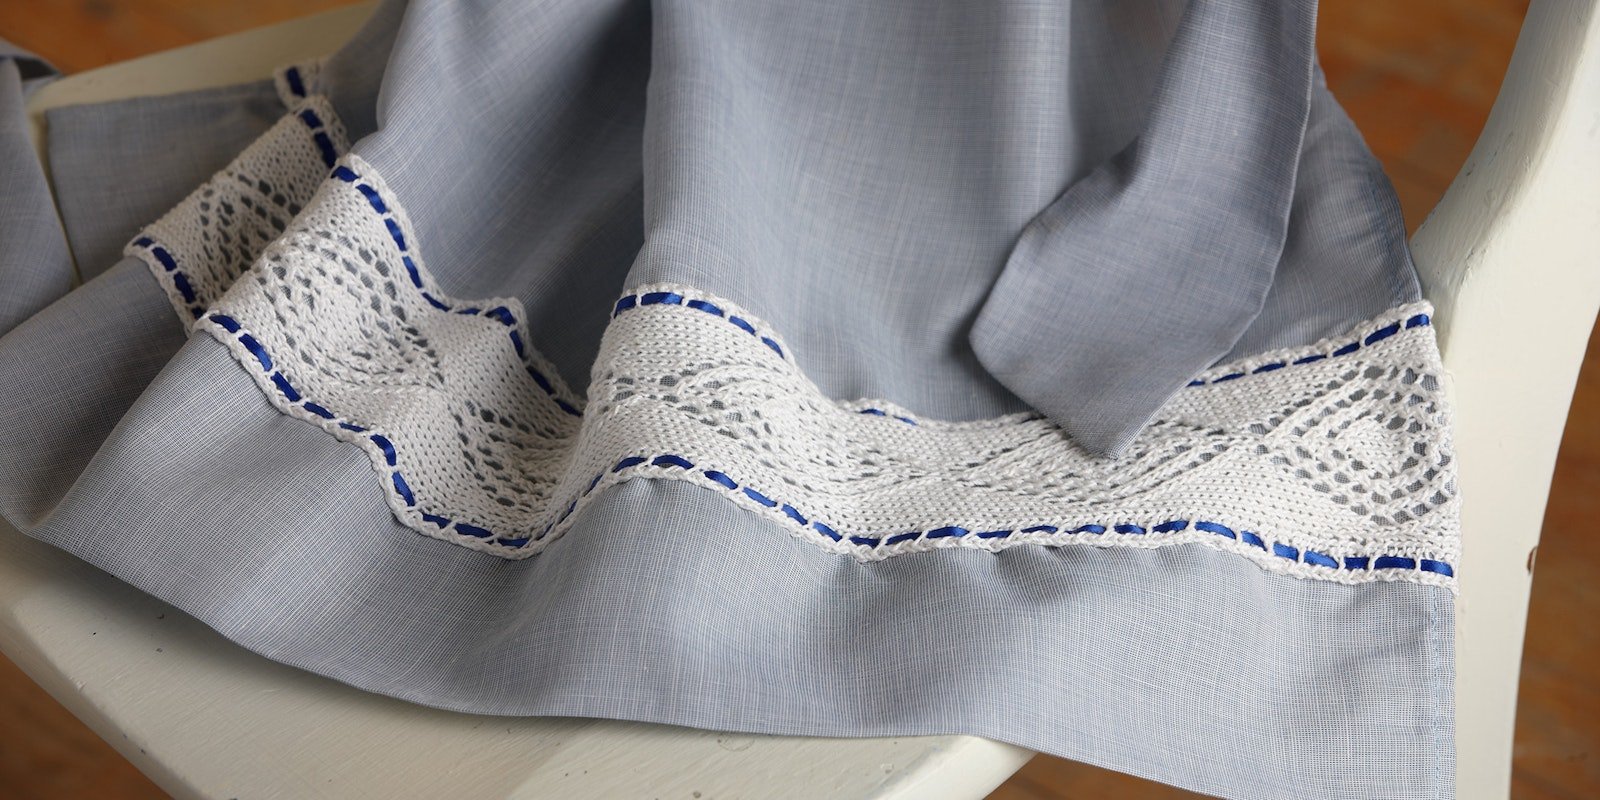
Choosing the right apron is key for embroidery success. Fabric typeaffects how easy it is to stitch. Cotton and linen are best choices. They hold stitches well and feel soft. Avoid slippery fabrics like satin; they make embroidery tricky.
Apron stylesvary. Full aprons cover the chest and waist. Waist aprons wrap only around the waist. Choose based on how much space you want to decorate and how the apron will be used.
Preparing the apron means washing and ironing it first. This removes any chemicals and creases. Use a stabilizer behind the fabric to keep stitches neat. Mark your design area lightly with a pencil or fabric pen. This makes embroidery easier and more precise.
Credit: pieceworkmagazine.com
Selecting Embroidery Materials
Threadscome in many types like cotton, polyester, and silk. Choose one that matches your apron fabric for the best look. Needlesmust be sharp and the right size. Thin needles work well for delicate threads, while thicker needles suit heavy threads.
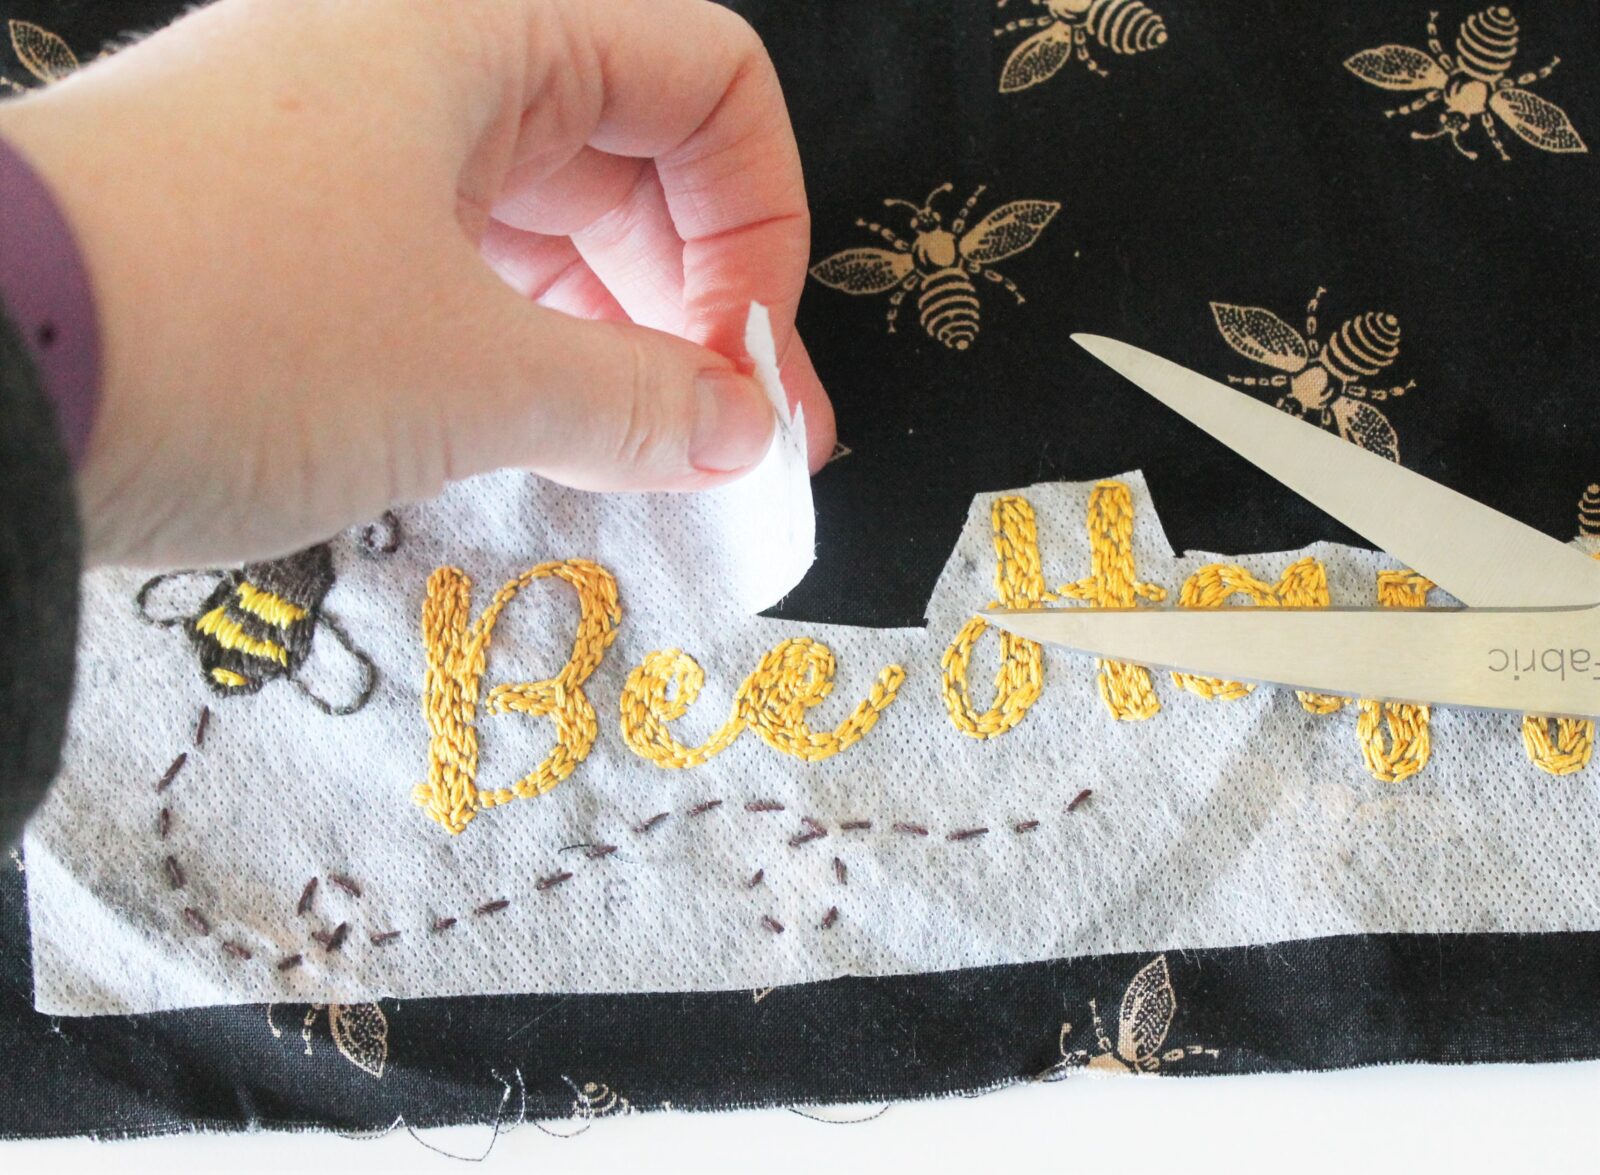
Hoopskeep the fabric tight and steady while stitching. Select a hoop that fits your apron size. Stabilizersgo under the fabric to stop it from stretching or puckering. Different stabilizers suit different fabrics and designs.
- Scissors:Small and sharp for clean cuts.
- Marking tools:Use washable pens or chalk to guide your design.
- Thread conditioner:Helps prevent tangling and makes stitching smooth.
- Thimble:Protects your finger while sewing by hand.
Basic Embroidery Stitches
The running stitchis simple and quick. It creates a dashed line effect. Use it for outlines or simple patterns.
The backstitchmakes a solid line. It is strong and good for writing words or details. Stitch backward for a continuous line.
Satin stitchfills shapes with smooth, solid color. Stitch very close to cover the area fully. Great for leaves or petals.
French knotsadd small, raised dots. They give texture and detail. Wrap the thread around the needle once or twice before pulling through.
Credit: blog.sulky.com
Transferring Designs
Transfer pensare special markers used to trace designs onto fabric. Draw your pattern on paper first, then use the pen to copy it onto the apron. The lines are easy to see and work well for detailed designs. Some pens wash away with water, which helps after stitching.
Printable patternsmake transferring easier. Print your design on regular paper. Place it under the fabric and use a light source, like a window or lightbox, to see the pattern through the fabric. Trace the design with a pencil or transfer pen. This method works best with thin or light-colored apron fabric.
Step-by-step Embroidery Process
Place the fabric tightly inside the embroidery hoop. Make sure it is smooth and flat to avoid wrinkles. Tight fabric helps keep stitches even and neat. Adjust the screw to secure the fabric firmly. A loose fabric can cause uneven stitching.
Thread your needle with the chosen embroidery floss. Tie a small knot at the end of the thread. Start stitching from the back of the fabric. Use simple stitches like backstitch or running stitch for beginners. Keep your stitches even and not too tight to prevent puckering.
After finishing the design, remove the hoop gently. Trim any loose threads carefully. Press the embroidered area with a warm iron using a cloth on top. This helps set the stitches and smooths the fabric. Your apron is now ready to use or gift.
Design Ideas For Aprons
Floral patternsbring a fresh and pretty look to aprons. They can be simple or detailed with bright colors. Small flowers near the pockets or a big bouquet at the center work well. Use soft threads to keep the apron light and comfortable.
Monograms and lettersadd a personal touch. Stitch initials or names in clear, bold fonts. Choose thread colors that stand out but match the apron fabric. Letters can be plain or decorated with small shapes like stars or hearts.
- Seasonal themesmake aprons special for holidays or seasons.
- Winter designs with snowflakes or holly leaves look festive.
- Spring styles with bright flowers and butterflies feel fresh.
- Summer aprons with fruits or sun shapes bring cheer.
- Fall patterns with leaves or pumpkins add warmth.
Care Tips For Embroidered Aprons
Embroidered aprons stay bright by washing gently in cold water. Avoid harsh scrubbing to keep stitches neat. Dry flat to prevent fabric and thread damage.
Washing Instructions
Hand washembroidered aprons in cold water to protect threads. Use a mild detergent that does not contain bleach. Avoid wringing the fabric to prevent damage. If machine washing, place the apron inside a mesh laundry bagand use a gentle cycle. Always air dry; do not use a dryer as heat can shrink or fade the embroidery.
Storage Suggestions
- Store aprons flat or rolled to avoid creases on embroidery.
- Keep them in a cool, dry place away from direct sunlight.
- Use acid-free tissue paper between folds to protect delicate stitching.
- Hang aprons on padded hangers if space allows.
Repairing Embroidery
Small pulls or loose threads can be fixed with a needle and threadmatching the original colors. Carefully tie knots on the inside to keep the front clean. For larger damage, consider seeking help from a professional embroiderer. Avoid cutting threads as it may cause unraveling.
Frequently Asked Questions
What Materials Are Best For Embroidering Aprons?
Cotton and linen fabrics work best for embroidery. They are durable, easy to stitch, and hold designs well. Choose aprons with a tight weave for clear and neat embroidery results. Avoid slippery or stretchy fabrics to prevent stitching issues.
How Do I Transfer Embroidery Designs Onto Aprons?
Use tracing paper, heat transfer pens, or water-soluble stabilizers to transfer designs. Secure the fabric in an embroidery hoop for stability. These methods ensure accurate and clean design placement on aprons before stitching.
Which Embroidery Stitches Suit Apron Designs Best?
Simple stitches like backstitch, satin stitch, and French knots work great. They provide clear outlines and texture without overwhelming the fabric. These stitches are beginner-friendly and ideal for customizing apron patterns with names or motifs.
Can I Machine Embroider Aprons At Home?
Yes, home embroidery machines can personalize aprons quickly. Ensure the apron fits the machine’s hoop size. Use stabilizers to prevent fabric puckering. Machine embroidery offers consistent and professional-looking results for apron customization.
Conclusion
Creating embroidered aprons is a rewarding experience. With practice, your skills will grow. Start with simple designs and progress gradually. Choose quality threads for best results. Keep your stitches even and neat. Remember, patience is key in embroidery. Enjoy the process, and let creativity flow.
Personalize your aprons with unique patterns. Each apron tells a story. Share them with friends and family. They make thoughtful, handmade gifts. Embroidery can be relaxing and fun. Dive into this creative journey today. Happy stitching!