

Imagine transforming ordinary fruit into delightful snacks that burst with concentrated flavor. Drying fruit in your oven is not only a simple and satisfying process, but it also unlocks a world of benefits.
You gain control over the ingredients, ensuring no added sugars or preservatives. Plus, it’s a cost-effective way to make the most of seasonal fruits. Are you ready to discover how to do this in the comfort of your own kitchen?
This guide will walk you through every step, making it easy to create delicious, homemade dried fruit. You’ll learn the secrets that can turn your oven into a powerful tool for creating healthy, tasty treats. Keep reading to find out how you can start enjoying these benefits today!

Credit: naomicakes.com
Benefits Of Drying Fruit
Drying fruitmakes it last longer. It keeps the fruit from spoiling. Dried fruit is easy to store. It doesn’t take much space. You can snack on dried fruit anytime. It’s healthy and tasty. Drying keeps the fruit’s nutrients. You get vitamins and minerals. Dried fruit is sweet and chewy. Kids love it!
Drying fruit is simple. You don’t need many tools. Just an oven and trays. It’s fun to try at home. You can dry many fruits. Apples, bananas, and berries work well. Drying fruit saves money. No need to buy snacks often. It’s a smart choice for families. You can add dried fruit to meals. Put it in cereal or salads. It makes dishes exciting.

Credit: www.cottercrunch.com
Choosing The Right Fruit
Seasonal fruitsare best for drying. They are fresher and tastier. Non-seasonal fruitscan be used too. They might not taste as good. Seasonal fruits cost less. Non-seasonal fruits might be expensive. Choose wisely for your oven drying.
Ripe fruitsare ideal for drying. They keep their flavor and texture. Overripe fruitscan be mushy. They might not dry well. Ripe fruits hold shape better. Overripe fruits may become sticky. Pick ripe fruits for better results. Drying ripe fruits is easier.
Preparing Fruit For Drying
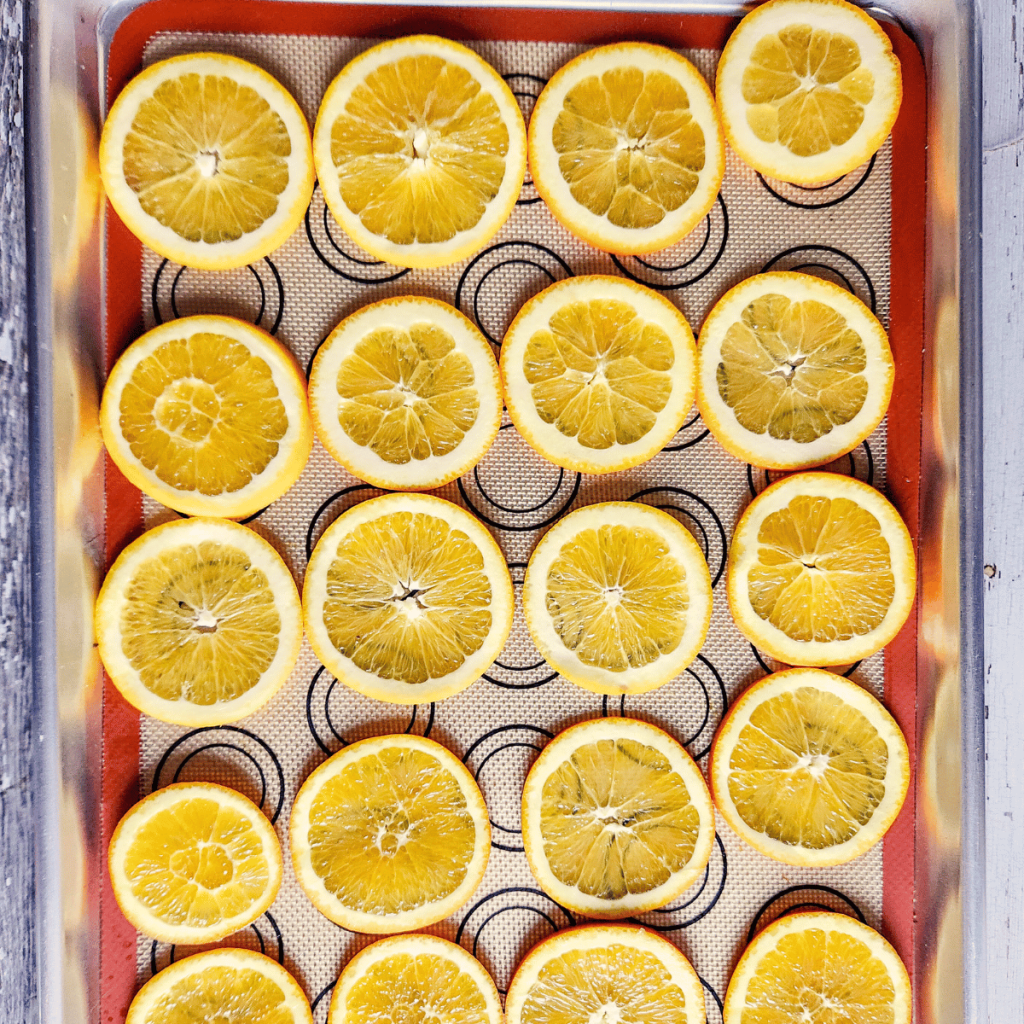
Preparing fruit for drying in the oven involves slicing the fruit evenly and arranging it on a baking sheet. Set the oven to a low temperature and allow the fruit to dry slowly, turning occasionally for even drying. This method preserves the fruit’s natural flavors and nutrients efficiently.
Washing And Cleaning
Start by washing the fruit under cool running water. This removes dirt and germs. Use a soft brush for fruits like apples. Make sure to rinse well. Dry the fruit with a clean towel. This step is important. It prevents any extra moisture during drying.
Slicing Techniques
Cut the fruit into even slices. Try making them about 1/4 inch thick. Thinner slices dry faster. Use a sharp knife for clean cuts. For bananas, cut into circles. For apples, remove the core first. Keep the slices the same size. This ensures even drying. Use a cutting board for safety.
Setting Up Your Oven
Preheat your oven to 140°F. Arrange fruit slices on a baking sheet. Leave space for air to circulate.
Temperature Settings
Set your oven to a low temperature. 150°F to 200°F is best. This helps dry the fruit slowly and evenly. A higher temperature might cook instead of dry. Use an oven thermometer for accuracy. Ovens can vary, so double-check the heat. This ensures your fruit dries perfectly.
Using Oven Racks
Place the fruit pieces on the oven racks. Spread them out in a single layer. This allows air to circulate around each piece. Use multiple racks if needed. Avoid overcrowding the racks. This will help the fruit dry evenly. You can rotate the racks during drying. This ensures all pieces dry at the same rate.
Drying Process Explained
Drying fruit in the oven is simple. Use low heat to preserve flavor. Cut fruit into thin slices. Place them on a baking tray. Make sure slices don’t overlap. This helps even drying.
Monitoring Progress
Check fruit every hour. Look for changes in texture. Slices should be dry and firm. Avoid over-drying them. Over-dried fruit loses taste.
Adjusting Temperature
If fruit is drying too fast, lower the oven heat. If too slow, increase heat slightly. Watch carefully to prevent burning. Oven drying takes patience.
Testing For Doneness
Testing for doneness involves checking the texture and color of dried fruit. Fruit should feel leathery and pliable, without sticky moisture. Achieving the right dryness ensures long-lasting freshness and flavor.
Texture Check
The fruit should feel pliable but not sticky. Press gently with fingers. It should spring back slightly. If it feels wet, it needs more drying time. The texture must be like leather. This ensures the fruit is properly dried.
Color Indicators
Check the color of the dried fruit. It should be uniform and rich. If the fruit is dull, it may not be done. Bright colors show the fruit is dried well. Watch out for any dark spots. These may indicate over-drying.
Storing Dried Fruit
Use airtight containers for storing dried fruit. Glass jars or plastic bags work well. Airtight containers keep moisture out. Moisture can spoil the fruit. Label containers with the date. This helps track freshness. Store containers in a cool, dark place. Sunlight can spoil the fruit. Avoid metal containers. Metal can affect the fruit’s taste. Plastic bags should be thick and sealed tight. Thin bags may let in air.
Dried fruit can last a long time. Proper storage can keep it fresh for months. Always check for signs of spoilage. Mold or strange smell means it’s bad. Use the oldest fruit first. This practice is called first in, first out. It helps prevent waste. Keep fruit away from heat. Heat can make it spoil faster. Room temperature is best for storage. Cold storage can extend shelf life. But it’s not always necessary.
Creative Uses For Dried Fruit
Drying fruit in the oven is a simple way to preserve its flavor. Slice fruit thinly and spread on a baking sheet. Set the oven to a low temperature and let it dry slowly. Enjoy dried fruit in baking, snacking, or as a garnish for dishes.
Cooking And Baking
Dried fruit adds a sweet touch to dishes. Cakes and cookies taste better with dried fruit. Sprinkle some in bread for extra flavor. Muffins become special with dried apples. Add dried berries to pancakes for a fruity surprise. Salads can be more colorful with dried cherries. Meat dishes taste great with dried apricots. Sauces get a tangy twist with dried plums.
Snack Ideas
- Dried fruit is a healthy snack.
- Mix dried fruit with nuts for energy.
- Make fruit bars using dried fruit.
- Try dried fruit with yogurt.
- Combine dried fruit with granola.
- Use dried fruit in trail mix.
- Eat dried fruit with cheese.
Troubleshooting Common Issues
Adjust oven temperature to avoid burning fruit during drying. Use even slices for consistent drying. Monitor closely to prevent over-drying.
Uneven Drying
Check the oven temperature. It should be consistent. Use a thermometer to verify. Rotate trays regularly. This helps all fruit pieces dry evenly. Space the fruit properly. Crowded trays lead to uneven drying. Slice fruit uniformly. Thick slices dry slower than thin ones. Ensure air circulation. It’s key for even drying.
Overly Crisp Or Chewy
Set the right temperature. Too high can make fruit too crisp. Monitor drying time carefully. Check fruit every hour. Adjust time based on fruit type. Softer fruits need less time. Store properly after drying. Airtight containers prevent excess moisture. Test texture before storing. Fruit should be dry, not overly chewy.
Credit: www.milkglasshome.com
Safety Tips
Ensure the oven is clean and at the right temperature to avoid contamination. Use a baking sheet with parchment paper for easy cleanup. Keep an eye on the drying process to prevent overcooking and maintain fruit quality.
Handling Hot Surfaces
Always use oven mitts when touching hot surfaces. Keep your hands safe. Ovens can burn your skin quickly. Make sure kids stay away from the oven. Don’t let them touch it. Be careful with hot trays and pans. Use a towel to hold them. This way, you will avoid burns.
Preventing Mold
Dry fruit fully to stop mold from growing. Make sure no moisture remains. Check fruit before storing it. If it’s sticky, it’s not dry yet. Store dried fruit in airtight containers. This helps keep moisture out. Keep containers in a cool, dry place. Mold hates dry places. If you see mold, throw the fruit away. Eating moldy fruit is not safe.
Frequently Asked Questions
Can You Dry Out Fruit In The Oven?
Yes, you can dry fruit in the oven. Slice fruit evenly, place on a baking sheet, and set the oven to low heat. Leave the oven door slightly open for air circulation. Check regularly until fruit reaches desired dryness. This method is efficient for homemade dried fruit.
What Is The Fastest Way To Dry Fruit?
Use a dehydrator for the fastest fruit drying. Slice fruit evenly and arrange on trays. Set temperature to 135°F (57°C). Dry until fruit is leathery but pliable. Avoid overlapping pieces for efficient drying. Check regularly to prevent over-drying. Properly dried fruit should be stored in airtight containers.
How Do You Remove Moisture From Fruit?
To remove moisture from fruit, use a dehydrator or low-temperature oven. Slice fruit thinly for quicker drying. Ensure good air circulation by spacing pieces apart. Store dried fruit in airtight containers to maintain freshness.
How To Dry Fruit In The Oven Without A Dehydrator?
Preheat your oven to 140°F (60°C). Slice fruits thinly and arrange them on a baking sheet. Leave space between slices. Bake for 4-8 hours, flipping occasionally until fully dry. Keep the oven door slightly open for air circulation. Store dried fruit in an airtight container.
Conclusion
Drying fruit in the oven is simple and rewarding. Enjoy the natural sweetness and chewy texture. Remember to slice fruits thinly for even drying. Low heat is key. Keep an eye on them to prevent burning. Store dried fruits in airtight containers.
They make great snacks or baking additions. It’s a cost-effective way to preserve fruits. Plus, homemade dried fruits are healthier than store-bought. Experiment with different fruits. Discover your favorites. Enjoy the process and the delicious results. Happy drying!