

If you’ve ever faced the challenge of cutting a pork shoulder, you know it can feel tricky and overwhelming. But what if you could turn that big, tough piece of meat into perfect, juicy cuts right in your own kitchen?
In this guide, you’ll learn simple steps that make cutting pork shoulder easy and stress-free. Whether you’re preparing for a barbecue, a family dinner, or just want to save money by buying whole cuts, mastering this skill will boost your confidence and improve your cooking.
Keep reading, and you’ll discover how to handle pork shoulder like a pro, every time.
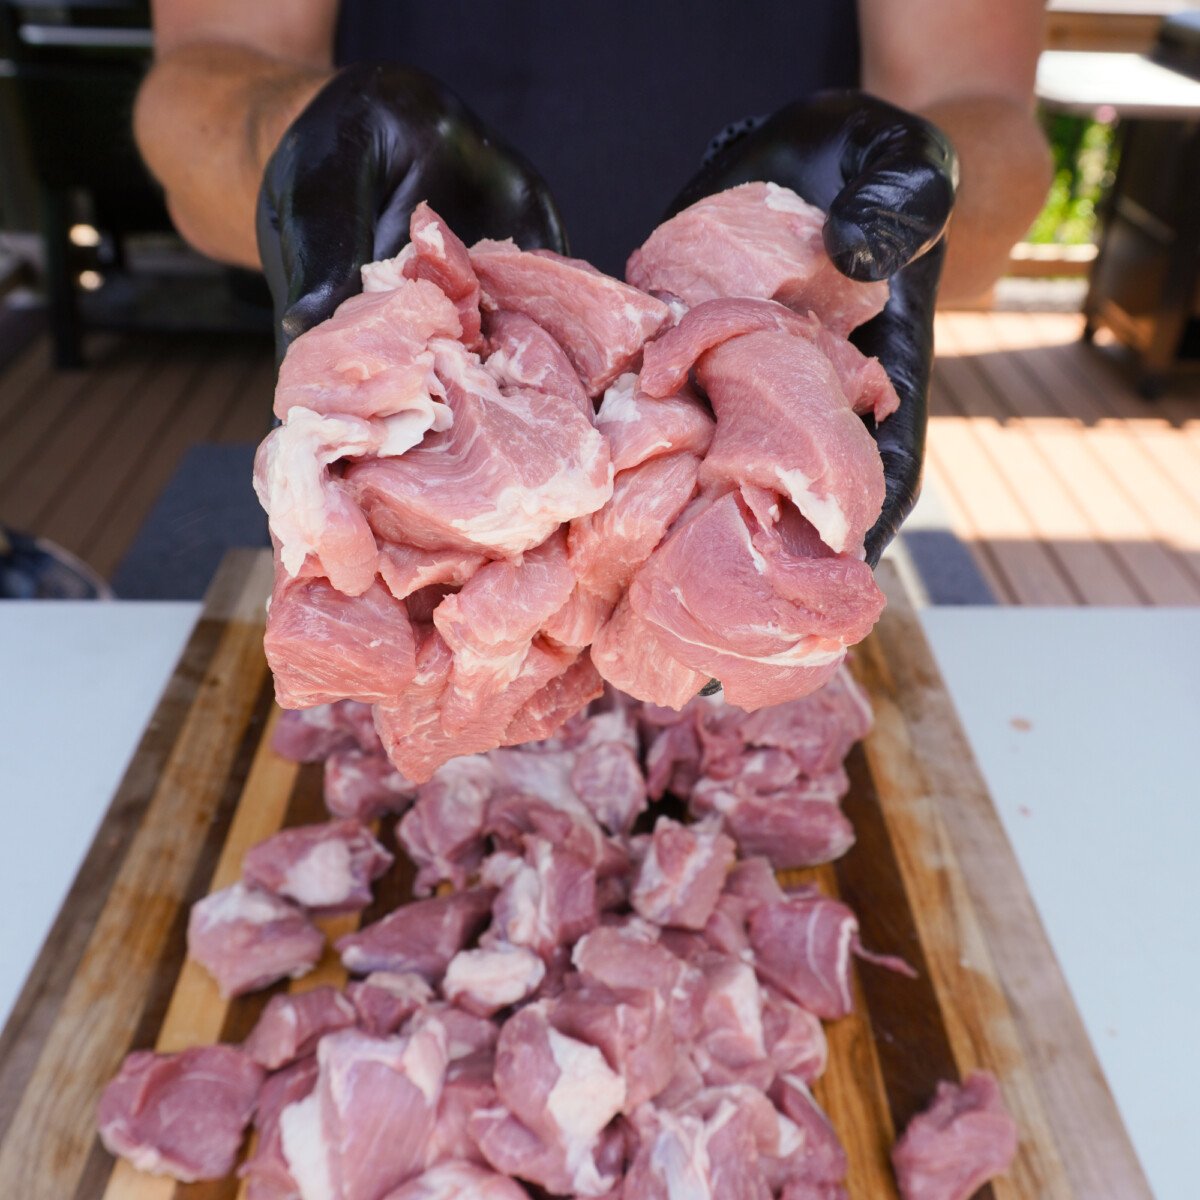
Credit: grillinwithdad.com
Choosing The Right Pork Shoulder
Choosing between bone-inand boneless pork shoulderdepends on cooking style. Bone-in cuts add more flavor and keep meat moist. Boneless cuts are easier to slice and cook faster.
Check for freshnessby looking at the color. It should be pinkish-redand not gray. The meat should feel firm and not sticky. Avoid cuts with a strong smell.
| Size | Use |
|---|---|
| 4-6 pounds | Good for small families or slow cooking |
| 6-8 pounds | Best for larger groups or roasting |

Credit: porkgateway.org
Essential Tools For Cutting
Using the right knivesmakes cutting pork shoulder easier and safer. A boning knifewith a thin, flexible blade helps remove bones cleanly. A chef’s knifeworks well for slicing through meat and fat. Keep knives sharp for smooth cuts and to avoid slips.
A sturdy cutting boardis important. Choose one with a non-slip base to keep it steady. Use separate boards for raw meat to avoid cross-contamination. Wearing cut-resistant glovescan protect hands from accidental cuts. Always keep your work area clean and dry.
| Tool | Purpose | Tip |
|---|---|---|
| Boning Knife | Remove bones | Choose flexible blade |
| Chef’s Knife | Slice meat and fat | Keep blade sharp |
| Cutting Board | Provide stable surface | Use non-slip base |
| Cut-resistant Gloves | Protect hands | Wear while cutting |
Regular sharpeningkeeps knives effective and safe. Use a sharpening stone or steel rod. Clean knives after each use and dry them well. Store knives properly to keep edges sharp and avoid accidents.
Prepping The Pork Shoulder
Trimming excess fathelps prevent greasy dishes. Use a sharp knife to cut away large fat pieces, but keep some for flavor. Remove thick fat layers carefully without cutting the meat.
Removing the skinis easier with a knife and your hands. Slide the knife under the skin gently, then pull the skin off. Skin can be tough, so take your time.
Portioning for cooking methodsdepends on how you plan to cook the pork. For slow cooking or roasting, keep large chunks. For stir-fry or grilling, cut into smaller pieces. Even pieces cook more evenly.
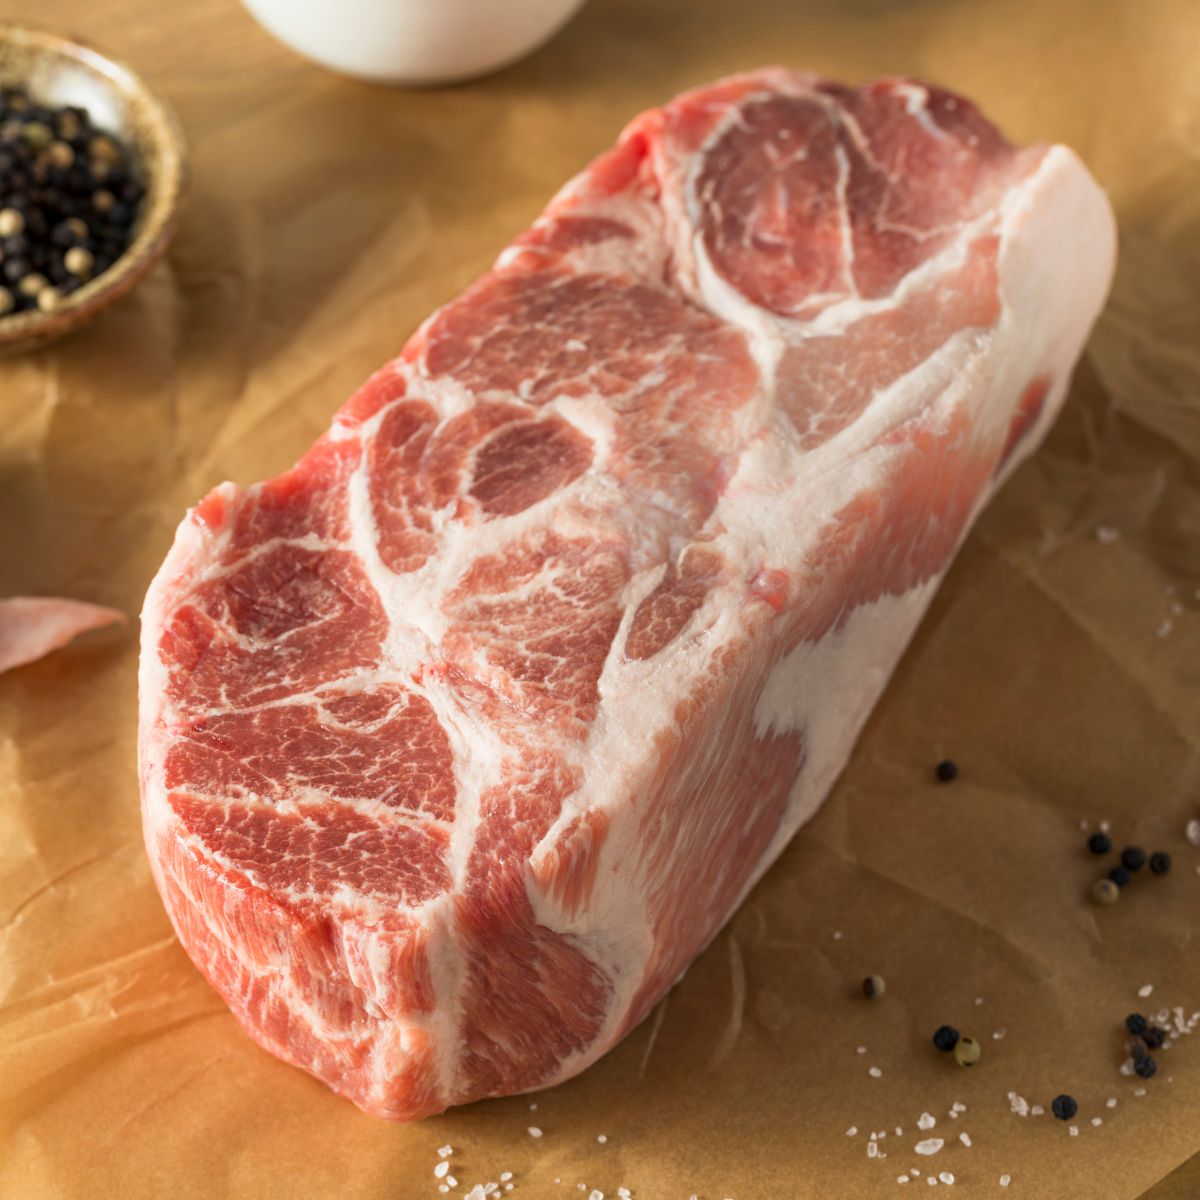
Credit: deliciouslyrushed.com
Cutting Techniques For Perfect Slices
Slicing against the grainmeans cutting across the muscle fibers. This makes the pork shoulder more tender and easier to chew. Look for the lines of the grain and slice perpendicular to them.
Thickness mattersfor cooking and serving. Slices about half an inch thick work well for most recipes. Thicker cuts take longer to cook, while thinner ones can dry out quickly.
When handling bone-in cuts, use a sharp knife to cut close to the bone. Be careful to avoid slipping. Removing the bone first can make slicing easier but may take more time.
Common Mistakes To Avoid
Using a dull knifemakes cutting pork shoulder hard and unsafe. It can cause uneven slices and increase the risk of accidents. Always use a sharp knife to ensure clean cuts and better control.
Ignoring the grain directionleads to tough meat. Cutting across the grain makes the meat easier to chew. Look closely at the muscle fibers before slicing.
- Take your time to cut slowly and carefully.
- Rushing causes uneven pieces and waste.
- Slow cutting helps maintain the meat’s texture.
Storing And Using Leftover Cuts
Store leftover pork shoulderin an airtight container. Keep it in the fridge for up to 3 days. Make sure your fridge temperature stays below 40°F (4°C). This helps stop bacteria from growing.
For longer storage, freeze the pork shoulder. Wrap it tightly in plastic wrap or foil, then place it in a freezer bag. Label with the date. Frozen pork shoulder stays good for 3 to 6 months.
| Freezing Tips | Details |
|---|---|
| Wrap tightly | Use plastic wrap and foil to prevent freezer burn |
| Use freezer bags | Remove air before sealing to keep freshness |
| Label and date | Helps track storage time |
- Use leftovers in tacos or sandwiches for a quick meal.
- Add chopped pork to soups or stews for extra flavor.
- Mix pork with barbecue sauce for tasty pulled pork.
- Try pork fried rice using leftover cuts and veggies.
Frequently Asked Questions
How Do You Prepare Pork Shoulder For Cutting?
First, chill the pork shoulder for easier slicing. Remove excess fat and silver skin. Use a sharp knife for clean cuts. Cut along natural muscle lines for better texture and cooking.
What Tools Are Best For Cutting Pork Shoulder?
Use a sharp boning or chef’s knife for precision. A sturdy cutting board helps with stability. Keep your knife sharp for safety and clean cuts.
How Thick Should Pork Shoulder Slices Be?
Slice pork shoulder about 1/2 inch thick for even cooking. Thicker slices retain more moisture but take longer to cook. Adjust thickness based on your recipe needs.
Can I Cut Pork Shoulder Before Or After Cooking?
Cutting before cooking helps with seasoning and even cooking. Cutting after cooking is easier when meat is tender. Choose based on your recipe and cooking method.
Conclusion
Cutting pork shoulder can seem tricky, but practice makes perfect. Start by gathering the right tools. A sharp knife is essential. Follow step-by-step guides for best results. Always cut against the grain. This ensures tender pieces. Handle the meat gently and with care.
Clean work surfaces to ensure hygiene. Properly stored leftovers stay fresh longer. Enjoy the delicious flavors of your efforts. Share your meal with family and friends. Mastering this skill enhances your cooking journey. Keep experimenting with different recipes. Relish the tasty dishes you create.
Your confidence will grow with each cut. Happy cooking!