
Are you looking for a simple way to cook a juicy, flavorful turkey breast without the hassle? Cooking a turkey breast in a Dutch oven might be the answer you’ve been searching for.
This method locks in moisture and enhances the taste, giving you a tender result every time. Whether you’re preparing a special meal or just want to try something new, this guide will show you exactly how to get it right.
Keep reading, and soon you’ll be serving a delicious turkey breast that everyone will love.

Credit: campgrilleat.com
Choosing The Right Turkey Breast
Picking the right turkey breast is key for cooking in a Dutch oven. It affects cooking time and flavor.
Consider if you want fresh or frozen turkey. Also think about the size and weight for your needs.
Fresh Vs Frozen
Fresh turkey breast has a natural flavor and softer texture. Frozen turkey is easier to store and lasts longer.
- Fresh turkey needs to be cooked quickly after purchase.
- Frozen turkey requires full thawing before cooking.
- Frozen turkey may lose some moisture during freezing.
- Fresh turkey often costs more than frozen.
Size And Weight Considerations
Choose a turkey breast size that fits your Dutch oven and guest count. Too large or small can affect cooking.
| Size | Weight | Servings |
| Small | 2-3 lbs | 2-3 people |
| Medium | 4-6 lbs | 4-6 people |
| Large | 7-9 lbs | 7-9 people |
Credit: goodcheapeats.com
Preparing The Turkey Breast
Cooking a turkey breast in a Dutch oven starts with good preparation. Proper handling ensures the meat cooks evenly and tastes great.
Focus on trimming, cleaning, and seasoning the turkey breast before cooking. This helps bring out the best flavors.
Trimming And Cleaning
Begin by removing excess fat and skin from the turkey breast. This prevents flare-ups and uneven cooking in the Dutch oven.
Rinse the turkey breast under cold water to clean it. Pat it dry with paper towels to avoid excess moisture.
- Remove any leftover feathers or bits of skin
- Trim off large fat deposits carefully
- Check for silver skin and cut it away
- Dry the surface to help seasoning stick
Seasoning And Marinating Tips
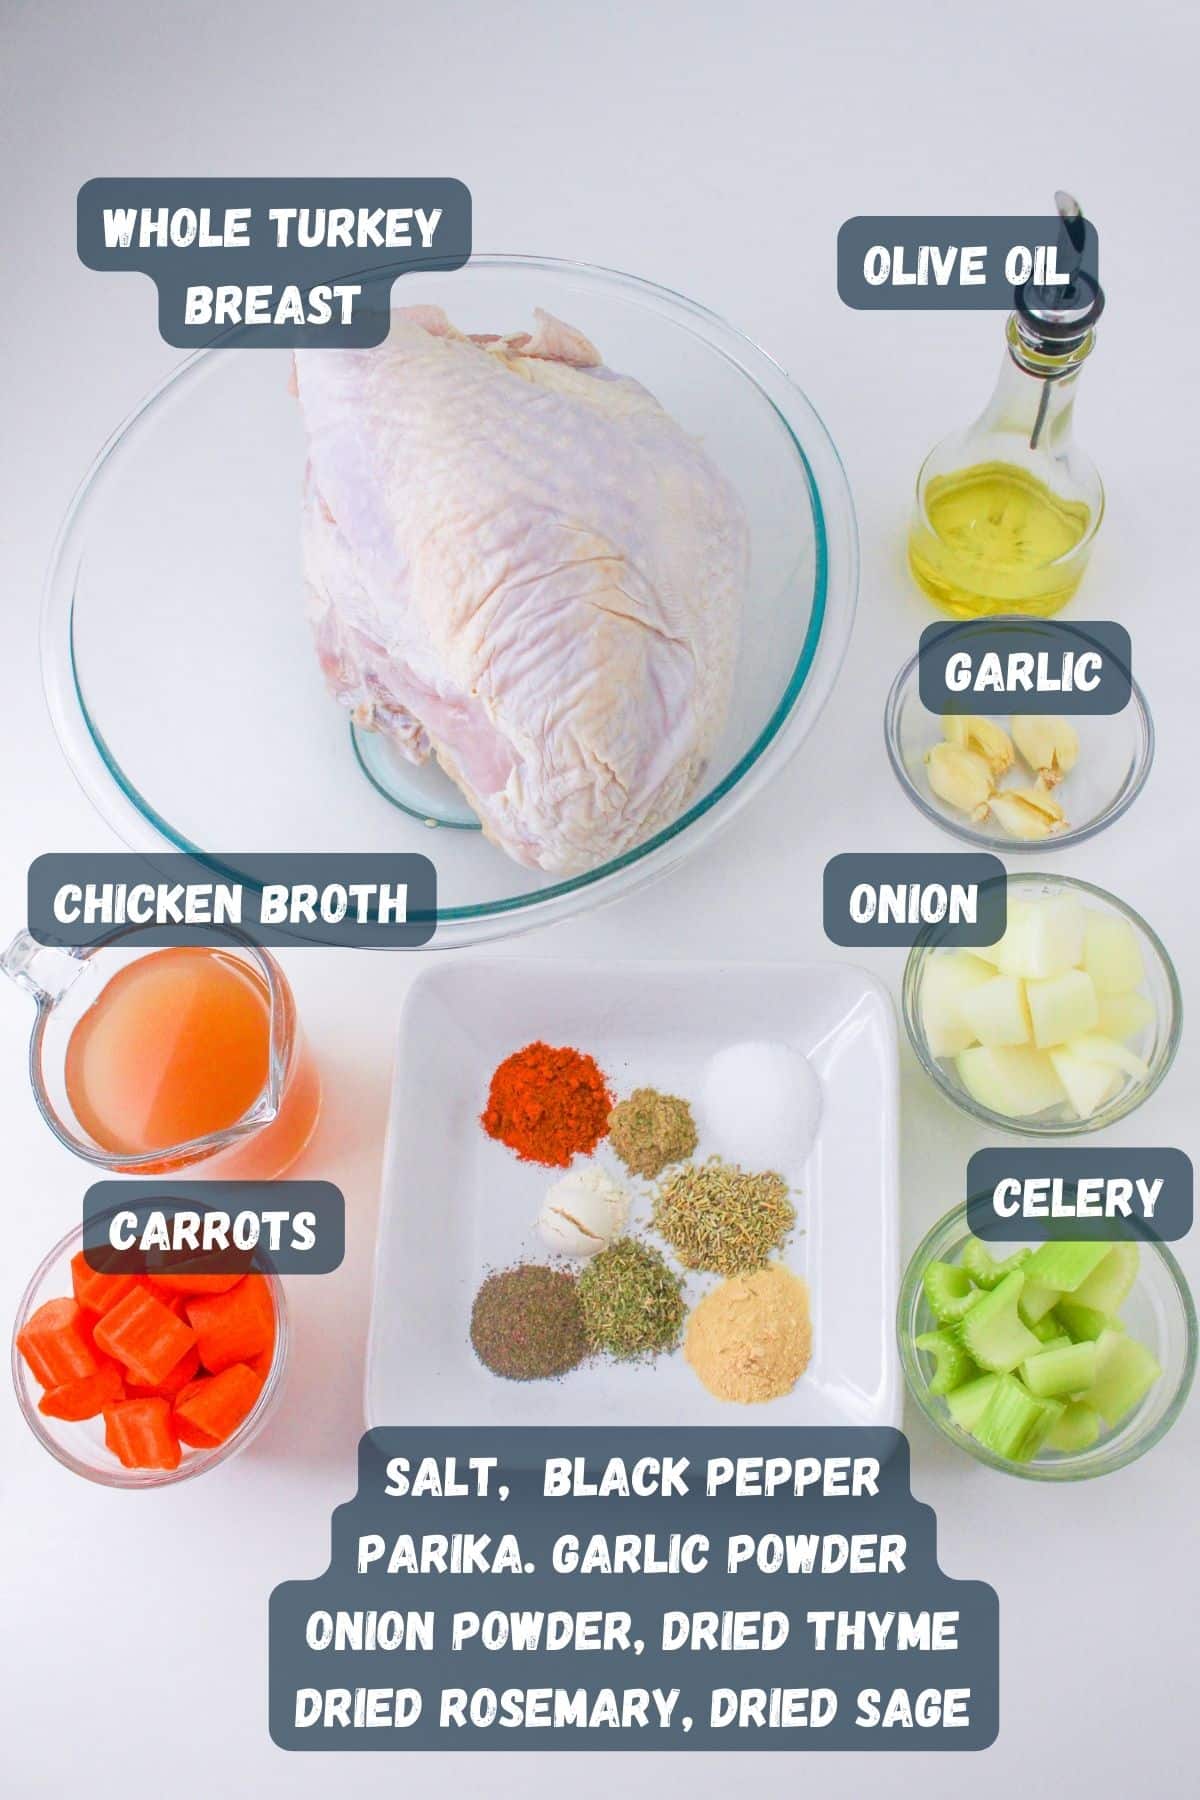
Seasoning adds flavor and moisture to the turkey breast. Use a mix of herbs, spices, and salt for the best taste.
| Seasoning | Purpose |
| Salt | Enhances natural flavors |
| Black pepper | Adds mild heat and aroma |
| Garlic powder | Gives a savory taste |
| Rosemary | Provides herbal notes |
| Olive oil | Keeps meat moist |
Marinate the turkey breast for at least two hours. Use a simple mix of olive oil, lemon juice, and your favorite herbs.
Selecting The Dutch Oven
Choosing the right Dutch oven is key to cooking a turkey breast well. The Dutch oven holds heat and helps cook meat evenly.
Look for one that fits your turkey breast and keeps heat for a long time. This guide covers what to check in material, size, lid, and heat retention.
Material And Size
Dutch ovens come in different materials and sizes. Each type cooks differently and fits different turkey breast sizes.
- Cast Iron:Holds heat well and cooks evenly. It is heavy but very durable.
- Enameled Cast Iron:Easy to clean and does not need seasoning. It also holds heat like regular cast iron.
- Aluminum:Lightweight and heats quickly. It may not keep heat as long as cast iron.
- Size:Choose a Dutch oven big enough for your turkey breast. It should fit with some space around for air circulation.
Lid And Heat Retention
The lid helps trap heat and moisture inside the Dutch oven. A tight-fitting lid is best for cooking turkey breast.
| Lid Type | Heat Retention | Benefit for Turkey Breast |
| Heavy Cast Iron | Excellent | Keeps heat stable and cooks evenly |
| Enameled Lid | Very Good | Prevents moisture loss and easy to clean |
| Glass Lid | Moderate | Allows monitoring but less heat retention |
Cooking Process
Cooking a turkey breast in a Dutch oven is simple and gives juicy results. The process uses heat and moisture to keep the meat tender. This guide explains each part of the cooking process clearly.
Follow these steps carefully to cook your turkey breast evenly and with great flavor. Using a Dutch oven helps lock in moisture and aroma.
Preheating The Oven And Dutch Oven
Start by preheating your oven to 325°F (163°C). Place the empty Dutch oven inside while the oven heats. This warms the pot and helps the turkey cook evenly.
Searing The Turkey Breast
Remove the hot Dutch oven from the oven carefully. Add a small amount of oil to the pot and heat it on the stove over medium-high heat. Sear the turkey breast on all sides until it turns golden brown. This seals in the juices and adds flavor.
Adding Aromatics And Liquids
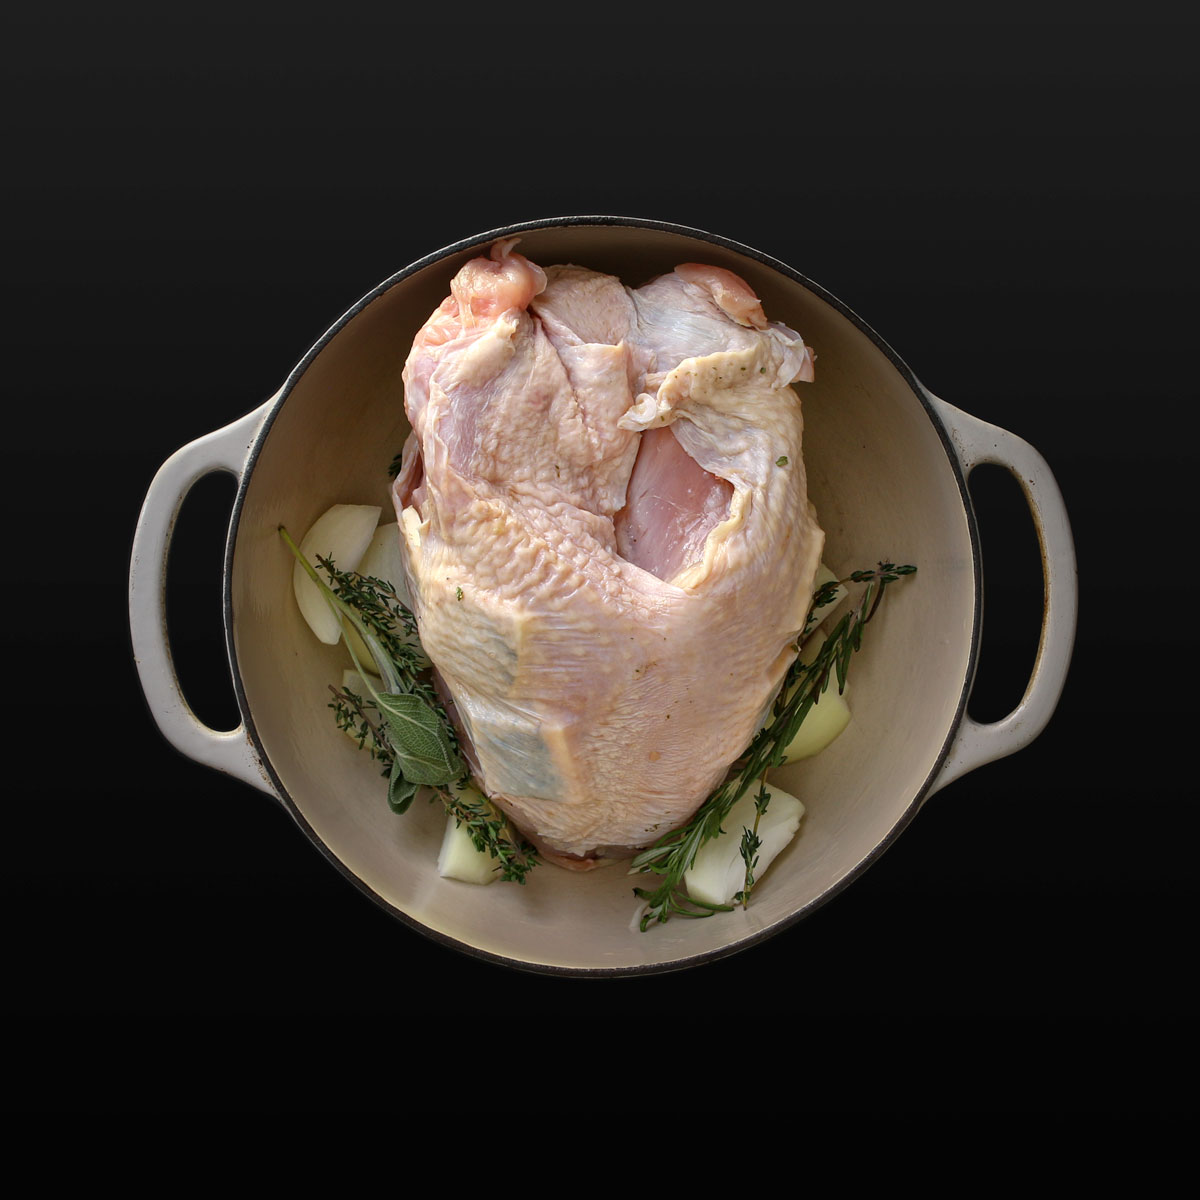
Add aromatics and liquids to the Dutch oven to create steam and flavor. Common aromatics include garlic, onions, and herbs like rosemary or thyme. Liquids such as chicken broth or water help keep the turkey moist.
- Chopped onions
- Crushed garlic cloves
- Fresh rosemary sprigs
- Chicken broth or water (about 1 cup)
Braising And Roasting
Cover the Dutch oven with its lid and place it back in the preheated oven. Braise the turkey breast by cooking it slowly with the lid on. This keeps the heat and moisture inside. Roast until the internal temperature reaches 165°F (74°C).
| Internal Temperature | 165°F (74°C) |
| Oven Temperature | 325°F (163°C) |
| Cooking Time | 1.5 to 2 hours |
Checking For Doneness
Knowing when your turkey breast is done is important. It ensures the meat is safe to eat and juicy.
Two key methods to check doneness are using a meat thermometer and allowing the meat to rest.
Using A Meat Thermometer
A meat thermometer gives an accurate reading of the turkey breast’s temperature. Insert it into the thickest part, avoiding bone.
- Check the temperature at several spots for accuracy.
- The safe internal temperature for turkey breast is 165°F (74°C).
- If below 165°F, cook longer and check again.
- Remove the turkey when it reaches 165°F to prevent drying out.
Resting The Turkey Breast
Resting lets the juices settle, making the meat tender and moist. Let it rest for at least 15 minutes.
| Resting Time | Effect |
| 0-5 minutes | Juices still move, meat may be dry |
| 10-15 minutes | Juices settle, meat is moist |
| More than 15 minutes | Meat cools but remains juicy |
Credit: cookthisagainmom.com
Serving Suggestions
Cooking turkey breast in a Dutch oven gives you juicy, tender meat. Serving it right makes the meal even better. Let’s look at how to slice the turkey and what sides go well.
Good slicing helps your guests enjoy every bite. Pairing the turkey with the right sides balances the flavors on your plate.
Slicing Techniques
Let the turkey rest for 10 to 15 minutes before slicing. This keeps the juices inside. Use a sharp knife and cut against the grain for tender slices.
- Place the turkey breast on a cutting board.
- Hold the meat steady with a fork.
- Slice thin, even pieces across the grain.
- Keep slices about ¼ inch thick for best texture.
- Arrange slices neatly on a warm serving dish.
Side Dishes To Complement
Choose sides that add color, flavor, and texture. Roasted vegetables and creamy mashed potatoes are classic choices. Fresh salads bring a light touch.
| Side Dish | Why It Works |
| Roasted Carrots | Sweetness balances savory turkey |
| Mashed Potatoes | Creamy texture contrasts meat |
| Green Beans Almondine | Crunch adds variety |
| Cranberry Sauce | Tart flavor brightens the plate |
| Mixed Green Salad | Freshness cuts richness |
Troubleshooting Tips
Cooking a turkey breast in a Dutch oven can be simple, but some problems may arise. These tips help fix common issues.
Use these ideas to keep your turkey moist and tasty every time you cook it.
Avoiding Dryness
Dry turkey breast is a common problem. Avoid it by controlling cooking time and temperature carefully.
Keep the lid on the Dutch oven to trap steam. This helps keep the turkey moist during cooking.
- Use a meat thermometer to check for doneness at 160°F (71°C).
- Cook at low to medium heat to prevent drying out.
- Brine the turkey breast before cooking to add moisture.
- Add broth or water to the Dutch oven to keep the air moist.
- Rest the turkey breast covered for 10 minutes after cooking.
Enhancing Flavor
Flavor can be boosted by seasoning and using aromatics inside the Dutch oven. This makes the turkey taste richer.
Adding herbs, spices, and vegetables creates delicious steam that flavors the meat well.
- Rub the turkey breast with olive oil and your favorite spices.
- Place garlic, onions, and carrots inside the Dutch oven.
- Use fresh herbs like rosemary, thyme, or sage.
- Pour a little broth or wine to add moisture and taste.
- Baste the turkey occasionally with its own juices.
Frequently Asked Questions
How Long To Cook Turkey Breast In Dutch Oven?
Cooking a turkey breast in a Dutch oven typically takes about 1. 5 to 2 hours. The internal temperature should reach 165°F for doneness. Use a meat thermometer to check. Cooking time may vary depending on the size of the breast.
Can You Use Frozen Turkey Breast In Dutch Oven?
Yes, you can cook a frozen turkey breast in a Dutch oven. However, it will take longer to cook. It’s best to thaw the turkey in the refrigerator first. This ensures even cooking and better flavor absorption.
What Herbs To Use With Turkey Breast?
Rosemary, thyme, and sage are excellent herbs for turkey breast. They add a fragrant aroma and enhance the flavor. You can also use garlic, onion, and lemon for additional zest. Fresh herbs are preferable, but dried herbs work well too.
How To Keep Turkey Breast Moist In Dutch Oven?
To keep the turkey breast moist, baste it regularly with its juices. Covering the Dutch oven with a lid also helps retain moisture. Adding broth or wine to the pot can enhance moisture and flavor. Avoid overcooking to prevent dryness.
Conclusion
Cooking turkey breast in a Dutch oven is simple and rewarding. The pot keeps the meat juicy and tender. You only need a few ingredients and some patience. This method works well for family meals or special occasions. Try different herbs to find your favorite taste.
Serve with your favorite sides for a complete meal. Enjoy the rich flavor and easy cleanup. Cooking this way saves time and effort in the kitchen. Give it a try and enjoy a delicious, homemade turkey breast.