
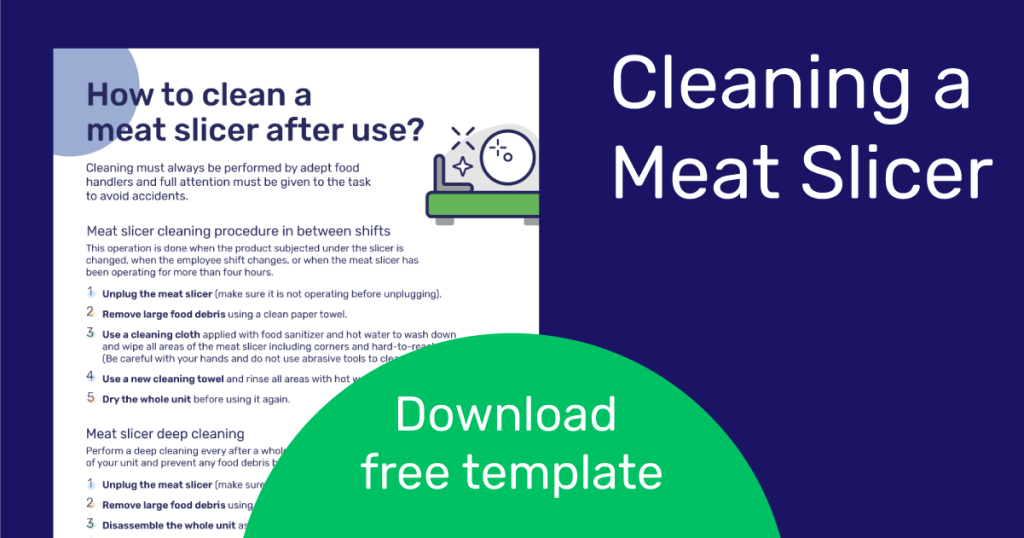
You use your slicer every day to prepare fresh, delicious meals. But have you ever thought about how clean it really is?
A dirty slicer can hide harmful bacteria that put your health at risk. Knowing how to clean your slicer safely is not just about hygiene—it’s about protecting yourself and your loved ones. You’ll discover simple, step-by-step tips to keep your slicer spotless and safe to use.
Keep reading, because a clean slicer means better food and peace of mind for you.
Preparing The Slicer
Always unplug the slicerbefore cleaning. This stops any chance of electric shock.
Carefully take apart the slicer. Remove blades, guards, and trays.
Use a soft cloth or brush to clean hard-to-reach areas.
Gather these supplies for cleaning:
- Warm water
- Mild dish soap
- Soft sponge or cloth
- Sanitizing solution
- Protective gloves
- Dry towel or air-dry rack
Having all supplies ready makes the cleaning process safe and quick.

Credit: chefsupplyco.com.au
Cleaning The Blades
First, make sure the slicer is unplugged. Use a soft brush to remove food bits. Check all corners and edges for stuck pieces. Avoid using sharp tools that can scratch the blade. A dull knife is safer for cleaning. Rinse with warm water gently. Ensure no food bits remain.
Choose cleaning agents that are non-toxic. Mild dish soap works best for slicers. Mix a few drops in warm water. Use a soft cloth to clean the blades. Do not soak the slicer parts in water. Wipe blades with the soapy cloth. Rinse with clean water afterward. Dry with a clean towel. Ensure no water remains on the blades.
Sanitizing The Parts
Choose a sanitizer that is safe for food contact surfaces. Common options include chlorine-based, quaternary ammonium, and iodine sanitizers. Always follow the manufacturer’s instructionsfor dilution and contact time.
Parts must be soaked properly to remove all bacteria. Use a container large enough to fully submerge slicer parts. Keep the parts in sanitizer for the recommended time, usually between 1 to 10 minutes.
Rinse parts with clean waterafter soaking if the sanitizer requires it. Let parts air dryon a clean surface. Avoid using towels to prevent recontamination.

Credit: www.youtube.com
Drying And Reassembling
After washing, place slicer parts on a clean towel. Let them air dry completely. Avoid using cloth to dry blades as it may cause damage or cuts. Good airflow helps remove moisture and prevents rust.
For better drying:
- Use a drying rack or stand parts upright.
- Keep them in a warm, dry place.
- Ensure no water stays in crevices or joints.
Check all parts before reattaching. Align pieces carefully to avoid damage. Tighten screws and locks securely but gently. Loose parts can cause accidents or poor slicing.
Double-check blade placement. It should be stable with no wobble. Test slicer by turning it on briefly without food. Listen for strange sounds or shaking.
Safety Precautions
Sharp edges on the slicer can cause serious cuts. Always wear cut-resistant glovesto protect your hands. Use a brush or cloth to clean the blades. Avoid direct contact with the blade to stay safe.
Unplug the slicer before cleaning to avoid electrical hazards. Make sure your hands are dry to prevent electric shocks. Check the cord and plug for damage before use. Never clean the slicer while it is plugged in.

Credit: www.supermarketperimeter.com
Maintaining Hygiene Between Uses
Cleaning a slicer after every use keeps it safe and hygienic. Use a clean cloth to wipe all surfaces. Remove any food scraps and moisture.
Sanitize with a food-safe cleaner to kill germs. Let the slicer dry fully before storing it. This routine helps stop bacteria growth.
| Cleaning Task | Frequency | Key Points |
|---|---|---|
| Disassemble slicer parts | Weekly or after heavy use | Remove blade and trays for deep cleaning |
| Soak parts in warm, soapy water | Weekly | Loosen stuck food particles |
| Scrub with soft brush | Weekly | Avoid metal brushes to prevent damage |
| Sanitize all parts | Weekly | Use food-safe sanitizer and rinse well |
| Dry parts completely | Weekly | Prevent rust and mold growth |
Frequently Asked Questions
How Do I Safely Clean A Slicer Blade?
To clean a slicer blade safely, unplug the slicer first. Use a soft cloth with warm, soapy water. Avoid harsh chemicals. Handle the blade carefully to prevent cuts. Dry completely before reassembling.
What Cleaning Supplies Are Best For Slicers?
Use mild dish soap, warm water, and a soft cloth or sponge. Avoid abrasive scrubbers that can damage the blade. Sanitizing spray can help kill bacteria. Always wear cut-resistant gloves for safety.
How Often Should I Clean My Slicer?
Clean your slicer after every use to prevent bacteria buildup. Deep clean weekly if used frequently. Regular cleaning ensures food safety and extends slicer lifespan.
Can I Use A Dishwasher To Clean Slicer Parts?
Most slicer parts are not dishwasher safe. Hand wash with warm, soapy water instead. Check the manufacturer’s instructions before using a dishwasher to avoid damage.
Conclusion
Cleaning your slicer safely keeps it sharp and working well. Always unplug it before starting. Use a soft cloth and mild soap to avoid damage. Be careful around the blades to prevent cuts. Regular cleaning stops germs from growing on your slicer.
A clean slicer helps make your food safer and tastier. Take your time and follow safety steps every time you clean. Safe cleaning habits protect you and your slicer in the long run. Simple care makes a big difference.