

Have you ever wondered how to bake perfect, crusty bread right on your grill? Using a pizza stone on your grill can transform your baking game and give you bakery-quality bread at home.
Imagine biting into warm, golden bread with a crispy crust and soft inside—all made outdoors with simple tools you already have. In this guide, you’ll discover easy steps to master bread baking on a pizza stone grill. Whether you’re a beginner or looking to up your baking skills, this method will surprise you with its results.
Ready to impress yourself and your guests? Let’s dive in and unlock the secrets to delicious grilled bread.

Credit: www.pitboss-grills.com
Choosing The Right Pizza Stone
Pizza stonescome in different materials. Common types include ceramic, cordierite, and cast iron. Ceramic stones heat evenly but can crack if cooled fast. Cordierite is very durable and handles high heat well. Cast iron heats quickly and retains heat but needs seasoning.
| Material | Durability | Heat Retention | Care |
|---|---|---|---|
| Ceramic | Moderate | Good | Handle with care |
| Cordierite | High | Excellent | Low maintenance |
| Cast Iron | High | Very good | Season regularly |
- Choose a stone size that fits your grill well.
- Thicker stones hold heat longer but take more time to warm.
- Thin stones heat fast but cool quickly too.
Preheating is key for a crispy crust. Place the stone in the grill and heat for at least 30 minutes. Keep the grill closed to keep heat steady. Avoid putting dough on a cold stone; it leads to soggy bread.
Selecting Ingredients For Crispy Bread
Choosing the right flouraffects bread texture. Bread flour has more gluten for a chewy crust. All-purpose flour works but may be softer. Whole wheat adds flavor and nutrition but can make bread dense.
Yeasthelps bread rise and creates air pockets. Active dry yeast needs warm water to activate. Instant yeast mixes directly with flour. Too little yeast means slow rising; too much can taste yeasty.
Waterhydrates flour and activates yeast. Use warm water around 100°F (38°C) for best results. Salt controls yeast growth and adds flavor. Typical salt ratio is about 2% of flour weight.
| Ingredient | Effect | Tips |
|---|---|---|
| Flour | Texture and structure | Bread flour for crisp crust; whole wheat for flavor |
| Yeast | Leavening and rise | Activate active dry yeast in warm water |
| Water | Hydration and yeast activation | Use warm water, about 100°F (38°C) |
| Salt | Flavor and yeast control | Use about 2% of flour weight |
Preparing The Dough
Start by mixing flour, water, salt, and yeast in a large bowl. Use a spoon or your hands to combine the ingredients until a rough dough forms. The dough should be sticky but not too wet. Let it rest for a few minutes to help the flour absorb water. This step helps with better texture.
Knead the dough on a clean surface for about 8-10 minutes. Press, fold, and push the dough with your palms. Kneading develops gluten, making the bread soft and chewy. Stop when the dough feels smooth and elastic. Avoid adding too much flour during kneading.
| First Rise Timing | Details |
|---|---|
| Duration | 1 to 2 hours |
| Ideal Temperature | Warm place, around 75°F (24°C) |
| Signs to Watch | Dough doubles in size |
Cover the dough with a clean cloth or plastic wrap. Keep it in a warm spot without drafts. Check the dough after an hour. It should double in size, soft and airy. This first rise is important for good bread flavor and texture.
Shaping And Proofing Loaves
Shaping bread dough helps create the loaf’s final form. Common shaping methods include rolling, folding, and tucking dough to make tight, smooth surfaces. This helps the bread rise evenly and develop a good crust.
The second rise, or proofing, allows dough to rest and expand. This step improves bread texture and flavor. Proofed dough bakes better and creates a lighter crumb inside.
Proofing baskets support dough shape during the second rise. They prevent spreading and help maintain structure. These baskets often leave nice patterns on the crust after baking.
Setting Up The Pizza Stone Grill
Control the grill temperature carefully for best bread results. Keep the heat steady around 400-450°F (200-230°C). Use a grill thermometer to watch the temperature. Avoid big temperature swings to prevent uneven baking.
Place the pizza stone in the center of the grill rack. Let the stone heat up for at least 30 minutesbefore baking. This helps the stone absorb heat evenly. Avoid placing the stone too close to flames to stop hot spots.
Create steam to get a crispy crust. Place a small metal pan with water on the grill floor. Pour hot water into the pan right after placing the dough. The steam keeps the bread crust moist and crunchy.
Credit: saltbuttersmoke.com
Baking Bread On The Grill
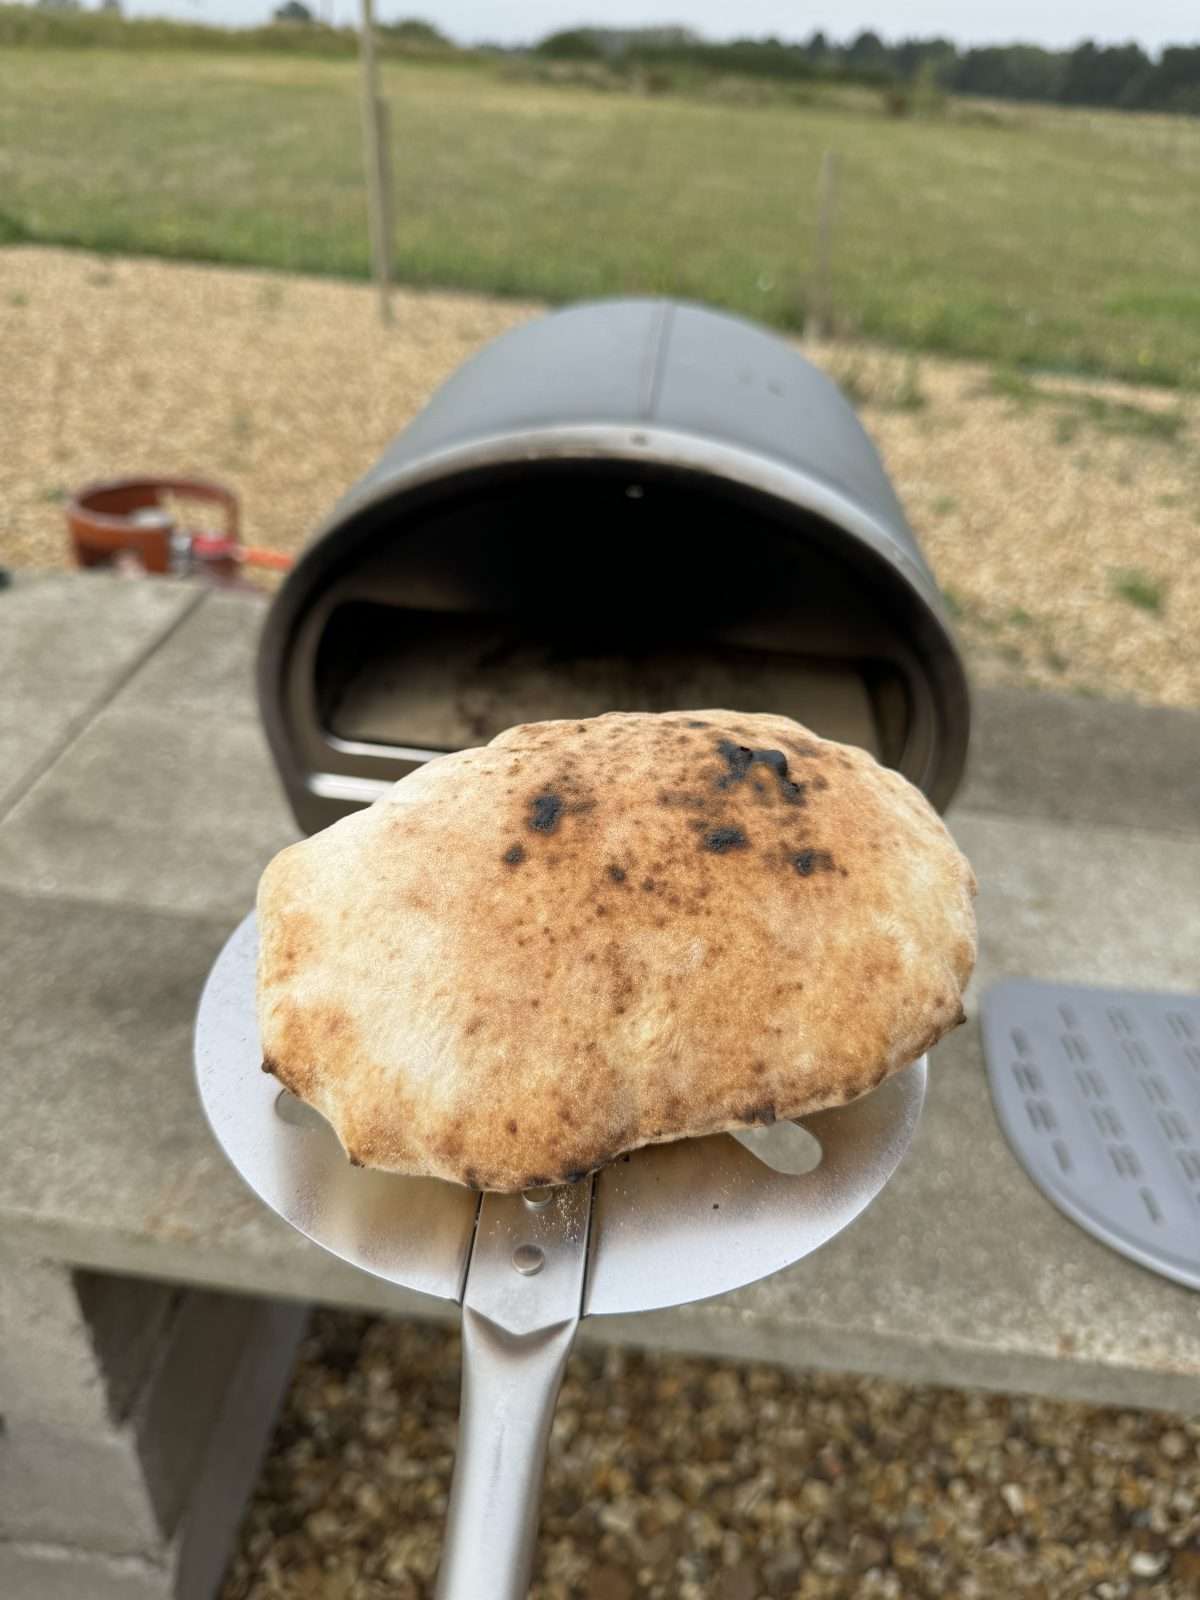
Preheat the pizza stone on the grill for at least 30 minutes. Use a peel or flat tray to transfer the dough carefully. Dust the peel with flour or cornmeal to avoid sticking. Slide the dough gently onto the hot stone. Close the grill lid to keep heat steady.
Keep an eye on the baking time. Most breads take 20 to 30 minutes. Check the bread every 5 minutes to avoid burning. Adjust the grill temperature if needed to keep it steady.
- Look for a golden brown crust.
- The bread should sound hollow when tapped.
- Use a thermometer if available; inside temp should be about 200°F (93°C).
Cooling And Storing Loaves
Let the bread cool on a wire rack for at least 1 hour. This helps the steam escape and keeps the crust crispy. Avoid placing the bread in plastic or covering it while hot, as this traps moisture and makes the crust soft.
Store the bread in a paper bag or cloth bread bag. These let the bread breathe and keep the crust from getting soggy. Avoid plastic bags unless the bread is completely cool.
- Keep bread at room temperature, away from direct sunlight.
- Freeze extra bread in airtight bags to keep it fresh longer.
- To refresh stored bread, warm it in the oven for a few minutes.
Troubleshooting Common Issues
Soggy bottomsoften happen when the stone is not hot enough. Preheat the pizza stone for at least 30 minutes. Use a rackunder the stone to allow air flow. Avoid placing dough directly on a cold stone.
Uneven bakingoccurs if heat is not spread well. Rotate the bread halfway through baking. Check the grill’s heat zones and place the bread where heat is steady. Use a thick pizza stone to hold heat better.
| Weather | Effect on Baking | Adjustment Tips |
|---|---|---|
| Cold Weather | Stone cools quickly | Preheat longer, keep grill closed |
| Humid Weather | Dough absorbs moisture | Use less water in dough |
| Windy Conditions | Heat loss, uneven temp | Shield grill or bake indoors |
:max_bytes(150000):strip_icc()/sea-tier-3-baking-steel-pro-nsimpson-276-8be7030598df47478de8635a639b6282.jpeg)
Credit: www.seriouseats.com
Frequently Asked Questions
How Do I Use A Pizza Stone On A Grill?
To use a pizza stone on a grill, preheat the grill with the stone inside. This ensures even heat distribution. Once heated, place the bread dough on the stone. Close the lid to maintain consistent temperature. This method provides a crispy crust similar to traditional ovens.
Can I Bake Sourdough Bread On A Grill?
Yes, you can bake sourdough bread on a grill. Use a pizza stone for best results. Preheat the grill to mimic an oven environment. Maintain a consistent temperature by keeping the lid closed. This technique gives sourdough a delightful, crispy crust.
What Temperature Should I Set The Grill To?
Set your grill to around 450°F for baking bread. This temperature mimics a traditional oven. Ensure the pizza stone is heated evenly. Consistent temperature helps achieve a crispy crust and soft interior. Monitor the bread to prevent burning.
How Long Does Bread Take To Bake On A Grill?
Bread usually takes 25-30 minutes to bake on a grill. This depends on the bread type and grill temperature. Check for a golden crust and hollow sound when tapped. Adjust time according to your specific recipe and grill performance.
Conclusion
Baking bread on a pizza stone grill brings great results. The stone keeps heat steady and creates a crispy crust. You can enjoy fresh, warm bread anytime at home. Just follow simple steps and be patient. Experiment with different dough recipes for variety.
This method saves money and adds fun to cooking. Give it a try and taste the difference. Bread baked this way smells and tastes wonderful. Your kitchen will feel cozy and inviting. Enjoy the process and share your bread with family.