
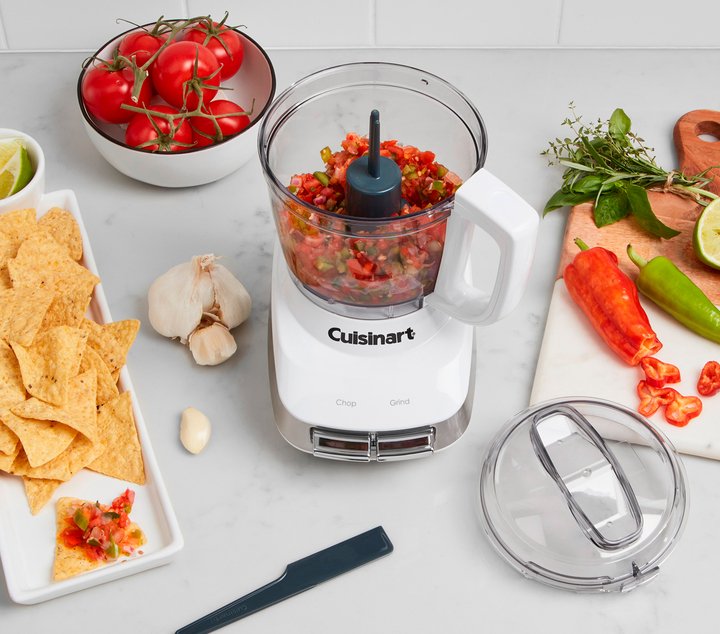
If you’ve just bought a mini food processor or inherited one from a family member, you might be wondering how to put those tiny attachments together quickly and correctly. You want to get your food prep done without frustration or wasted time.
This guide will walk you through each step clearly, so you can feel confident assembling your mini food processor attachments every time. Keep reading, and you’ll be slicing, dicing, and blending like a pro in no time.
:max_bytes(150000):strip_icc()/faw-kitchenaid-3-bc679534599b4e0cbc4aaaa30b1398ec.jpeg)
Credit: www.foodandwine.com
Choosing The Right Attachment
Mini food processors come with several attachmentsfor different tasks. Choosing the right one helps you work faster and easier.
| Attachment | Best for |
|---|---|
| Chopping Blade | Chopping vegetables and nuts |
| Slicing Disc | Slicing fruits and veggies thinly |
| Shredding Disc | Grating cheese and carrots |
| Dough Blade | Kneading dough for bread or pizza |
Match each attachment to the right task. Use the chopping blade for nuts or onions. Pick the slicing disc for cucumbers or potatoes. The shredding disc is perfect for cheese. Dough blade helps prepare soft doughs quickly.
Preparing The Food Processor
Ensure all parts are clean and dry before assembling your mini food processor. Fit each attachment carefully into its place until it clicks securely. Check that the lid locks properly to avoid spills during use.
Ensuring Safety
Always start by unplugging the food processor. Check all parts for damage. Sharp blades can cause injury. Handle them with care. Read the manual for safety tips. Wear gloves if needed. Use a stable, clean surface. Keep kids away from the assembly area. This prevents accidents and ensures safety.
Cleaning Before Assembly
Wash all parts with warm, soapy water. Rinse thoroughly to remove soap. Dry each part with a clean towel. Moisture can cause the parts to slip. Ensure all parts are dry before use. Check for food particles stuck in corners. Clean them out for better performance. Assemble only after everything is clean and dry.
Step-by-step Assembly
Place the bowlon the processor base carefully. Align the grooves on the bowl with the base. Turn the bowl gently until it locks into place. The bowl should feel secure and not move.
Take the bladecarefully. Insert it into the center of the bowl. Make sure the blade sits flat and fits snugly onto the spindle. Avoid touching the sharp edges to stay safe.
Place the lidon top of the bowl. Align the lid’s tabs with the bowl’s slots. Press down gently and turn the lid until it locks. The lid must be secure before starting the processor.
:max_bytes(150000):strip_icc()/faw-cuisinart-core-custom-4-cup-mini-chopper-rkilgore-0130-a8b91d85408e44f3ae1b0d3af5f3b39f.jpeg)
Credit: www.foodandwine.com
Testing The Setup
Ensure all parts fit snugly before locking the attachments. The lock mechanismsmust click into place for safety. Check for any loose or wobbly parts after securing.
Run the mini food processor without ingredients first. This trial runhelps confirm everything works smoothly. Listen for unusual sounds or vibrations during operation.
- Confirm the lid is tightly sealed.
- Make sure the blade spins freely.
- Stop immediately if any part feels loose.
- Test the speed settings to ensure proper function.
Tips For Easy Assembly
Make sure all parts are clean before assembly. Check each attachment fits properly into the base. Align the blades carefully; they must lock in place securely. Avoid forcing parts together to prevent damage. If something doesn’t fit, try rotating it gently. Use the manual as a guide for correct placement.
Keep attachments dry to stop rusting. Wash removable parts with warm soapy water after use. Dry them thoroughly before storing to keep them in good shape. Store attachments separately to avoid scratches. Regularly check blades for sharpness and replace if dull. This keeps the processor working well and safe.
:max_bytes(150000):strip_icc()/faw-cuisinart-core-custom-4-cup-mini-chopper-rkilgore-0136-c435492a20c04a3397c62a3c51257586.jpeg)
Credit: www.foodandwine.com
Frequently Asked Questions
How Do I Attach Blades To A Mini Food Processor?
To attach blades, first ensure the processor is unplugged. Place the blade onto the central spindle carefully. Press down firmly until it locks into place. Always handle blades by the edges to avoid injury.
Can I Use All Attachments With Any Mini Food Processor?
No, attachments are often model-specific. Check your user manual for compatible parts. Using incorrect attachments can damage the processor or cause unsafe operation.
How To Clean Mini Food Processor Attachments Safely?
Detach all attachments before cleaning. Wash blades and bowls with warm soapy water. Avoid immersing the motor base in water. Dry parts thoroughly before reassembling or storing.
What Is The Correct Order To Assemble Attachments?
Start with the bowl on the base. Insert the blade or disc next. Secure the lid tightly to ensure safety. Follow your model’s instructions for exact assembly steps.
Conclusion
Assembling mini food processor attachments is simple and quick. Follow the steps carefully to avoid mistakes. Check each part fits well before use. Clean the attachments regularly for best results. Using the right attachment saves time and effort. Practice a few times to feel more confident.
Enjoy preparing meals with ease and speed. Keep your processor in good shape by handling it gently. Small actions make a big difference in kitchen work. Ready to try it yourself?