
If you want to get the perfect grill marks and smoky flavor every time you fire up your barbecue, knowing how to arrange charcoal in your grill is key. The way you place your charcoal affects heat distribution, cooking time, and even how juicy your food turns out.
Whether you’re a beginner or just looking to improve your grilling game, this guide will show you simple, effective charcoal arrangements that make a real difference. Keep reading to master the art of charcoal placement and take your grilling to the next level.
Choosing Charcoal Types
Choosing the right charcoal helps you get the best grill results. Different types of charcoal burn in different ways.
Knowing the benefits of each type will help you decide which charcoal fits your cooking style.
Lump Charcoal Benefits
Lump charcoal is made by burning wood without oxygen. It lights quickly and gets very hot.
This charcoal gives a natural smoky flavor to your food. It also burns cleaner with less ash left behind.
- Lights fast and burns hot
- Produces natural smoky flavor
- Leaves little ash for easy cleanup
- Made from pure wood pieces
Briquettes Advantages
Briquettes are made by compressing charcoal dust and other materials. They burn evenly and last longer than lump charcoal.
This type is great for slow cooking because it keeps a steady heat. Briquettes also cost less and are easy to find.
- Burns evenly for a long time
- Good for low and slow cooking
- Usually less expensive
- Consistent size for easy arranging
Which To Pick For Your Grill
Choose lump charcoal if you want high heat and smoky flavor. It works well for quick grilling.
Pick briquettes if you need steady heat for a long time. They are better for smoking and slow cooking.
- Use lump charcoal for fast, hot grilling
- Use briquettes for even, long-lasting heat
- Consider your cooking style and time
- Try both types to see what you prefer

Credit: lifehacker.com
Preparing Your Grill
Properly preparing your grill makes arranging charcoal easier. Clean and set up your grill before lighting the coals.
These steps help you get better heat and keep your grill safe to use.
Cleaning The Grill
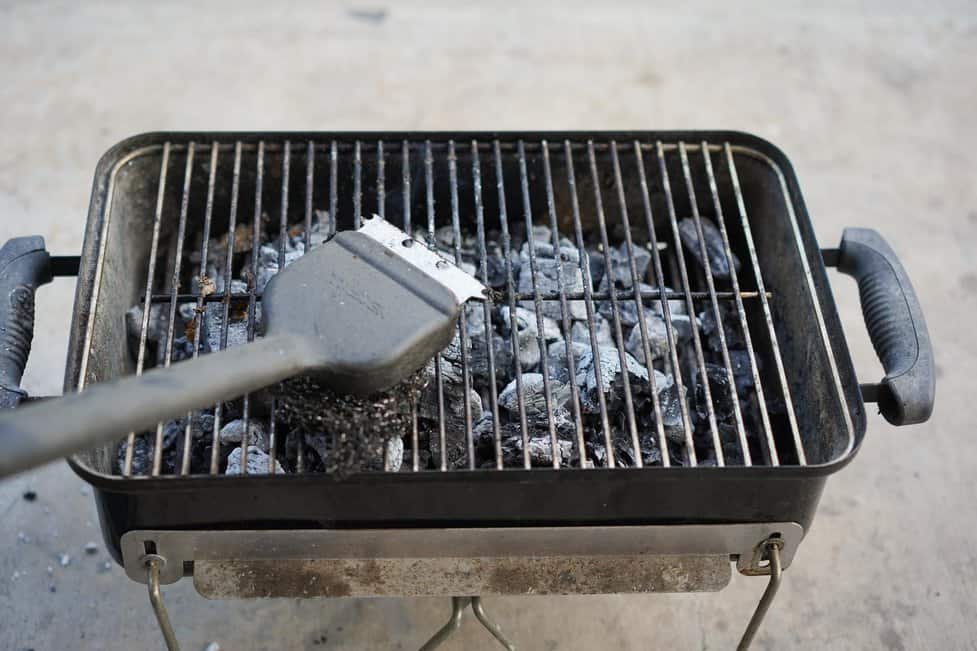
Remove old ashes and leftover food from the grill. A clean grill prevents flare-ups and improves cooking.
- Wait until the grill is cool before cleaning.
- Use a wire brush to scrub the grates.
- Empty the ash catcher or tray.
- Wipe the inside with a damp cloth if needed.
Setting Up Air Vents
Air vents control the fire by letting air flow inside the grill. Proper vent setup helps the charcoal burn well.
| Vent Position | Effect on Fire |
|---|---|
| Fully Open | Maximum airflow, hotter fire |
| Half Open | Medium airflow, steady fire |
| Closed | Limited airflow, fire dies down |
Charcoal Arrangement Styles
Arranging charcoal in a grill affects cooking temperature and flavor. Different styles suit different grilling needs. Understanding these styles helps you cook food evenly and safely.
This guide covers four popular charcoal arrangements. Each style has unique benefits for various grilling methods.
Direct Heat Setup
Direct heat means placing charcoal evenly under the food. This setup gives high, consistent heat. It works best for quick cooking like burgers or steaks.
- Spread charcoal evenly across the grill’s bottom
- Wait until charcoal is covered in gray ash
- Place food directly above the hot coals
- Watch food carefully to avoid burning
Indirect Heat Setup
Indirect heat means placing charcoal on one side of the grill only. Food cooks on the opposite side. This keeps food from burning and allows slow cooking.
| Charcoal Placement | Food Placement |
| One side of grill | Opposite side of grill |
| Charcoal banked to one area | Not directly over coals |
| Heat is indirect and gentler | Great for large cuts or slow cooking |
Two-zone Fire
This method mixes direct and indirect heat in the same grill. One side has hot coals, the other side has none. You can sear food then move it to cooler side to finish.
- Light charcoal and pile on one side of grill
- Leave other side empty for indirect heat
- Place food over hot coals to sear
- Move food to cooler side to cook slowly
- Use grill lid to maintain temperature
Snake Method
The snake method arranges charcoal in a curved line. You light one end to create slow, steady heat. This is perfect for long cooks like smoking ribs or brisket.
| Charcoal Placement | Purpose |
|---|---|
| Charcoal pieces placed in a semicircle or “snake” shape | Slow burn, long-lasting heat |
| Light only one end of the snake | Fire moves slowly along the line |
| Food placed on the grill grate above the snake | Indirect heat ideal for smoking |
Credit: www.hungryhuy.com
Lighting The Charcoal
Lighting charcoal is the first step to a great grilling session. It requires the right tools and methods for a steady fire.
This guide covers three simple ways to light your charcoal safely and effectively.
Using A Chimney Starter
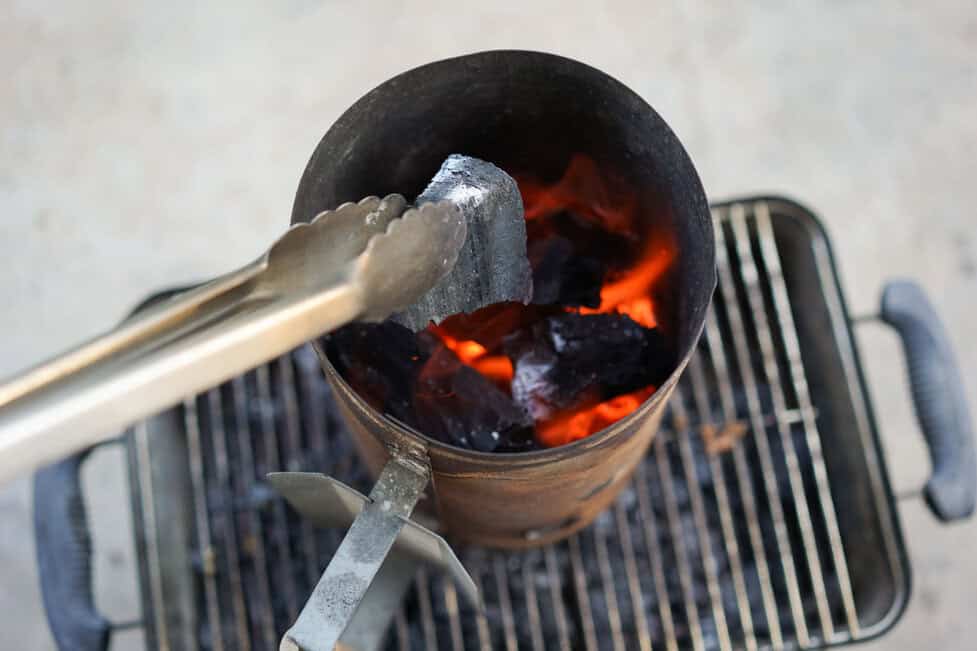
A chimney starter is a metal cylinder that helps light charcoal evenly. It uses newspaper or other paper at the bottom to start the fire.
- Fill the chimney with charcoal pieces.
- Place crumpled newspaper under the chimney.
- Light the newspaper with a match or lighter.
- Wait 10 to 15 minutes until the charcoal is covered with gray ash.
- Pour the hot charcoal into the grill carefully.
Lighter Fluid Tips
Lighter fluid can help start charcoal quickly but needs careful handling. Use only the right amount and wait before cooking.
| Tip | Details |
|---|---|
| Use sparingly | Apply just enough fluid to cover the charcoal surface. |
| Wait time | Let the fluid soak in for 1 to 2 minutes before lighting. |
| Light safely | Use a long match or lighter to avoid burns. |
| Do not add fluid later | Never pour more fluid on hot or burning charcoal. |
Natural Fire Starters
Natural fire starters are safe and eco-friendly. They help start charcoal without chemicals or fluids.
Common natural fire starters include:
- Dry wood shavings
- Pine cones
- Charcoal briquettes with embedded starter
- Compressed sawdust cubes
Controlling Temperature
Controlling the temperature in your charcoal grill is key to cooking your food well. The way you arrange the charcoal affects the heat.
You can manage temperature by adjusting airflow, adding charcoal, and setting heat zones in your grill.
Adjusting Airflow
Airflow controls how fast the charcoal burns. Open vents let in more air and raise the heat. Closing vents slows the burn and lowers the temperature.
- Open the bottom vents for more oxygen and hotter fire.
- Close top vents to trap heat inside the grill.
- Partially close vents to keep a steady medium heat.
Adding More Charcoal
Adding more charcoal raises the temperature quickly. Use fresh charcoal for better heat. Add smaller amounts to avoid sudden temperature spikes.
- Light a small amount of new charcoal in a chimney starter.
- Once ready, add it carefully to the hot coals.
- Spread the new charcoal evenly or pile it for a hot spot.
- Wait a few minutes for the coals to heat up again.
Managing Heat Zones
Heat zones help cook food at different speeds. You can create hot and cooler areas by arranging the charcoal unevenly.
| Zone | Charcoal Arrangement | Use |
| Direct Heat | Charcoal piled thickly | Quick cooking, searing |
| Medium Heat | Charcoal spread thinly | Cooking most foods evenly |
| Indirect Heat | No charcoal under this area | Slow cooking, smoking |
Credit: www.hungryhuy.com
Safety Tips
Grilling with charcoal can be fun and tasty. Safety is key when arranging charcoal in your grill.
Knowing how to handle hot charcoal, dispose of it properly, and prevent fires keeps everyone safe.
Handling Hot Charcoal
Always use heat-resistant gloves when moving or arranging hot charcoal. Avoid touching charcoal with bare hands.
Use long-handled tools like tongs or pokers to move the charcoal safely. Keep children and pets away from the grill.
- Wear heat-resistant gloves
- Use long-handled tools
- Keep a safe distance from hot charcoal
- Never add lighter fluid to hot coals
Proper Disposal
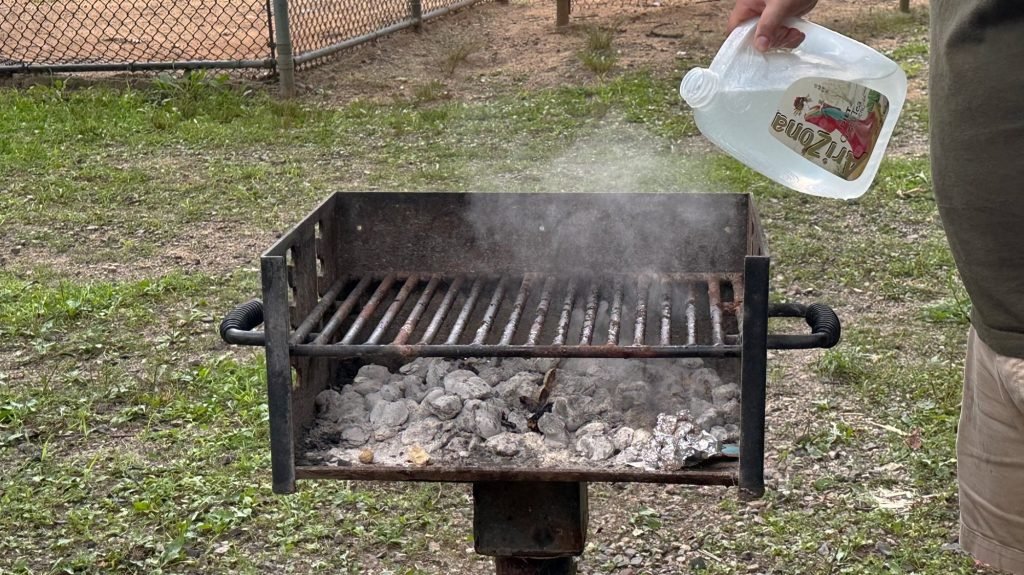
After grilling, let the charcoal cool completely before disposal. Hot charcoal can start fires if thrown away too soon.
Use a metal container to store the ashes. Do not use plastic or paper containers as they can catch fire.
- Wait at least 48 hours for coals to cool
- Store ashes in a metal container with a lid
- Keep the container away from flammable materials
- Dispose of ashes in a safe trash area
Fire Prevention
Set up your grill on a flat, stable surface away from dry leaves or wooden structures. Keep a fire extinguisher nearby.
Never leave the grill unattended while charcoal is burning. Control airflow to avoid flare-ups and large flames.
- Place grill on stable, non-flammable surface
- Keep grill away from dry materials
- Have a fire extinguisher or water source ready
- Do not leave grill unattended
Cleaning And Maintenance
Keeping your charcoal grill clean helps it work better and last longer.
Regular care prevents rust and keeps your food tasting great.
Removing Ashes
After grilling, wait for the ashes to cool completely before cleaning.
- Use a metal scoop or ash tool to remove ashes.
- Dispose of ashes in a metal container to avoid fire risks.
- Clean the ash catcher or tray below the grill grate.
- Wipe the grill’s interior with a damp cloth to remove leftover dust.
Maintaining Grill Longevity
Protect your grill from rust and damage by following simple steps.
| Maintenance Task | Frequency | Tools Needed |
| Clean grill grates | After each use | Wire brush, warm water |
| Check for rust spots | Monthly | Sandpaper, grill paint |
| Cover grill when not in use | Always | Grill cover |
| Store in dry place | Winter or long breaks | Indoor storage or shed |
Frequently Asked Questions
How Do You Start Charcoal In A Grill?
To start charcoal, stack briquettes in a pyramid shape. Use a chimney starter for even lighting. Add lighter fluid if needed and ignite. Wait until the charcoal turns grey with ash before spreading them evenly for cooking. This ensures consistent heat and reduces flare-ups.
What Is The Best Way To Arrange Charcoal?
The best way to arrange charcoal depends on your grilling method. For direct grilling, spread charcoal evenly. For indirect grilling, push coals to one side. This creates varied heat zones. Use the two-zone method for grilling versatility, allowing you to cook different foods simultaneously.
How Long Should Charcoal Burn Before Cooking?
Charcoal should burn for 15 to 20 minutes before cooking. Wait until it’s covered with white-grey ash for optimal heat. This indicates it’s ready for grilling. Preheating ensures even cooking and better flavor absorption. Always monitor charcoal carefully to maintain desired temperature.
Can I Reuse Charcoal After Grilling?
Yes, you can reuse partially burned charcoal. After grilling, close the grill vents to extinguish the coals. Once cooled, store them in a dry place. Reused charcoal will provide consistent heat but may require fresh briquettes for optimal grilling performance in subsequent uses.
Conclusion
Arranging charcoal right makes grilling easy and fun. Start with small piles or spread it evenly. Control heat by adjusting charcoal placement. Watch the flames, and add more charcoal if needed. Keep safety in mind at all times. With practice, grilling becomes more enjoyable.
Try different arrangements to find what works best. Soon, you will grill tasty meals every time. Enjoy your cooking and the great outdoors!