

Are you tired of inconsistent coffee shots or weak brews? The secret to a perfect cup often lies in one simple adjustment: your grinder’s timer.
Knowing how to adjust the grind timer on your coffee grinder can transform your daily coffee routine. It helps you control the exact amount of coffee you grind, ensuring every cup tastes just right. You’ll discover easy steps to fine-tune your grinder’s timer so you can enjoy richer, more balanced coffee every single time.
Keep reading, and unlock the full potential of your coffee grinder!
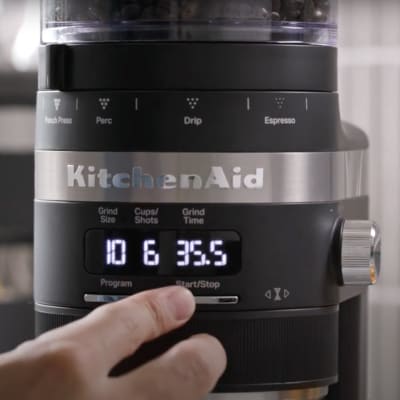
Credit: www.kitchenaid.com
Choosing The Right Grind Time
Grind sizechanges how long the grinder runs. Finer grinds need less time. Coarser grinds take more time. Match grind size to your brew methodfor best flavor.
Fresh coffeebeans grind differently than old beans. Fresh beans may need a shorter grind time. Old beans might require longer grinding to get the right amount.
- Espresso: very fine grind, short time
- French press: coarse grind, longer time
- Drip coffee: medium grind, medium time
Adjust grind time based on how fresh your coffee is and your brew style. Small changes can improve taste a lot.
Locating The Grind Timer
Coffee grinders come in different types. Each type has a different timer setup. Some grinders have a built-in timer, while others use an external one. Understanding the type helps locate the timer easily.
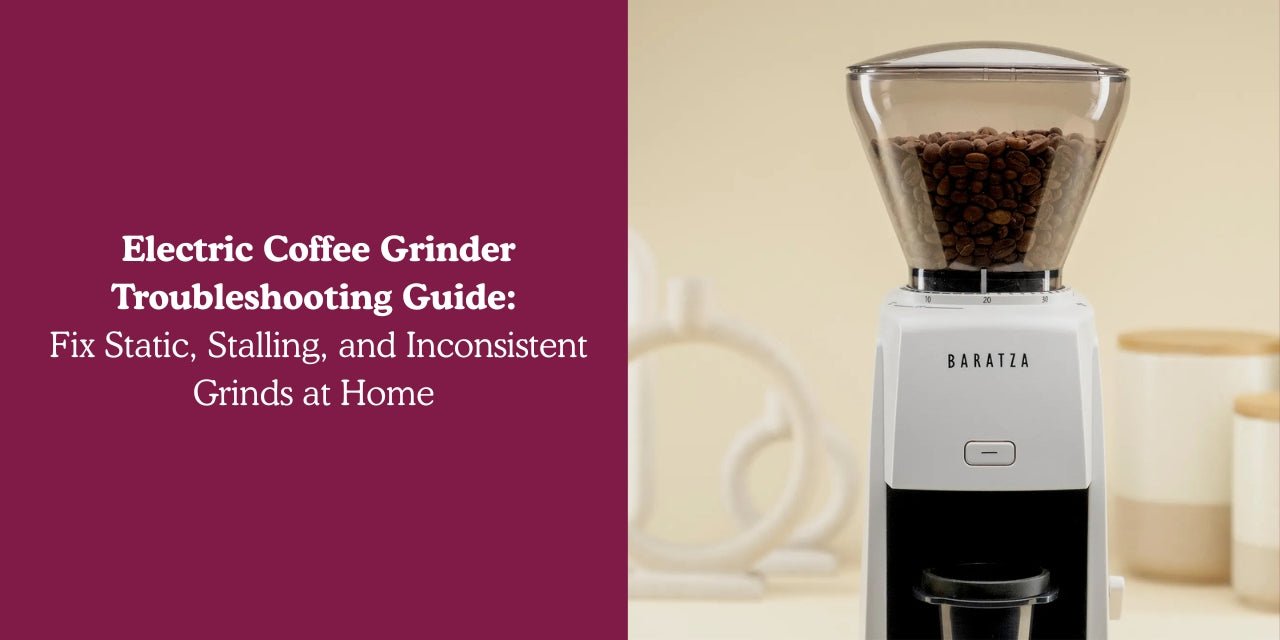
- Burr grinders: Usually have a digital or dial timeron the front or side.
- Blade grinders: Often lack timers, so manual timing is needed.
- Manual grinders: No timers, grind by hand.
The timer placementvaries too. Some grinders have a knob or buttonnear the hopper. Others feature a digital displaywith touch controls. Controls might include start/stop buttonsor adjustment dials. Check the grinder’s body carefully. The timer is often close to the power switch or grind size dial.
Step-by-step Timer Adjustment
Make sure the grinder is clean and plugged in before starting. Remove any beans from the hopper. This helps prevent uneven grinding. Find the timer dial or button on your grinder.
Set the timer to a short initial grind time. This is usually between 5 to 10 seconds. Start with less time to avoid wasting coffee. Remember, you can always increase the time later.
Grind a small amount of coffee and check the amount. If the grind is too little, add more time in small steps. If too much, reduce the time. Repeat until you get the right amount.
- Test grind size and amount with each change.
- Adjust timer by small increments for best results.
- Write down your preferred settings for future use.
Troubleshooting Common Issues
Inconsistent grind amountcan cause weak or bitter coffee. Check if the hopper is emptyor beans are stuck. Clean the grinder parts to remove old coffee grounds. Make sure the grind timer is set correctlyand not too short or long. Adjust the timer in small steps until the grind size and amount match your needs.
Timer not respondingmay happen due to power issues or internal errors. Verify the grinder is plugged in properlyand the power outlet works. Reset the grinder by turning it off and on again. If the timer still does not respond, consult the user manual or contact support for help.
Overheating and timer errorscan damage the grinder. Avoid running the grinder for too long without breaks. Let the grinder cool down between uses. Clean the vents and fans to keep proper airflow. If overheating continues, the timer may show errors, and professional repair might be necessary.
Maintaining Your Grinder Timer
Regular cleaningkeeps the grinder timer accurate. Remove old coffee grounds daily. Use a brush or cloth to clean the burrs and timer dial. Avoid water on electronic parts. Clean buildup affects timing and grind quality. A clean grinder runs smoothly and lasts longer.
Calibration checks ensure the timer matches your desired grind time. Test by grinding for a set time and weighing the coffee. Adjust the timer if the dose is too high or low. Small changes can make a big difference in taste and consistency.
Seek professional help if the grinder timer is broken or unresponsive. Strange noises or stuck buttons signal issues. Servicing by an expert keeps your grinder working well. Do not try to fix electrical parts yourself to avoid damage or injury.
Credit: somethingsbrewing.in

Credit: www.amazon.ca
Frequently Asked Questions
How Do I Change The Grind Timer On My Coffee Grinder?
To change the grind timer, locate the timer dial or digital setting. Turn the dial or adjust the digital timer to your desired grind time. Always test with small adjustments to avoid over or under grinding.
Why Is Adjusting Grind Timer Important For Coffee?
Adjusting the grind timer controls how much coffee is ground. This affects coffee strength and flavor. Proper timing ensures consistent taste and prevents waste.
Can I Adjust Grind Timer On All Coffee Grinders?
Most electric grinders allow grind timer adjustments. Manual grinders do not have timers but rely on grinding duration. Check your grinder’s manual for specific instructions.
How To Know The Right Grind Timer Setting?
Start with the manufacturer’s recommended time. Adjust based on taste and brewing method. Shorter times produce coarser grinds; longer times create finer grinds.
Conclusion
Adjusting the grind timer on your coffee grinder helps control brew strength. Shorter times make a lighter cup, while longer times create stronger coffee. Test small changes to find the best flavor for you. Keep notes of your settings to remember what works.
Simple adjustments can improve your coffee experience daily. Enjoy your perfect cup with just a few easy steps.