

Imagine the delicious aroma of freshly made waffle cones wafting through your kitchen. You don’t need to rely on store-bought options anymore; you can create these crispy, sweet treats right in your home.
Making homemade waffle cones is easier than you might think and adds a personal touch to your next dessert night. With just a few simple ingredients and a little bit of your time, you can transform your ice cream experience.
Are you ready to discover the secrets behind crafting the perfect homemade waffle cones? Stick around, and you’ll soon be impressing your family and friends with your newfound culinary skills.
Essential Ingredients
To make homemade waffle cones, gather these key ingredients. You’ll need 1 cup of sugarfor sweetness. 2 large eggsadd richness and help bind the batter. Use 1/4 cup of melted butterfor a buttery flavor. Add 3/4 cup of all-purpose flourfor structure. 1/4 cup of milkmakes the batter smooth and pourable. A pinch of saltenhances the taste. Finally, use 1 teaspoon of vanilla extractfor a lovely aroma.
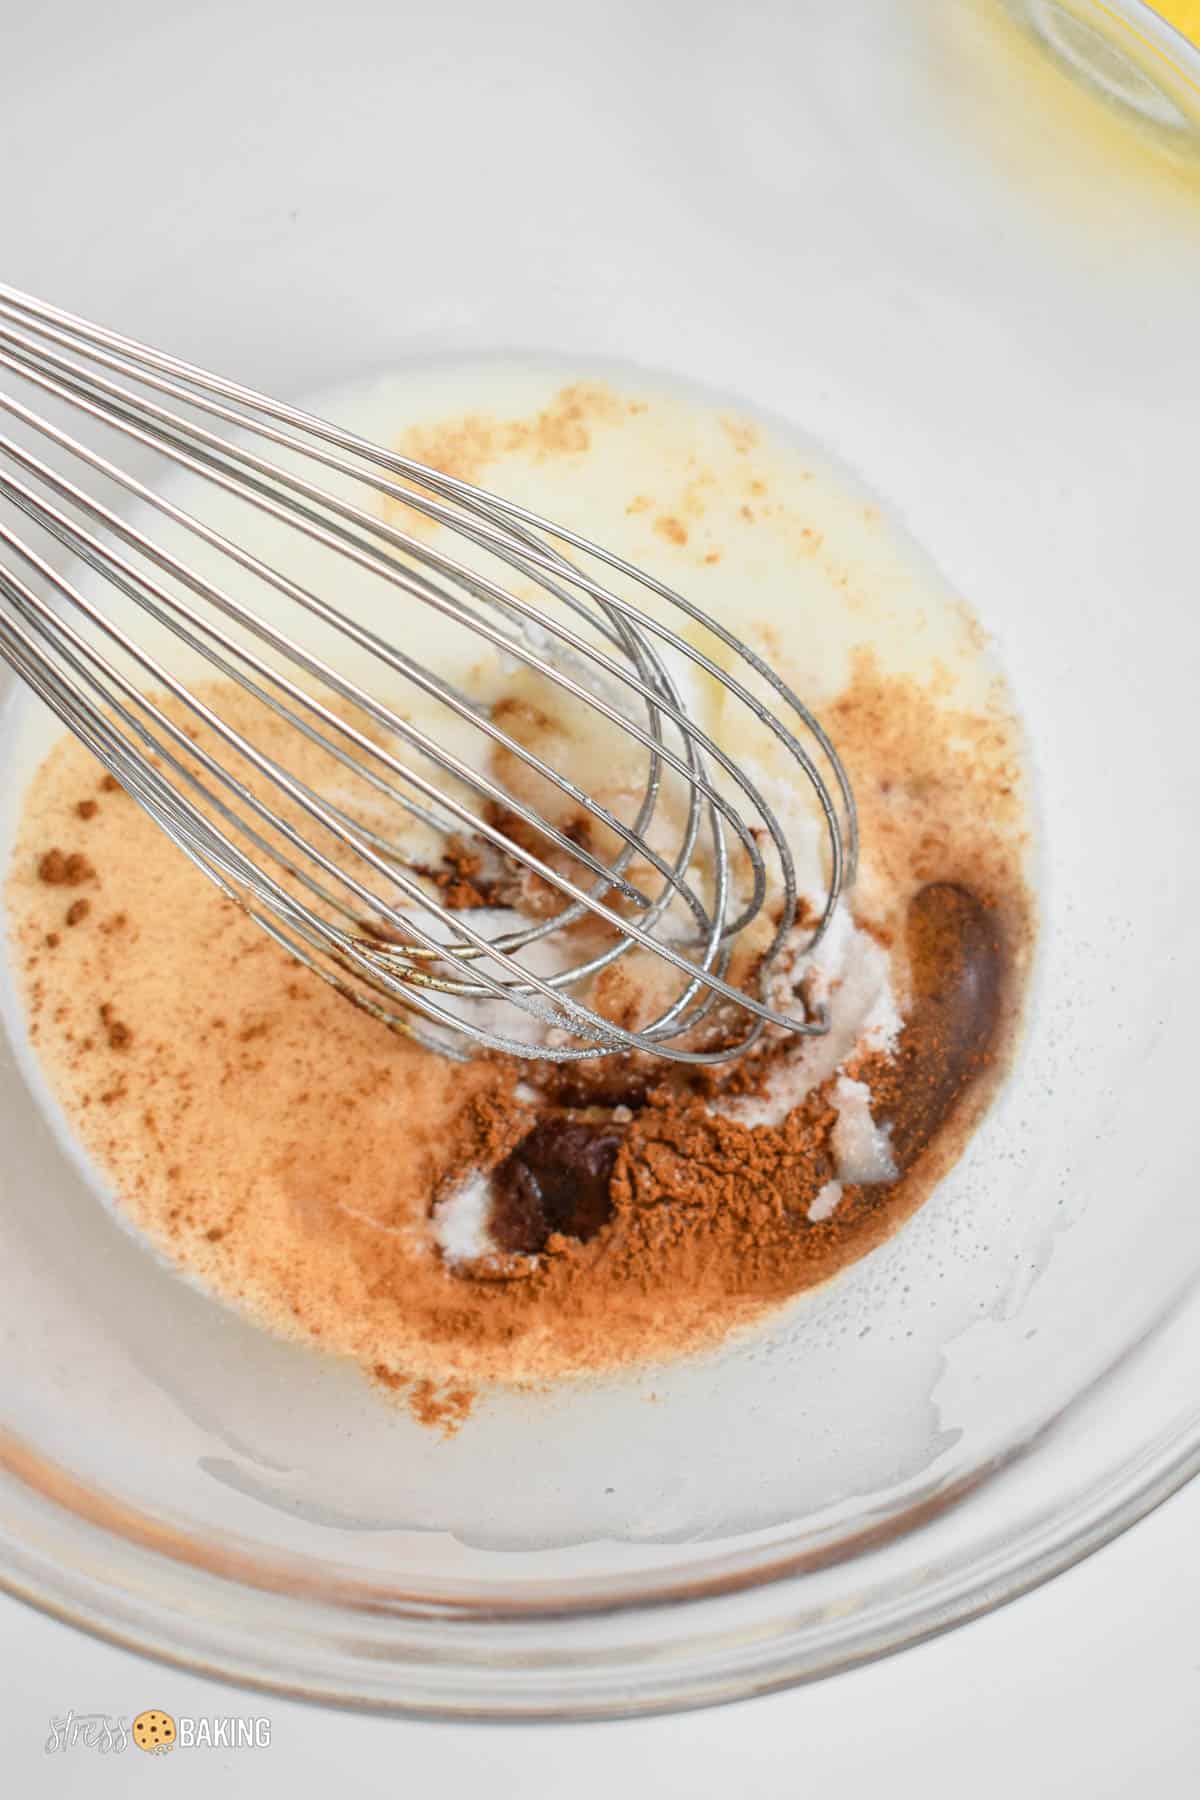
Credit: stressbaking.com
Required Equipment
To make homemade waffle cones, gather essential equipment like a waffle cone maker, mixing bowls, and a whisk. Additional items include a measuring cup, spatula, and cone roller for shaping the cones.
Waffle Cone Maker
A waffle cone maker is essential. It shapes and cooks the cones.
Mixing Bowl
Use a mixing bowl to mix the ingredients. Choose a medium-sized one.
Whisk Or Mixer
A whisk or mixer blends ingredients smoothly. It ensures no lumps.
Measuring Cups And Spoons
Accurate measurements are crucial. Use measuring cups and spoons.
Baking Sheet
A baking sheet cools the cones. It prevents sticking.
Cooling Rack
Cooling racks keep cones crisp. It helps them cool evenly.
Spatula
Use a spatula to flip cones. It helps remove them easily.
Preparing The Batter
Mix flour, sugar, and salt in a bowl. Add melted butter, vanilla extract, and beaten eggs. Stir until smooth.
Mixing Dry Ingredients
Start with flourand sugarin a bowl. Add a pinch of salt. Stir these ingredients well. Make sure there are no lumps. Use a whisk for best results.
Adding Wet Ingredients
Crack an egginto the bowl. Pour in some milkand vanilla extract. Mix everything together. A smooth batteris the goal. You can add a bit of melted butter.
Achieving The Right Consistency
The batter should be thickbut pourable. If too thick, add a bit more milk. If too runny, sprinkle some flour. Stir until it’s just right.
Cooking The Waffle
Mix sugar, flour, and eggs to create a smooth batter. Spread the batter thinly on a hot waffle iron. Roll the cooked waffle into a cone shape before it cools. Enjoy your homemade waffle cones with your favorite ice cream.
Preheating The Waffle Maker
Plug in the waffle maker. Wait until it’s hot. Most have a light. The light shows when it’s ready. A hot waffle maker cooks evenly. It helps make crispy cones.
Proper Cooking Time
Pour the batter into the hot maker. Close the lid gently. Wait about 1-2 minutes. Check the waffle’s color. It should be golden brown. Too long can burn it.
Ensuring Even Cooking
Spread the batter evenly. Use a spoon or spatula. Close the lid firmly. Even pressure cooks both sides. Keep an eye on the color. Golden means it’s done.
Shaping The Cone
Shaping the Cone Roll the warm waffle into a cone shape using a cone roller or similar tool. Hold it until it cools and hardens. This step is crucial for achieving the perfect homemade waffle cone.
Using A Cone Mold
Place the warm waffle on the cone mold gently. Press the edges to seal the cone shape. Hold it firmly until the cone cools a bit. This keeps the shape intact.
Rolling Technique
Roll the waffle around the mold quickly. Make sure the tip is tight. Use gentle fingers to roll evenly. Be careful not to tear the waffle.
Cooling Process
Let the cone cool on the rack. This makes it crunchy. Don’t remove it too soon. Wait until it feels hard and crisp. Cool air helps it keep the shape.

Credit: makeitdairyfree.com
Flavor Variations
Explore endless flavor possibilities with homemade waffle cones. Add vanilla, cocoa, or cinnamon for unique taste twists. Customize with extracts or spices to suit your cravings.
Melt some chocolate in a small bowl. Dip the top of the waffle cone in the melted chocolate. Let it cool on a wire rack until the chocolate hardens. This adds a sweet and rich flavor to your cones. Use dark, milk, or white chocolate for different tastes. Chop your favorite nuts like almonds or peanuts. Press them gently into the chocolate-coated cone before it hardens. Nuts give a crunchy texture and a nutty flavor. This step is fun and easy for kids to help with. Mix spices like cinnamon or nutmeg into the waffle batter. These spices add a warm and cozy flavor. You can try ginger or cardamom for a unique taste. Adjust the amount to suit your preference. `Serving Suggestions
Waffle conestaste great with vanilla ice cream. Try adding a scoop of chocolate ice creamtoo. The cone stays crunchyand holds the ice cream well. Mix flavors for fun. Kids love mint ice creamin waffle cones.
Add colorful sprinkleson top. Use chocolate syrupfor extra sweetness. Try crushed nutsor pieces of candy. Whipped cream is a nice touch. A cherrymakes it pretty. Kids enjoy making their cones unique.
Use waffle cones for fun desserts. Fill them with fruitsalad. Add yogurt and granola. Make mini banana splitsin them. Use them as a base for ice cream sundaes. Experiment with different combinationsfor tasty treats.

Credit: honestandtruly.com
Troubleshooting Tips
Use a non-stick waffle cone maker for even cooking. Let the batter sit for a few minutes before use. Quickly shape the cone while warm to prevent cracking.
Preventing Burnt Cones
Keep an eye on the cooking time. Watch the waffle cone carefully. Adjust the heat if needed. Use a timer for accuracy. Remove the cone before it turns dark. Practice makes it easier to get the timing right.
Avoiding Soggy Texture
Let cones cool completely. Do not stack them when hot. Keep them on a wire rack. Ensure air circulates around them. Avoid covering them until cool. Drying helps keep them crispy.
Maintaining Crispness
Store cones in an airtight container. Keep them away from humidity. Seal the container tightly. Use silica gel packs if needed. Refresh cones in an oven if they get soft. Low heat for a few minutes helps.
Frequently Asked Questions
How Do They Make Waffle Cones?
Waffle cones are made by mixing flour, sugar, and eggs into a batter. The batter is poured onto a hot waffle iron, forming a thin, crispy sheet. While hot, the sheet is quickly rolled into a cone shape. It cools to form a sturdy, crunchy ice cream cone.
Can You Make Waffle Cones With A Regular Waffle Maker?
Yes, you can make waffle cones with a regular waffle maker. Use a thinner batter for crispiness. After cooking, shape the waffles into cones while warm. Let them cool to retain their shape. Enjoy homemade waffle cones with your favorite ice cream.
How To Keep Homemade Waffle Cones Fresh?
Store homemade waffle cones in an airtight container. Keep them at room temperature to maintain crispness. Avoid humidity and direct sunlight. Use wax paper between cones to prevent sticking. Enjoy within a week for best freshness.
What Gives Waffle Cones Flavor?
Waffle cones get their flavor from ingredients like vanilla, sugar, and butter. These ingredients give a sweet, rich taste. Baking them creates a caramelized flavor and crispy texture, enhancing their appeal. Natural flavors and spices are sometimes added for variety and uniqueness.
Conclusion
Making homemade waffle cones is simpler than it seems. With basic ingredients, create a tasty treat at home. Experiment with flavors like vanilla or chocolate. Enjoy the satisfaction of crafting your own cones. Serve them with ice cream for a delicious dessert.
Kids and adults alike will love them. Homemade cones add a personal touch to gatherings. Perfect for parties or family nights. Try making them today and taste the difference. Your kitchen can be a place for sweet creations. Share your homemade cones with friends and family.
Enjoy the joy of baking together.