
Imagine preparing your favorite crispy fries or delicious chicken wings without the guilt of extra oil. You’ve got your Bella Pro Series Air Fryer ready, but turning it on seems a little daunting, right?
You’re not alone. Many people find themselves excited to dive into healthier cooking but pause at the very first step. You’re about to discover how simple this task can be. With just a few straightforward steps, you’ll be on your way to enjoying all the benefits your air fryer has to offer.
This guide is designed to make the process clear and easy, so you can start cooking with confidence and enjoy delicious, healthier meals in no time. Let’s get started, because the sooner you master this, the sooner you can savor your next culinary creation.
Unboxing The Bella Pro Series Air Fryer
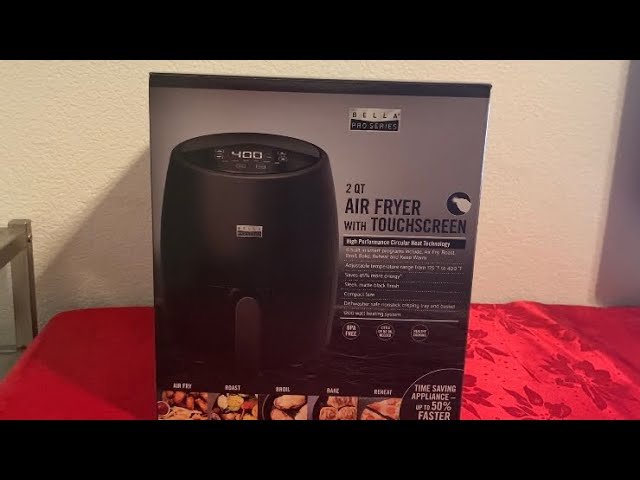
Opening the Bella Pro Series Air Fryer is exciting. The box is sturdy and well-packed. Inside, you will find the air fryer in a plastic cover. Remove the plastic cover carefully. Next, look for the instruction manual. It helps you understand the air fryer better. You will also find a recipe book. It has easy recipes to try. Take out the frying basket. It is shiny and new. The air fryer has a sleek design. It fits nicely on your kitchen counter. Make sure to check all the parts. Everything should be in good condition. Now, you are ready to use your air fryer!
Preparing The Air Fryer For First Use
Before using the Bella Pro Series Air Fryer, clean it well. Wash the basket and pan in warm water. Use a mild soap for cleaning. Dry them with a clean towel. Make sure all parts are dry. This keeps the air fryer safe.
Place the air fryer on a flat surface. Keep it away from walls. This allows air to move freely. Check the cord length. Make sure it reaches the outlet easily. Avoid placing it near water. Safety is very important.
Understanding The Control Panel
The power button is easy to spot. It turns the fryer on and off. Press it once to start. Hold it down to switch off. A light will show when the fryer is on. This button is very important.
Setting the temperature is simple. Use the dial to choose your heat. Watch the display for the temperature number. Time settings are just as easy. Turn the knob to set cooking time. Check the screen for the minutes. Both settings help cook food right.

Credit: www.youtube.com
Steps To Turn On The Air Fryer
First, find a safe spotfor the air fryer. It should be a flat surface. Plug the power cordinto a nearby outlet. Make sure the plug is secure. Check if the air fryer is on a stableposition. Ensure no items are blocking the vents. This helps it work properly.
Look at the buttons on the air fryer. Find the power buttonand press it. The screen will light up. Now, choose a cooking mode. Use the buttons to pick what you want to cook. Each mode is for a different food. Check the manual if you are unsure. Once selected, the air fryer is ready to start cooking.
Troubleshooting Common Issues
The air fryer might not turn on for several reasons. First, check if the power cord is plugged in. This is a simple but common oversight. Next, ensure the power outlet works. You can test it by plugging in another device. If the outlet is fine, inspect the fryer’s fuse. A blown fuse can prevent it from working. Sometimes, the safety lock might not be engaged. The device won’t start without the safety lock in place. Follow these steps to identify the issue.
Error messages can be confusing. They usually indicate a specific problem. The manual often explains these messages. If the message is unclear, restart the device. This might clear the error. Make sure all parts are correctly assembled. Loose parts can trigger error messages. If problems persist, contact customer support. They can provide detailed assistance. Always keep the manual handy for quick reference.

Credit: www.bestbuy.com
Tips For Optimal Performance
Preheat the air fryer for better cooking. Turn it on and set the temperature. Wait a few minutes. This helps cook food evenly. It also makes it crispy. Always preheat before adding food.
Keep the air fryer clean for best results. Wipe it after each use. Remove crumbs and grease. Check the basket and tray. Clean them with warm soapy water. Regular maintenance helps the fryer last longer. It also keeps food tasting good.

Credit: www.tiktok.com
Frequently Asked Questions
How Do I Start My Bella Pro Series Air Fryer?
To start your Bella Pro Series Air Fryer, first plug it into an outlet. Then, set the desired temperature and time using the control panel. Finally, press the power button to begin cooking. Ensure the fryer basket is securely in place before starting the appliance.
What Should I Do If My Air Fryer Won’t Turn On?
If your air fryer won’t turn on, check the power connection first. Ensure the plug is securely inserted into a functioning outlet. If it still doesn’t work, consult the user manual for troubleshooting tips. Contact Bella customer support if the issue persists for further assistance.
How Do I Set The Cooking Time On My Air Fryer?
To set the cooking time, use the control panel on your Bella Pro Series Air Fryer. Press the timer button and adjust the time using the plus and minus buttons. Confirm your selection by pressing the start button. Refer to the manual for specific cooking durations for different foods.
Can I Use The Air Fryer Without Preheating?
Yes, you can use the Bella Pro Series Air Fryer without preheating. However, preheating can improve cooking results for certain recipes. If a recipe recommends preheating, simply set the desired temperature and allow the fryer to run empty for a few minutes before adding food.
Conclusion
Turning on your Bella Pro Series Air Fryer is simple. Follow the steps carefully, and you’ll enjoy tasty meals in no time. Remember to check the manual for extra guidance. Cooking with an air fryer can be fun and easy.
Experiment with different recipes to find your favorites. Safety is important, so always ensure the fryer is on a stable surface. Keep the kitchen clean to avoid accidents. Now, you’re ready to start cooking with confidence. Enjoy your meals!