
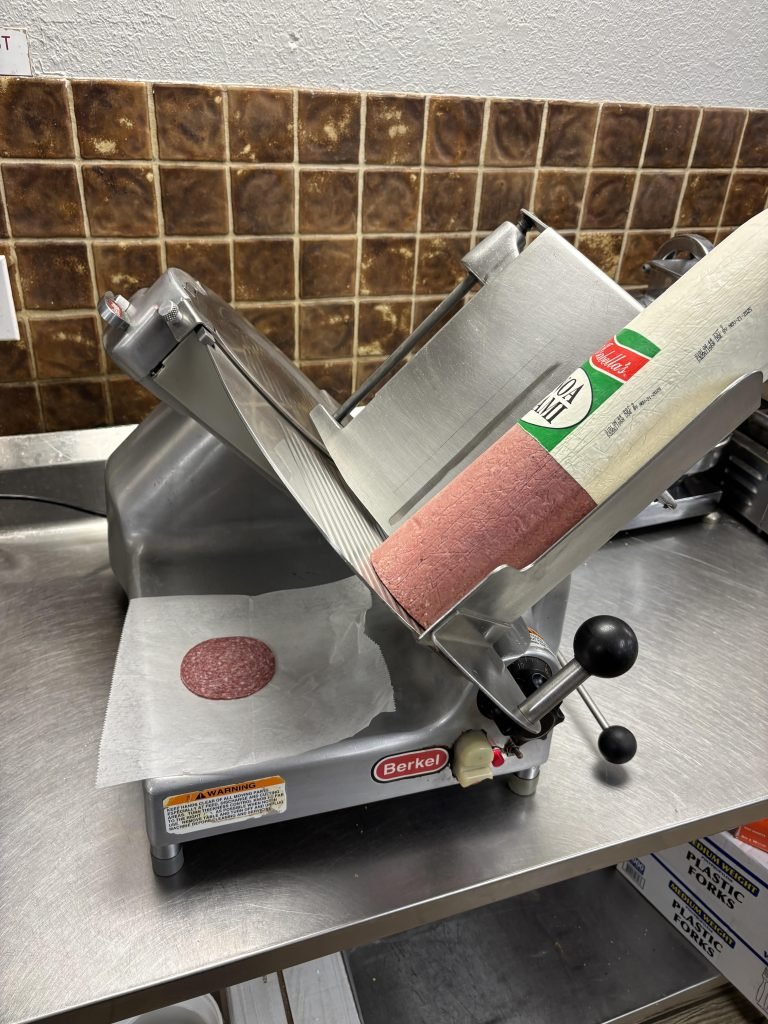
You’ve just finished slicing your favorite ingredients, but what about your slicer blade? Cleaning it properly is key to keeping your kitchen safe and your slicer working like new.
If you’re unsure how to tackle this task or worried about damaging the blade, you’re not alone. You’ll discover simple, step-by-step tips to clean your slicer blade quickly and safely. By the end, you’ll feel confident handling your slicer after every use, ensuring it stays sharp and hygienic for your next cooking adventure.
Keep reading—you’ll thank yourself later!
Safety Tips Before Cleaning
Unplug the slicerfrom the power source before cleaning. This stops any accidents.
Wear protective glovesto avoid cuts and injuries. Gloves keep your hands safe and clean.
Handle the blade carefully. The blade is very sharp and can cause serious cuts.
- Always hold the blade by the dull edge.
- Use a cloth or sponge to clean the blade gently.
- Do not use bare hands to touch the sharp parts.
Disassembling The Slicer
Carefully remove the slicer blade to avoid injury. Clean it with warm, soapy water and a soft cloth to remove food residue. Dry the blade completely before reassembling to prevent rust and ensure safety.
The blade is sharp. Handle it with care. Turn off the slicer first. Unplug from the wall. Look for the blade lock. Open it slowly. The blade should slide out. Be gentle. It can be heavy. Place it on a safe surface. Look for buttons or clips. They hold parts together. Press them gently. Pull out trays and covers. They should come off easily. Check for screws. Use a screwdriver if needed. Keep all parts together. Remember where each part goes. This helps when reassembling. `Cleaning The Blade
Rinse the slicer blade under warm waterto remove loose debris. Avoid using hot water as it may damage the blade.
Apply a mild detergentsuitable for kitchen use. This helps break down grease and food particles safely.
Use a soft brush or sponge to scrub gently. Harsh scrubbing can dull or damage the blade’s edge.
Avoid harsh chemicalslike bleach or strong cleaners. These can corrode the blade and harm its finish.
Cleaning Other Components
Wipe down the basewith a damp cloth to remove crumbs and spills. Avoid using harsh chemicals that can damage the surface. A soft cloth helps protect the base’s finish.
Clean the food carriageby removing any stuck food particles. Use warm, soapy water and a sponge for best results. Rinse thoroughly to avoid soap residue.
Dry all parts thoroughlybefore reassembling. Use a clean towel to wipe each piece. This prevents rust and keeps the slicer in good condition.
Reassembling The Slicer
Make sure every part fits correctlyto avoid issues later. Align the blade and other components carefully. A proper fit keeps the slicer safe and working well.
Double-check that all parts are secure. Loose pieces can cause accidents or damage. Tighten screws and locks gently but firmly. Secure parts help the slicer last longer and stay reliable.

Credit: www.vevor.com
Maintaining Blade Sharpness
Keeping the slicer blade sharp is very important for safety and good cutting. Using a blade sharpenerregularly helps maintain the edge. Sharpen the blade after cleaning and drying it carefully. Use smooth, even strokes with the sharpener to avoid damage.
Perform regular inspectionto find any chips or dull spots on the blade. Check the blade before each use. Replace the blade if it shows deep damage or does not sharpen well.
Storage Tips For Longevity
Covering the blade helps prevent accidental cuts and keeps the blade sharp. Use a blade guard or a cloth wrap for safety. It also stops dust and dirt from settling on the blade.
Store the slicer blade in a dry place to avoid rust. Moisture can damage the metal quickly. A cool, dry cabinet or drawer works best. Avoid humid areas like near the sink or stove.

Credit: www.vevor.com

Credit: www.vevor.com
Frequently Asked Questions
How Do I Safely Clean A Slicer Blade After Use?
To clean a slicer blade safely, first unplug the slicer. Remove the blade carefully using gloves. Use warm, soapy water and a soft cloth to clean. Avoid abrasive materials to prevent damage. Dry thoroughly before reassembling to prevent rust.
What Cleaning Tools Are Best For Slicer Blades?
Soft cloths, warm water, and mild dish soap work best. Use a soft brush for stuck food particles. Avoid steel wool or abrasive pads, as they can dull the blade. Always dry the blade completely after cleaning to avoid rust.
How Often Should I Clean My Slicer Blade?
Clean the slicer blade immediately after each use. Regular cleaning prevents food buildup and maintains sharpness. Deep clean weekly if used frequently. Proper maintenance extends the blade’s lifespan and ensures food safety.
Can I Use Dishwasher To Clean Slicer Blades?
It is not recommended to use a dishwasher for slicer blades. Dishwashers can cause the blade to dull or rust. Hand washing with mild soap and water is safer and more effective.
Conclusion
Cleaning your slicer blade after use keeps it sharp and safe. Always unplug the slicer before you start cleaning. Use a soft cloth and warm, soapy water to remove food bits. Dry the blade carefully to stop rust. Regular cleaning helps your slicer work better and last longer.
A clean blade also protects your food from germs. Take a few minutes to clean after each use. It makes a big difference in the kitchen. Simple steps keep your slicer ready for the next job. Easy care leads to better results every time.