

If your electric slicer blade is dull or damaged, it’s time for a change. But replacing it might seem tricky or even risky.
Don’t worry—this guide will walk you through every step, making the process simple and safe for you. Imagine slicing your favorite meats and veggies smoothly again, without any hassle or frustration. Keep reading, and you’ll learn exactly how to replace your electric slicer blade quickly and confidently, so your kitchen work stays sharp and efficient.
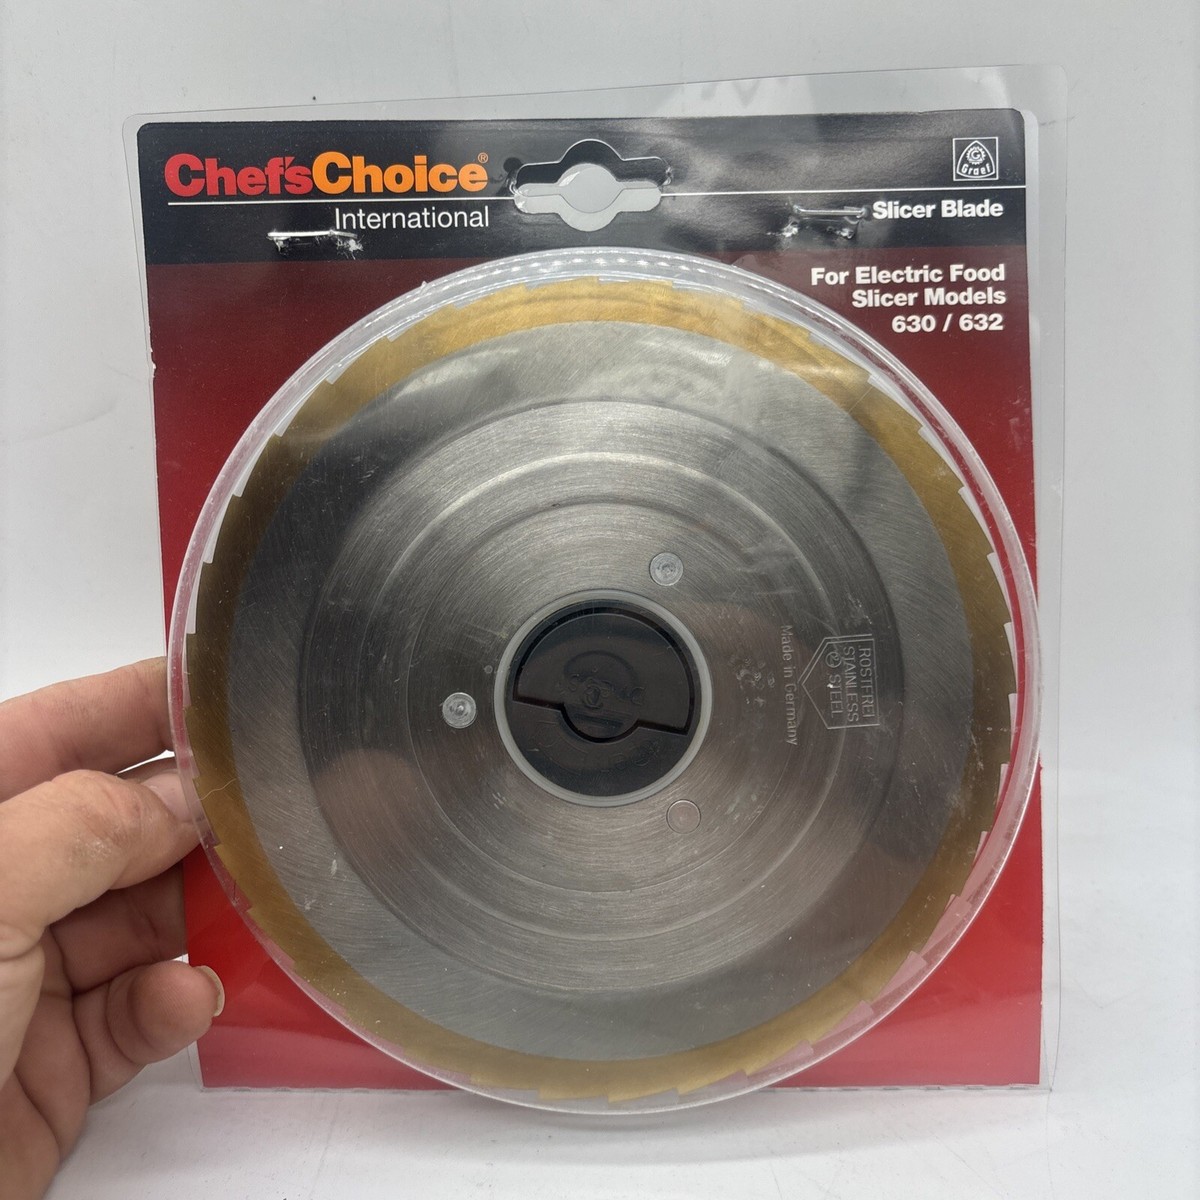
Credit: www.ebay.com
Tools Needed
A screwdriver, replacement blade, and gloves are essential for this task. A cleaning cloth helps remove debris safely. Having these tools ready makes the process smoother.
- Screwdriver:Needed to remove screws holding the blade.
- Replacement blade:Must match your slicer model.
- Gloves:Protect hands from sharp edges.
- Cleaning cloth:Wipe down the slicer before and after.
- Lubricant:Helps in smooth blade installation.
- Safety goggles:Guard eyes from small debris.

Credit: www.amazon.co.uk
Preparing The Slicer
Unplug the slicer to ensure safety before starting. Clean the machine and remove any leftover food. Gather necessary tools to make blade replacement easier.
Unplugging The Device
First, make sure the slicer is turned off. Then, unplug the device from the wall. This prevents any accidental start. Safety first!
Removing Food Residue
Check the slicer for any leftover food. Use a damp cloth to wipe off crumbs and bits. Ensure the surface is clean and dry. This helps in avoiding any mess during blade replacement.
Removing The Old Blade
The blade guard keeps the electric slicer blade safe. To remove it, locate the locking mechanism. It usually has a small lever or knob. Turn or push this to release the guard. Be gentle to avoid breaking the parts.
Detaching the blade requires care. Always unplug the slicer before touching the blade. Use a cloth or gloves to protect your hands from sharp edges. Hold the blade firmly and pull it straight off. Avoid twisting or bending it.
Installing The New Blade
Place the new blade on the slicer carefully. Make sure the blade’s teeth face the right way. The blade should fit snugly on the spindle without wobbling.
Use the slicer’s manual to check how the blade aligns. The blade hole must match the slicer’s center pin perfectly.
- Hold the blade steady.
- Align the blade hole with the spindle.
- Ensure the blade teeth point outward.
Once aligned, tighten the blade securely. Use the provided screws or locking mechanism. Check that the blade does not move or shake.
Double-check the blade is firmly fixed before turning the slicer on. A loose blade can be dangerous and cause poor cutting.
Testing The Slicer
Reconnect the slicer to the power source carefully. Make sure the plug fits snugly in the socket. Check the power switch to confirm it is off before plugging in. Once connected, turn the switch on gently.
Observe the slicer blade as it starts to move. The blade should spin smoothly without any jerks or noises. If the blade shakes or makes loud sounds, switch off the power immediately.
Ensure all parts are tight and secure. Loose parts can cause unsafe operation. If the blade does not spin, check the connection again.
- Verify plug and socket connection
- Turn the power switch on slowly
- Watch for smooth blade rotation
- Listen for unusual noises
- Stop power if problems occur

Credit: www.amazon.ca
Safety Tips
Always wear thick gloves when handling sharp blades. This prevents accidental cuts. Hold the blade by its center, not the edges. Keep your hands dry to avoid slipping.
Store blades in a safe place, away from children and pets. Use a blade cover or sheath for extra safety. Avoid rushing during replacement; take your time.
- Clean the blade after each use to stop rust.
- Check for any damage or dull spots before use.
- Lubricate the moving parts to keep the slicer smooth.
- Tighten screws and bolts regularly to avoid loose parts.
- Replace blades immediately if they get chipped or bent.
Frequently Asked Questions
How Do I Safely Remove An Electric Slicer Blade?
To safely remove the blade, unplug the slicer first. Use gloves to avoid cuts. Loosen the blade lock or knob and gently lift the blade out. Follow the manufacturer’s instructions for your specific slicer model to ensure safety.
What Tools Are Needed To Replace A Slicer Blade?
Typically, no special tools are required. Most electric slicers have a blade knob or lock mechanism for easy removal. However, a screwdriver may be needed for some models. Always consult your slicer’s manual to confirm the correct tools.
How Often Should I Replace My Electric Slicer Blade?
Replace the blade when it becomes dull or damaged. Frequent use may require replacement every few months. Sharp blades ensure clean slices and safe operation. Regular maintenance checks will help determine the best time for replacement.
Can I Use Any Blade Replacement For My Slicer?
No, use only blades compatible with your slicer model. Using the wrong blade can damage the machine and cause safety hazards. Always buy original or manufacturer-recommended replacement blades for best performance.
Conclusion
Replacing an electric slicer blade is simple and safe with the right steps. Always unplug the slicer before starting work. Use tools carefully to avoid injuries. Check the blade fits well and spins smoothly. Clean the slicer after replacing the blade to keep it working longer.
Follow these tips to keep your slicer sharp and effective. Regular maintenance helps avoid problems and saves money. Now, you can replace your slicer blade with confidence.